Weekend Drop -













Summary
Update 5 introduces some of the most impactful gameplay adjustments yet in SAND: Raiders of Sophie. Changes to artifacts, shell interactions, Trampler combat, and quality-of-life systems require players to rethink both offense and defense. This guide explains the practical impact of each major change and how to adjust your tactics to survive more consistently while preparing to Buy SAND: Raiders of Sophie Crown only when it supports your long-term progression.
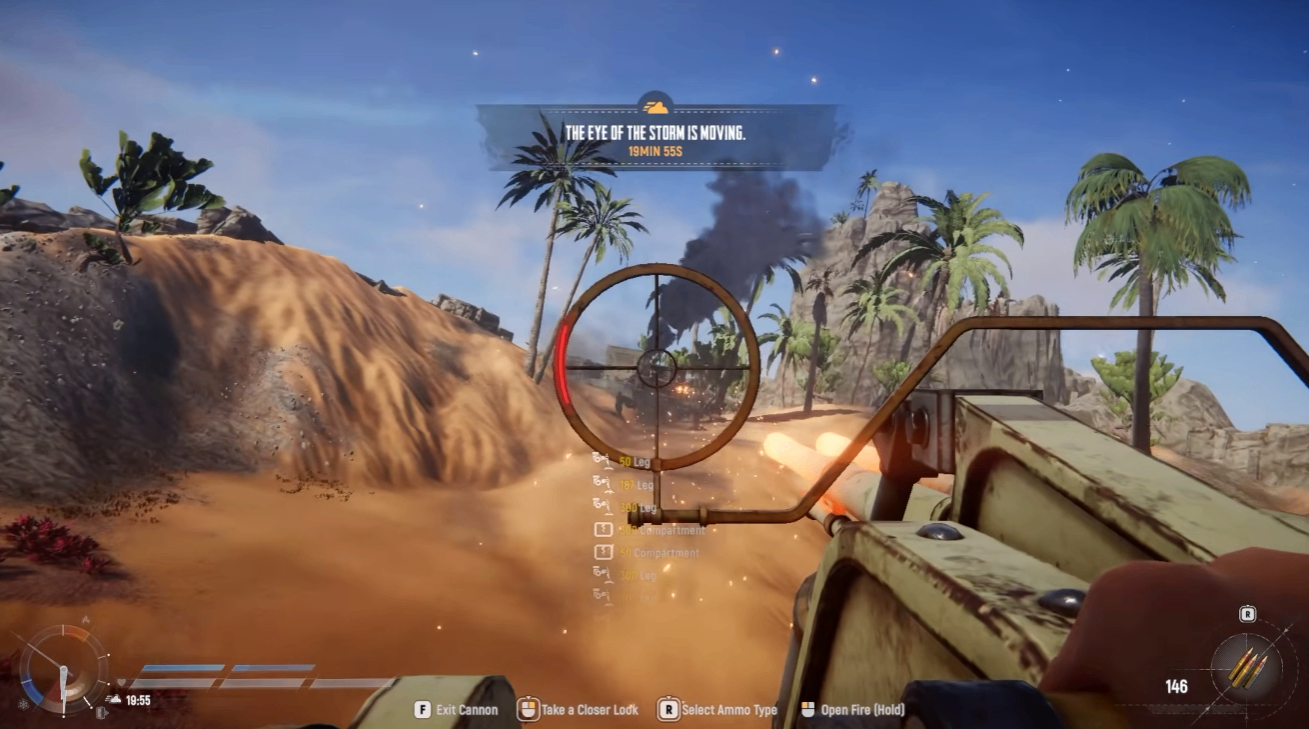
Step 1: Understand the Technical Improvements Before Heading Out
Before changing your combat strategy, note the improvements that affect overall gameplay.
Update 5 includes:
Anti-cheat improvements.
Rendering optimizations for improved performance.
Fixed item duplication exploit involving boxes.
Fixed Tramplers falling through the ground.
Fixed transparent character models in Spectator Mode.
Fixed several extraction and soft lock issues.
While these updates do not directly change combat, they create a more stable environment for expeditions.
Step 2: Change How You Use the Dome Shield
The Dome Shield has received one of the biggest balance changes.
Key updates include:
Health increased from 15,000 HP to 25,000 HP.
Projectiles can no longer pass through the shield from either side.
The Dome Shield now functions primarily as a defensive tool rather than a firing position.
Instead of deploying it in open combat, consider using it to:
Cover your retreat.
Protect damaged teammates.
Shield the Trampler while repositioning.
Crews may also benefit from placing the Dome Shield to protect critical components such as the engine rather than exposing it on open sections of the vehicle.
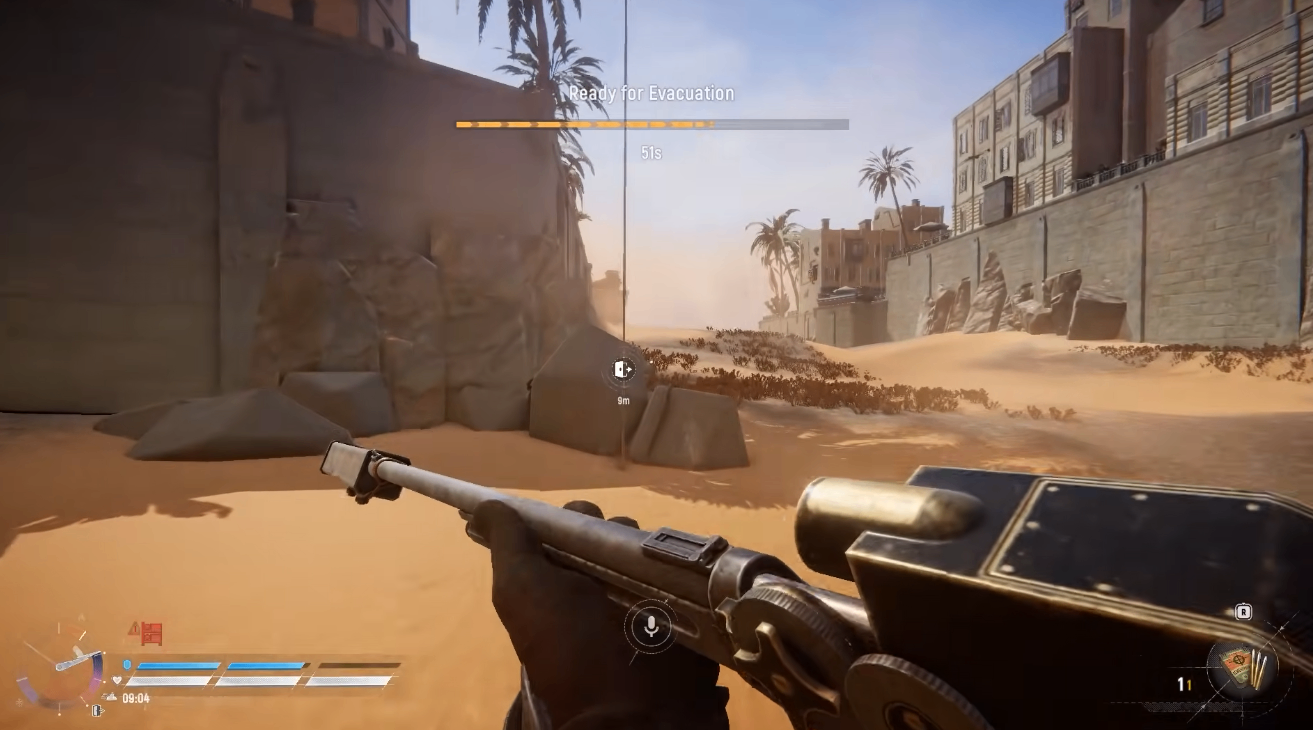
Step 3: Reposition Artifacts More Carefully
Artifact placement now has a much greater impact during battles.
Every artifact except the Walk Bomb can now be destroyed by direct siege damage.
Important values include:
900 HP per artifact.
Because artifacts are easier to destroy, avoid placing them in exposed positions.
For example:
Hide the Amplifier behind cannons instead of mounting it on an open broadside.
Store Shields behind doors or protected compartments whenever possible.
Drive carefully to avoid unnecessary collision damage to exposed equipment.
Small placement adjustments can significantly improve artifact survival during extended engagements.
Step 4: Prepare for the New EMP Shell Meta
EMP Shells have become much more dangerous.
They can now:
Disable activated artifacts.
Destroy activated artifacts completely.
Affect the Walk Bomb after activation.
Only activated artifacts are affected, meaning stored equipment remains safe until deployed.
Before engaging another Trampler:
Keep reserve artifacts inactive until needed.
Watch for opponents using EMP ammunition.
Consider defensive positioning before activating important utility.
Managing activation timing is now as important as choosing which artifact to equip.
Step 5: Adjust Your Smoke Tactics
Smoke mechanics now function differently during Trampler combat.
Previously, smoke could remain attached to moving vehicles.
After Update 5:
Smoke remains where it is deployed.
Tramplers move through the smoke instead of carrying it.
Smoke becomes more useful for repositioning than sustained pressure.
Use smoke to:
Break enemy line of sight.
Cover retreats.
Reposition during repairs.
Escape unfavorable engagements.
If enemies deploy smoke first, counter with defensive tools such as the Dome Shield instead of pushing blindly into reduced visibility.
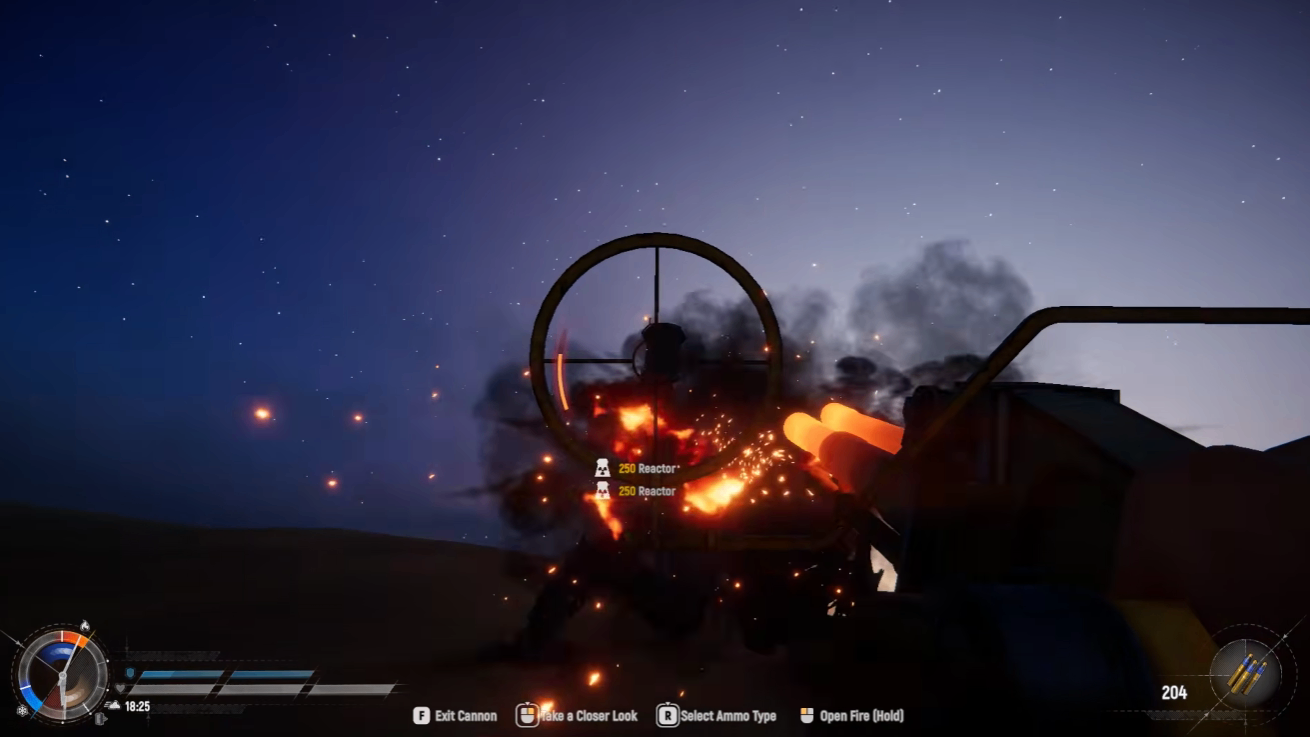
Step 6: Manage Trampler Battles More Efficiently
Because of the balance changes, direct engagements now require better preparation.
Before initiating combat:
Confirm your artifacts are protected.
Save utility until it provides maximum value.
Position the Trampler to minimize exposed equipment.
Coordinate artifact usage with teammates instead of activating everything immediately.
Careful resource management is now more effective than relying on raw firepower alone.
Step 7: Build Resources Before Taking High-Risk Fights
Update 5 rewards preparation more than constant combat.
If your crew lacks:
Shields
Smoke
EMP counterplay
Defensive artifacts
Avoid unnecessary Trampler battles.
Instead, focus on one-and-done voyage runs to build resources before challenging stronger opponents. Entering difficult encounters with limited utility significantly reduces your chances of success.
Key Takeaways
Anti-cheat, optimization, and bug fixes improve overall stability.
Dome Shield now has 25,000 HP and blocks shots from both directions.
Artifacts now have 900 HP and require safer placement.
EMP Shells can disable and destroy activated artifacts.
Smoke now stays at the deployment location instead of moving with the Trampler.
Defensive positioning and artifact timing are more important than before.
Resource gathering before major fights is now a safer long-term strategy.
Conclusion
Update 5 shifts SAND: Raiders of Sophie toward more tactical Trampler engagements by making positioning, artifact management, and utility timing more important than simply overpowering opponents. Players who adapt their Dome Shield placement, protect critical artifacts, and use smoke and EMP mechanics effectively will be better prepared for both PvP and expedition encounters. As your equipment collection grows, careful planning—and when appropriate, choosing to Buy SAND: Raiders of Sophie Items—can further strengthen your Trampler for future updates.