Weekend Drop -













Spending hours upgrading ships but still struggling against high-tier enemies? Many Skull and Bones players focus only on damage and lose fights because they cannot survive long enough. This Galeon healing build changes that with 100K+ damage shots, massive burst potential, and constant healing during combat.
Built around Sunken Ordnance, Book of the First Medic, and Calverine damage scaling, this setup is one of the strongest PvE builds in the current season.
If you'd rather skip the grind entirely, we won't judge - here's an alternative...
"Head to mmoexp to buy Skull and Bones Items, boost your level instantly, and actually play the game on your terms."
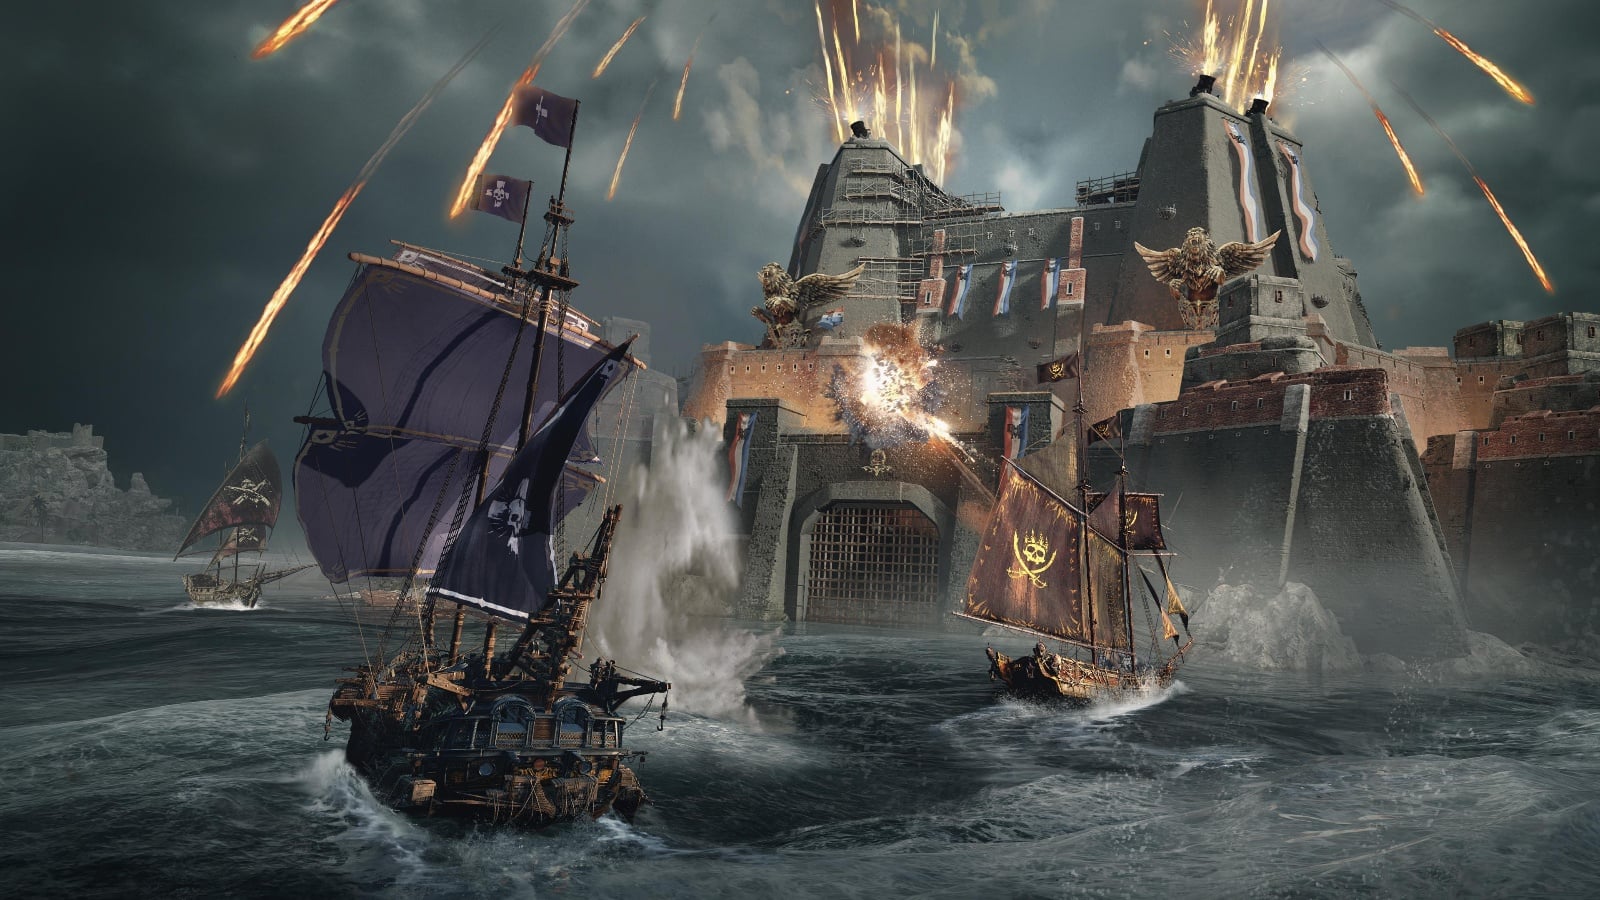
The Best Galeon Setup-Damage Meets Survival
100K+ damage per shot | 20K healing per hit | 1M+ Mega Fort damage bursts
Testing Conditions: Current Season Galeon PvE setup
The goal of this build is simple: keep firing without stopping while healing through incoming damage.
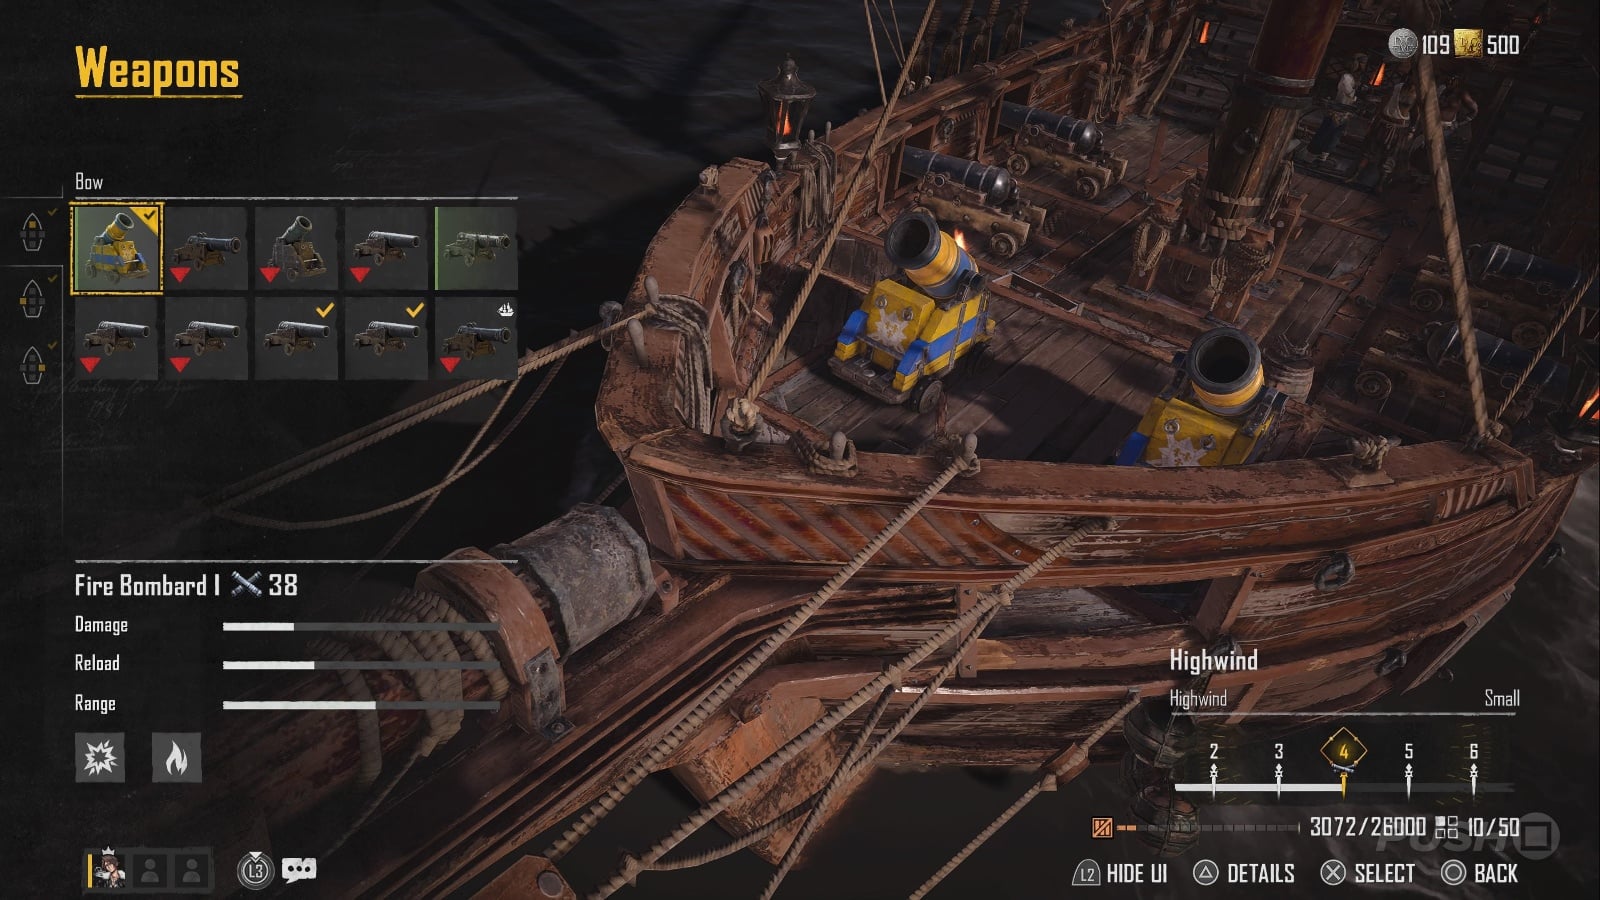
Recommended setup:
Use Sunken Ordnance as your main weapon.
Equip Book of the First Medic for healing synergy.
Add Calverine Workshop for stronger shots.
Use Devil's Brew for fire damage scaling.
Run Night Heart for normal fights or Immortal Vessel for bosses.
The Galeon is the best choice because its wide firing angles make landing shots easier than smaller ships.
Why This Build Beats Pure DPS Ships
5x better survivability | Higher damage uptime | Fewer repair breaks
Traditional DPS builds may hit harder for a few seconds, but they lose time repairing or escaping.
Example:
Pure DPS build:
100K damage shots
More repair usage
Lower fight consistency
Healing Galeon:
70K-100K+ shots
Self-healing while attacking
Longer time inside combat
During a 10-minute Mega Fort fight, the healing build can maintain pressure while other setups often lose damage windows because of repairs.
The biggest advantage is not only damage — it is nonstop uptime.
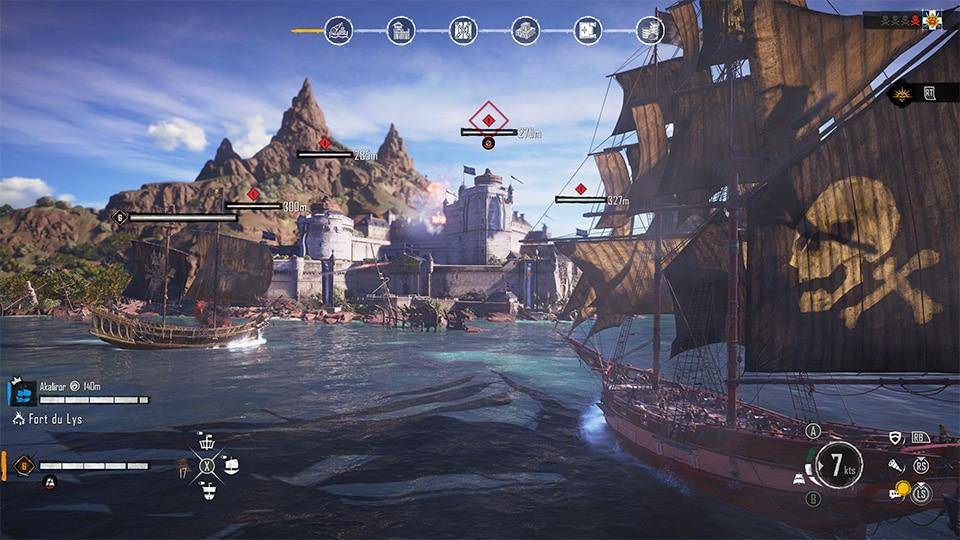
Combat Strategy-How to Maximize Damage
17-shot firing cycle | +30% flooding damage bonus | Safer boss farming
Follow these steps:
Attack from the side to maximize Calverine angles.
Hold fire continuously instead of constantly repositioning.
Stay close enough for healing effects to trigger.
Swap to Immortal Vessel when fighting heavy-damage bosses.
Avoid Blood Powered unless your aim is extremely accurate. Every missed shot costs health, and missing several attacks removes the build's biggest advantage.
A common mistake is using Blood Powered against fast-moving targets. Players often lose health faster than they recover because too many shots miss.

Pro Tips & Common Traps
Use projectile speed bonuses to improve accuracy and healing uptime.
Focus on fire and flooding bonuses for higher overall damage.
Use Immortal Vessel for Kraken or difficult boss fights.
Avoid unnecessary repair upgrades because damage bonuses provide more value.
Do not use Blood Powered against enemies that constantly move.
This build is best for Solo players, PvE farmers, and Mega Fort grinders. It is less effective for PvP-focused players because the setup relies on sustained damage windows.
Final Verdict
The Galeon healing build combines damage, defense, and efficiency better than most current setups. With 100K+ shots and constant healing, it turns difficult PvE fights into reliable farming runs.
By using this setup, players save repair materials, reduce failed attempts, and clear endgame content faster. You can either grind it out with this guide, or skip the grind entirely and enjoy the endgame immediately.
"Stop trading your evening hours for virtual pennies. Visit mmoexp to buy Skull and Bones Items, raise your level, and leave the grinding to bots. Reclaim your playtime."
Quick Reference
Best Ship: Galeon
Main Weapons: Sunken Ordnance + Book of the First Medic
Damage: 70K-100K+ per shot
Best Targets: Mega Forts and World Tier bosses
Risk Level: Low-Medium
3 Immediate Action Steps
Equip healing weapons first for survival.
Upgrade Calverine bonuses for damage.
Test Mega Fort routes for faster farming.
Who Is This For?
New Players: Safer endgame farming with fewer repairs.
Time-Crunched Players: Faster boss clears with less downtime.
Min-Maxers: Maximum damage and healing synergy.
Completionists: More consistent farming for endgame rewards.