Summary
This guide is for every WARDOGS helicopter pilot—whether you're new to flying or a seasoned veteran. It covers aiming, maneuvering, matchups, flight patterns, profiting, and all the tech that is totally intentional and definitely shouldn't be of concern to developers. In WARDOGS, the helicopter is one of the most flexible and lethal vehicles on the battlefield. Mastering it means you can dominate the skies and create enormous value for your team—and if you want to accelerate your progress, you can Buy WARDOGS Dollar to unlock upgrades faster. Flying helicopters is hard, but not impossible—the skill gap comes down to aiming, and that's what we'll address first.
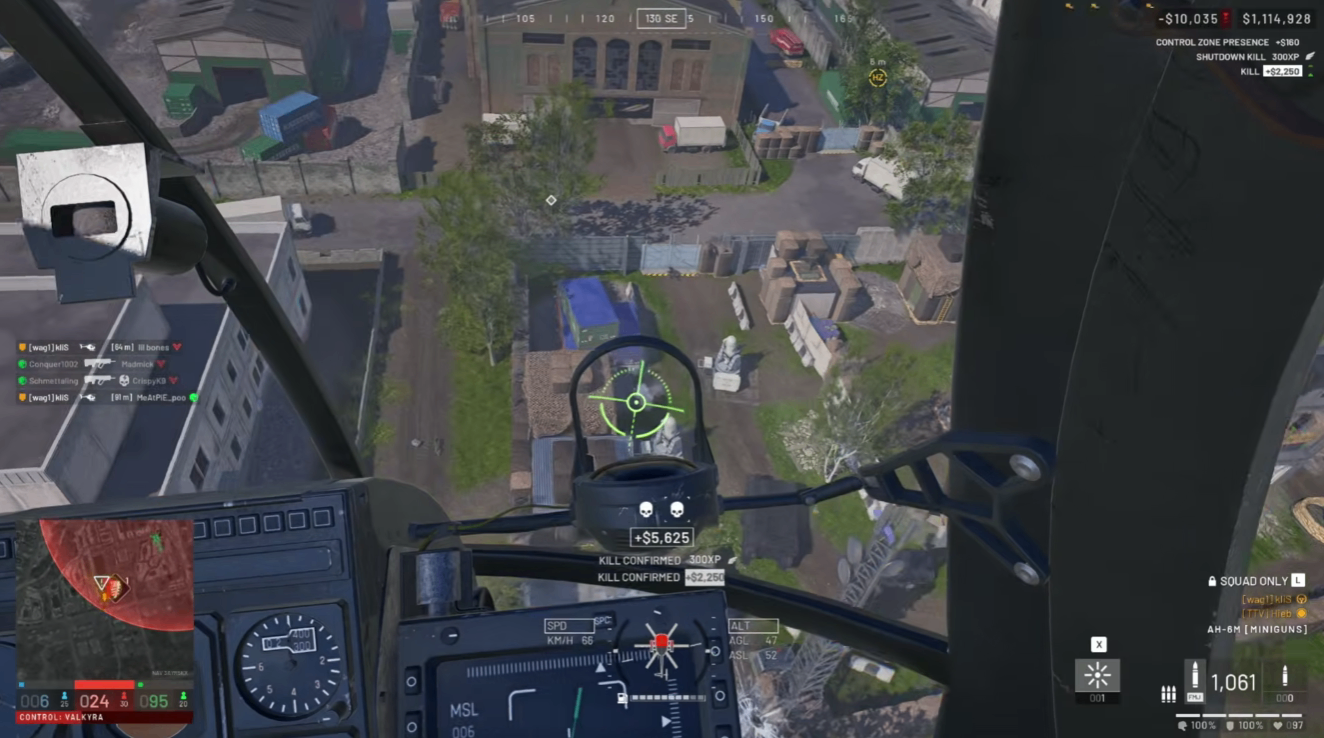
Part 1: Controls
There is no absolute "best" control scheme—only what suits you. Rifle Aim (mouse aim) has the highest precision ceiling. Dual flight sticks plus pedals offer ultimate precision but require hardware. Default keyboard offers a middle ground. Prolosco and Shroud use default; Rotor Bird uses a throttle stick and pedals.
For mouse and keyboard players, near-consensus settings among top pilots: enable Rotary Vehicle Mouse Control, use a 2.0 air vehicle sensitivity multiplier with very low pitch and yaw/roll multipliers, double-bind all mouse controls to the keyboard, and use either No Assists or just Auto Hover Assist. Turn off Stability Assist, Auto-Hover Assist, Envelope Limits, and Turn Coordination—these add artificial input resistance, making the heli feel heavy and sluggish.
Always practice in the Firing Range first—crashes cost nothing there. Master takeoff, hovering, turning, and landing before you even think about combat.
Part 2: Aiming
Aiming separates the men from the boys. The core concept is the Weather Vane Effect: the faster you fly, the less effective your rudder is at steering, because increased airflow over control surfaces wants to align the heli with the inbound airstream. Control your velocity—start strafes from 0-30 km/h and end them at 80-100 km/h. Do it by feel, not by hard rule.
Because you're often above the target, you must fight the helicopter to keep aim on it. Think of it as a smoothness task on an aim trainer—you're centering on a target while accounting for acceleration. Use your whole arm, not your wrist—the wrist has too little range for fighting full helicopter acceleration and is only for small micro adjustments.
Where to aim: Minigun helicopters—top right quadrant of the crosshair. Rockets on the Havoc and AH-6R—dead center. First-shot accuracy is paramount. Think like a crop: the crop that gets shot at by accurate fire dies; the crop that gets startled moves. It's easier if your first shots are on the point.
Part 3: Maneuvering
Transport
Many pilots use the "Death Elevator"—ripping to the LZ and bleeding all energy vertically. This creates the easiest shooting gallery of all time. Never do this.
Essential tip: Plan your flight path and LZ.
Low Speed Bleed: Find a straight path, set collective to zero, balance height with pitch up. At about 50 km/h, touch down gently and slide on the skids. Simple and safe.
J-Hook: Plan a path to the right of your LZ (if hooking left). Fly down, roll toward the LZ, use yaw to point at the ground, rotate the heli, and dissipate all speed. Teammates love it, and most of all, they're safe.
Combat
Circle Strafe: Fly slightly past the target, roll toward it, and point your nose at it with yaw. Use roll, pitch, and yaw so the lowest part of your rotor always points at the target. Your crosshair stays glued to the target non-stop, and you're always moving laterally—much harder to hit. This requires continuous yaw input; Rifle Aim players need a yaw keybind.
Quick 180: Pitch up while yawing and rolling to one direction, throwing all energy to one side. This quickly bleeds energy and flips the heli around. Essential in Little Bird duels, where it's a race to get guns on the other pilot.
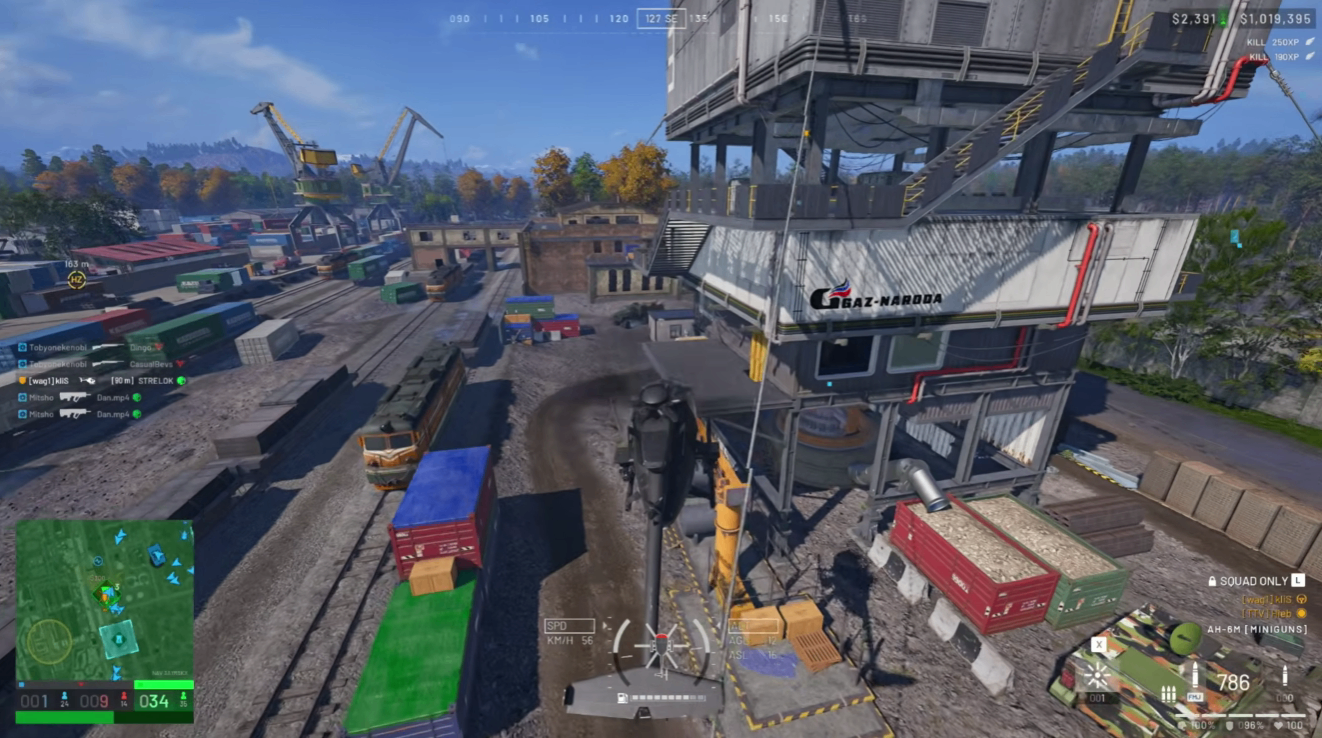
Part 4: Matchups
Enemy helicopters: With miniguns, aim for the pilot—on the left side when looking head-on at Black Hawks and Little Birds. Rockets need four on a Little Bird, at least six on a Black Hawk or Havoc (likely 10-12). Against a Havoc with anything but a Havoc, run—it cannot reliably kill a constantly moving Little Bird.
Tanks and spawn vehicles: Destroy the spawn vehicle dish with miniguns to disable it. Tanks need rockets—about 12-18. Stay above a tank's turret elevation.
Sea Whiz: Kill it before it's fully built—it's a quick kill even with miniguns. If built, fly in low, kill the gunner first, then circle strafe to kill all infantry. Finish with about 500 minigun rounds.
AA missiles: The beeping tone means lock is being acquired; the hard tone means lock is acquired and a missile could be in the air. Use free look in third person, or Below Radar—hit the deck as soon as beeping begins. If the hard tone persists, flare. Destroy SAM launchers with about 12 rockets, but only bother if two are in different locations.
Part 5: Flight Patterns and Profiting
After leaving spawn, sneak up on typical enemy FOB locations. You're there for kills, but most of all to kill AA builds before they're fully built. Then check the scorecard—more than 33 enemies in zone means the hot zone; lower counts mean players are near their FOBs. Make a habit of checking FOBs constantly.
Profiting: Most people complaining about heli money are using their heli incorrectly. On transport, convince passengers not to parachute—parachuters are the easiest kills on the server and split up squads. Encourage teamwork. If you have artillery or a mortar teammate, tell them where enemies are—they'll happily take free kills.
Part 6: Tech and Summary
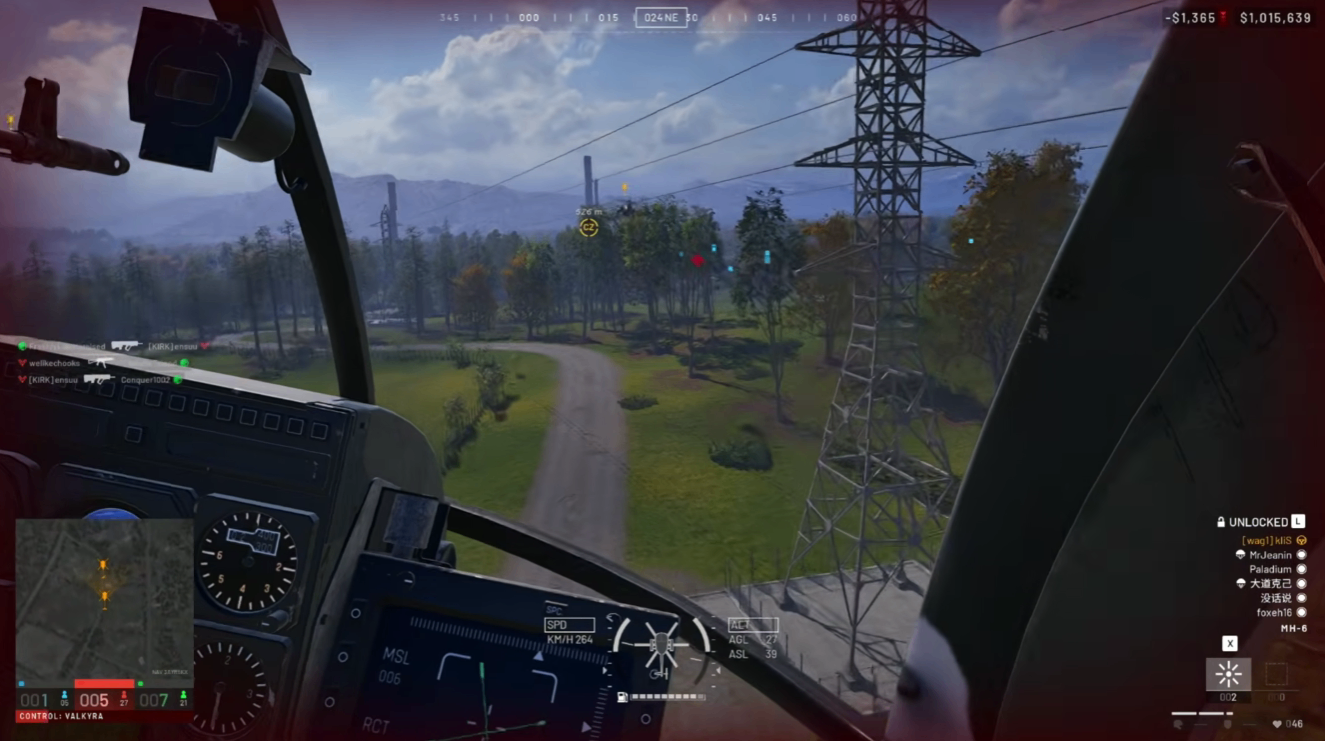
Below Radar: Flying under roughly 10 meters prevents a lock from being maintained. If the lock persists, a missile is on the way—flare.
Key Takeaways
Point | Description |
Plan flight path and LZ | Never do the Death Elevator |
Control velocity | Weather vane effect: faster = less rudder effectiveness |
Aim with whole arm | Wrist is for micro adjustments only |
Circle Strafe | Keep nose on target while moving laterally |
Kill AA before built | Take out Sea Whiz early |
Check FOBs constantly | Don't wait for AA to be built |
Convince passengers not to parachute | Parachuters are the easiest kills |
Final Advice
Practice, practice, practice. Humans are like AI—we need knowledge about the environment, a couple factors to tweak, and an outcome to observe. Start with first-shot accuracy and velocity. Master these, and you'll be flying freely in the WARDOGS skies. If you'd rather speed up your progression, MMOEXP is a trusted platform to find WARDOGS Dollar for sale safely and at competitive prices. Happy hunting.