Summary
Helicopters are some of the most powerful assets in WARDOGS, whether you're using an attack helicopter to pressure enemy positions or a transport helicopter to move squads safely across the battlefield. However, getting consistent results requires much more than simply learning how to stay airborne.
This ultimate WARDOGS helicopter guide covers the fundamentals of controls, aiming, transport landings, combat maneuvers, helicopter matchups, anti-air threats, flight patterns, and teamwork. To get a head start with better gear and unlocks, buy WARDOGS Account and jump straight into mastering the skies.
Choose the Right Helicopter Controls
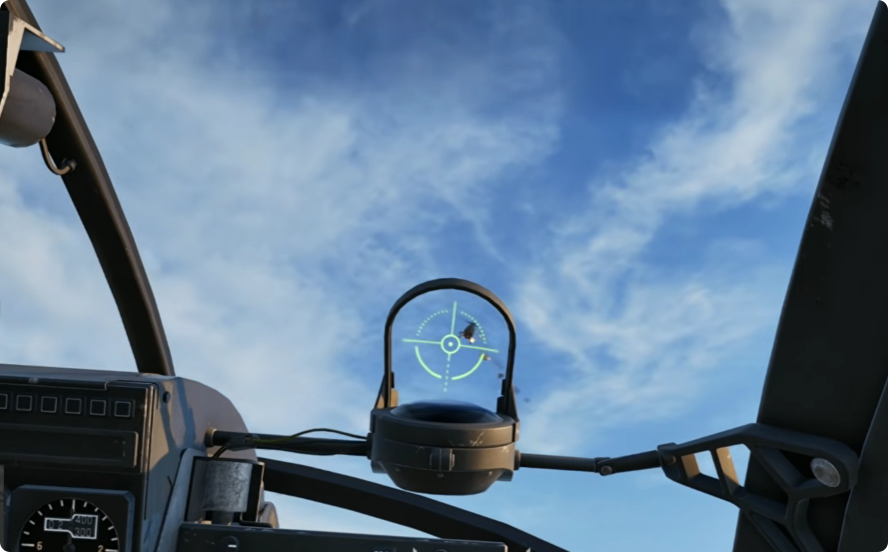
There is no single control setup that every helicopter pilot needs to use. Mouse and keyboard, dual flight sticks, and throttle-and-pedal setups can all work effectively.
For mouse-and-keyboard players, mouse control is a strong starting point. A useful setup is a 2.0 air vehicle sensitivity multiplier combined with low pitch, yaw, and roll multipliers. Double-bind important mouse controls to the keyboard so you can make quick corrections without relying entirely on your mouse.
You can also choose between no assists and auto-hover assist. Experienced pilots may prefer no assists for maximum control, while newer players can use auto-hover while learning the fundamentals.
The most important thing is consistency. Pick a setup that feels natural and stick with it long enough to develop muscle memory.
Master Helicopter Aiming
Aiming is one of the most important skills for attack helicopter pilots. Unlike normal FPS aiming, you are constantly fighting the movement and acceleration of your own aircraft.
Control Your Velocity
As the helicopter gets faster, its rudder becomes less effective at changing its direction because of the airflow around the aircraft. This means you need to control your velocity to maintain precise aim.
During a typical strafing run, starting around 0–30 km/h and finishing around 80–100 km/h can provide a useful reference point. These are not strict numbers, so learn to judge your speed by feel.
Think of helicopter aiming as an aim trainer in which the platform you're aiming from is constantly moving. Your goal is to keep the crosshair centered while compensating for acceleration.
Improve First-Shot Accuracy
First-shot accuracy is especially important because enemies can react as soon as they come under fire.
For minigun helicopters, aim around the upper-right portion of the crosshair. For rockets on helicopters such as the Havoc and AH6R, aim around the center.
Don't simply hold the trigger and hope the target moves into your fire. Get your crosshair close to the target before firing, then adjust your aim as the helicopter accelerates.
Transport Helicopter Landing Techniques
Transport pilots need a different skill set from attack pilots. Your job isn't only to reach the destination—it is to deliver your passengers safely.
Always plan your flight path and landing zone before approaching the destination. Avoid flying directly toward an LZ without considering your approach angle and escape route.
Use the Low-Speed Bleed
The low-speed bleed is one of the safest ways to land.
Find a relatively straight path toward the landing zone, set your collective to zero, and use pitch-up input to maintain your altitude while bleeding speed.
Once you reach roughly 50 km/h, gently bring the helicopter down. You can either stop completely or slide onto the skids.
This method is simple, predictable, and much safer than attempting complicated maneuvers before you are comfortable with them.
Learn the J-Hook
The J-hook allows you to approach an LZ from one direction and rapidly turn into the landing position.
First, plan your approach so that you have enough room to hook either left or right. As you reach the landing zone, roll toward it, use yaw to point the helicopter toward the ground, and rotate the aircraft while bleeding speed.
With practice, the J-hook becomes a fast and reliable way to deliver teammates without exposing them to unnecessary danger.
Essential Attack Helicopter Maneuvers
Attack helicopters need to remain mobile while keeping their weapons on target. Two maneuvers are particularly useful.
Circle Strafing
The circle strafe allows you to maintain continuous pressure on a ground target while constantly moving.
Fly slightly past the target, then roll toward it and use yaw to keep the nose pointed at the target. Combine roll, pitch, and yaw so that your crosshair stays on the enemy as you circle around them.
This prevents you from overcommitting to a target and flying straight into the ground or directly into enemy infantry fire.
Circle strafing is particularly useful against FOBs because it lets you repeatedly attack while remaining difficult to hit.
Perform a Quick 180
A quick 180 is useful when you overshoot a target or need to react to another helicopter behind you.
Pitch up while simultaneously using yaw and roll in the same direction. This rapidly bleeds your forward energy and rotates the helicopter around.
The maneuver is especially valuable during helicopter-versus-helicopter engagements, where getting your weapons on the opponent first can decide the fight.
Understand Helicopter Matchups
Knowing what you can fight is just as important as knowing how to aim.
Enemy Helicopters
When using miniguns against an enemy helicopter, focus on the pilot. When viewed head-on, the pilot is positioned toward the left side of helicopters such as the Black Hawk and Little Bird.
Rockets require several accurate hits. A Little Bird may take around four rockets, while larger helicopters can require six or considerably more depending on the situation.
If you're facing a Havoc while flying another helicopter, avoid slow or head-on engagements whenever possible. A Havoc is particularly dangerous against predictable targets.
Tanks and Vehicles
Miniguns can disable certain spawn vehicles, but rockets are the preferred option against tanks.
Expect to use roughly 12–18 rockets against armored targets. Stay above the tank's turret elevation whenever possible so you don't give it an easy firing opportunity.
Deal With AA, SAMs, and FOB Defenses
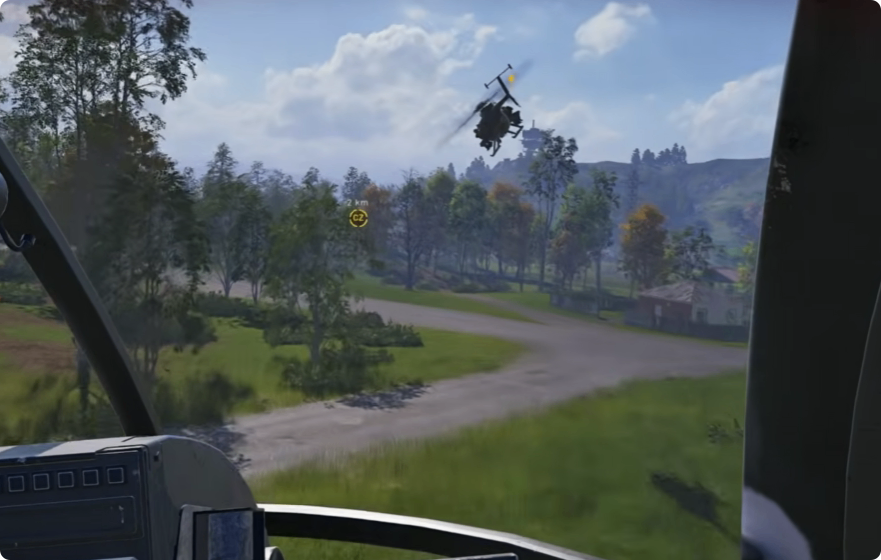
Anti-air defenses are one of the biggest threats to helicopter pilots. Learning how their warnings work can dramatically increase your survival time.
Use Below-Radar Flying
When flying very close to the ground—roughly below 10 meters—a lock cannot normally be maintained.
When the warning beep begins, get low immediately. If the hard lock continues even though you are close to the ground, assume a missile may already be in the air and prepare to use your flares.
Third-person free look can also help you identify incoming missiles and locate the direction of the launcher.
Attack AA Before It Is Fully Built
An unfinished AA emplacement is much easier to destroy than a completed one. For this reason, attack pilots should regularly check known enemy FOB locations.
Against a completed defensive position, prioritize the gunner first. Once the immediate threat is removed, circle-strafe the area and eliminate infantry who could operate the weapon, revive teammates, or use RPGs against you.
This is often safer than repeatedly attacking a fully defended FOB without preparation.
Build a Reliable Helicopter Flight Pattern
Strong pilots should have a repeatable flight routine instead of simply flying around looking for targets.
After leaving spawn, check common enemy FOB locations first. Your initial goal is to identify enemy AA positions and destroy them before they become established.
Once the FOBs have been checked, look at the scoreboard and determine where enemy players are concentrated. A high number of enemies in a zone can indicate that the main battle is happening there, while lower numbers may mean players are closer to their FOBs.
Continue checking enemy FOBs throughout the match. Preventing AA defenses from becoming established can give your helicopter much more freedom to operate.
Make Transport Helicopters More Valuable
Transport pilots can have a major impact without firing a single weapon.
Communicate with passengers and encourage them to stay together instead of immediately parachuting out. Players who jump early become easy targets and can also become separated from their squads.
A properly delivered squad can land together, heal one another, and immediately establish a stronger presence on the ground.
Your goal as a transport pilot is therefore not simply to reach the destination quickly. Safe insertion is the priority.
Work With Your Team
Even the best helicopter pilot cannot handle every threat alone.
If an enemy FOB is heavily defended, communicate its location to friendly artillery or mortar players. They can apply pressure while you focus on keeping enemy infantry and defensive weapons occupied.
Attack pilots should also remember that killing every enemy isn't always the objective. Destroying AA, supporting friendly infantry, transporting squads, and controlling important areas can have a greater impact on the overall battle.
Final WARDOGS Helicopter Tips
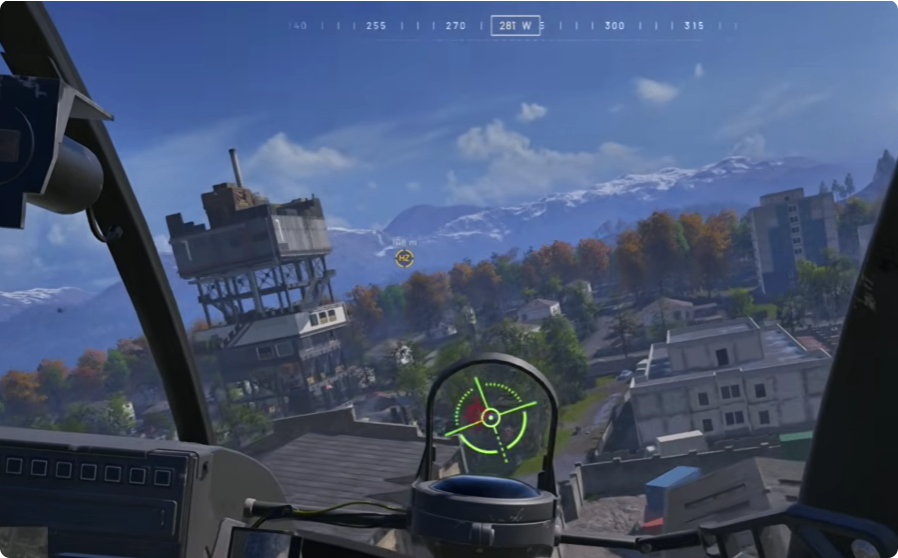
Becoming an effective helicopter pilot takes practice. Start by finding comfortable controls and sensitivity settings, then focus on velocity control and first-shot accuracy.
Transport pilots should master the low-speed bleed and J-hook before attempting more advanced landings. Attack pilots should practice circle strafing and quick 180s until they become automatic.
Most importantly, plan every flight. Know your landing zone, understand the threats around it, check enemy FOBs regularly, and avoid predictable movement.
Whether you're transporting an entire squad or destroying enemy positions with an attack helicopter, the strongest pilots combine mechanical skill with good decision-making and teamwork. To unlock top-tier helicopters and gear from the start, WARDOGS Account can give you access to the tools you need to dominate the skies.