Summary
Mastering the Citadel of the Fallen Daeva on Hard difficulty requires understanding each boss's unique mechanics rather than relying solely on high damage. By managing sword mechanics, coordinating poison pools, following color-based assignments, and executing team positioning correctly, your party can consistently clear one of Aion 2's toughest dungeons.
Prepare Before Entering the Dungeon
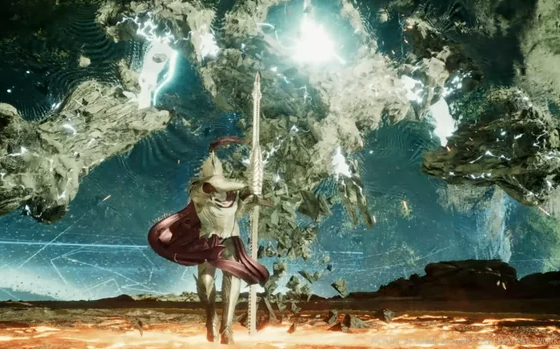
Citadel of the Fallen Daeva on Hard difficulty emphasizes mechanics far more than raw damage. While high gear levels certainly help, success depends on understanding each encounter and reacting quickly to boss abilities. Players looking to further strengthen their characters may also choose to buy Aion 2 Kinah to upgrade equipment and prepare more efficiently for the dungeon's demanding encounters.
Before entering, make sure your party has reliable communication, defensive cooldowns assigned, and players who understand their individual responsibilities. Most wipes occur because players ignore mechanics rather than lacking damage output.
The dungeon contains three boss encounters, each introducing different mechanics that gradually increase in complexity.
First Boss: Destroy the Summoned Swords
The opening boss serves as an introduction to the dungeon's mechanic-heavy design. Most attacks consist of standard AoE abilities that are relatively easy to dodge or block.
The primary mechanic involves the boss summoning several floating swords after displaying circular indicators with directional arrows.
These swords are extremely dangerous.
Standing near them causes heavy damage over time, and remaining within their attack range can quickly kill even well-equipped players. As soon as the swords appear, move away from them while continuing to attack the boss whenever possible.
Fortunately, these swords are not permanent.
Later in the encounter, the boss begins a red-colored mechanic featuring directional arrows. Instead of simply avoiding the attack, players should carefully position the red arrows so they strike the summoned swords. Doing so destroys the swords before they become a larger threat.
Once the swords are eliminated, the encounter becomes straightforward. Continue avoiding AoE attacks, maintain steady damage, and repeat the process whenever the mechanic appears.
Second Boss: Proper Poison Pool Management
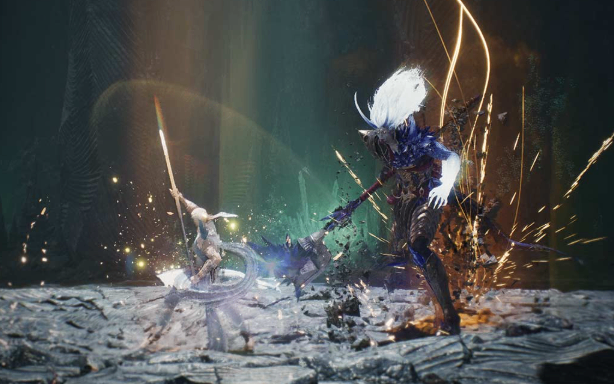
The second boss, a griffon-like enemy, introduces positioning mechanics that require the entire party to cooperate.
During the fight, every player receives a red circle beneath their character. After a short delay, each circle leaves behind a poisonous pool on the ground.
Instead of scattering randomly, the entire party should briefly stack together to place the poison pools in a controlled location. Shortly afterward, the boss performs a large slicing attack that destroys every poison pool it touches.
Once the pools have been placed, quickly move away and allow the boss to eliminate them. Proper positioning prevents the arena from becoming covered with hazardous ground effects.
Another important mechanic involves a large explosion that deals shared damage.
Whenever this attack appears, the entire group should gather together to split the incoming damage. Players who remain isolated often die instantly.
Throughout the encounter, the boss also summons arrow-shooting totems around the arena.
Your group has two options:
· Destroy the totems to create a safer battlefield.
· Ignore them while carefully dodging or blocking their projectiles.
Both strategies are effective, although experienced groups often ignore the totems to maximize boss damage.
Final Boss: Basilius the False
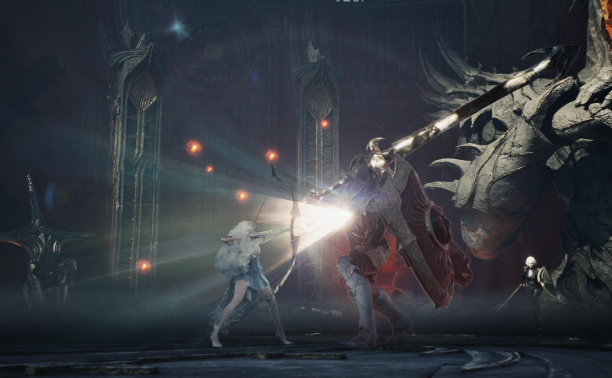
Basilius the False is the dungeon's most demanding encounter and combines multiple mechanics into a fast-paced battle that punishes mistakes.
The fight begins by assigning every player one of three colors beneath their character:
· Gold
· Black
· Dark Blue
Your assigned color determines how you interact with nearly every mechanic throughout the encounter.
Destroy Matching Shields
Basilius summons multiple colored shields around the arena.
Each player must destroy only the shield matching their assigned color. Ignoring your shield allows it to explode, often killing both yourself and nearby teammates.
Always locate your assigned shield immediately after it appears.
Match the Correct Safe Zones
Later, the boss fills the battlefield with colored slicing attacks.
Stand only within the area matching your assigned color while avoiding every other section. At the same time, ghost enemies roam the arena.
These ghosts deal damage and inflict Fear, temporarily removing control of your character.
Avoid touching them whenever possible. If you become Feared, a Divine Skill can immediately remove the effect, allowing you to regain control before the next mechanic begins.
Handle the Red and Gold Circles
One of the encounter's most important mechanics begins with several red circles appearing across the arena.
Players should step into these circles before they activate. Successfully clearing more red circles reduces the number of dangerous golden circles that appear afterward.
When the golden circles spawn, only players assigned the gold color should enter them.
Players with black or dark blue markers must stay completely outside these circles.
This mechanic causes more failed attempts than any other part of the encounter. If two golden circles explode, the party suffers an instant wipe. Although surviving one explosion is sometimes possible, consistently clearing every circle is the safest strategy.
Tips for a Consistent Clear
While every mechanic requires attention, maintaining discipline is the key to victory.
Keep these principles in mind throughout the dungeon:
· Watch your assigned color at all times.
· Destroy only the shield matching your color.
· Stack correctly for shared-damage mechanics.
· Let the boss eliminate poison pools instead of leaving them across the arena.
· Avoid ghosts to prevent Fear whenever possible.
· Save your Divine Skill as an emergency counter to Fear.
· Prioritize mechanics over dealing damage.
As your group becomes more experienced, you'll recognize opportunities to skip certain mechanics by defeating Basilius before additional phases begin. However, learning every mechanic first ensures consistent clears regardless of your party's damage output. If you're looking to improve your character's progression between runs, cheap Aion 2 Kinah can help you enhance your gear more efficiently, making future dungeon clears even smoother.
By mastering positioning, communication, and color-based assignments, your team will be well prepared to conquer Citadel of the Fallen Daeva on Hard difficulty and complete one of Aion 2's most rewarding dungeon challenges.