summary
Aion 2’s dungeon challenges players with three bosses: Red Spark Ignius, Blacksmoke Mayroot, and Chromie. Success depends on precise positioning, dodging AoEs, managing permanent hazards, and mastering HP-based mechanics. Hard Mode mainly adds the lethal Blazing Judgment phase, requiring fast movement and accurate execution, while having enough resources through buy Aion 2 Kinah can help players prepare for the demanding encounters.
1. Red Spark Ignius
After entering the dungeon, follow the main route into the large open room. Climb the stairs, jump, and glide down the ramp. Take the left path to find a coolant console. Interacting with it disables the randomly falling circular AoEs around the first boss arena. These attacks are not especially dangerous, so using the console is optional.
Proceed to the right to fight Red Spark Ignius.
Main Mechanics
· 75% HP: Ignius periodically marks players. After three seconds, marked players drop permanent lava puddles. Move toward the edge before the puddles appear to preserve the arena's central space.
· 65% HP: Ignius jumps to the center and casts a large donut AoE. Afterward, Blazing Speed makes the boss rapidly jump between players, creating small point-blank AoEs. Spread out after the donut to prevent overlapping damage.
Additional Attacks
Watch for three consecutive small AoEs targeting players, a tank-focused dash followed by a point-blank attack, and a five-projectile star-shaped AoE. After defeating Ignius, return along the path or use the platform shortcut and glide toward the second arena.
2. Blacksmoke Mayroot
Before entering Mayroot's arena, another coolant console can be found along the nearby path. Activating it removes the random circular AoEs, but again, this is optional.
Main Mechanics
Mayroot periodically raises an arm and slams the ground, heavily damaging anyone standing beneath the impact. After the slam, every player receives a small AoE while additional circles appear around the arena. Their visual timing can be deceptive because they activate slightly later than expected, so practice your dodge timing.
At 50% HP, Mayroot gains a powerful stomp. It begins with a large point-blank AoE followed by two increasingly larger explosions. These attacks can be blocked or perfect-dodged, making defensive timing important.
Filler Mechanics
The boss can jump onto the tank, dash toward the tank with a line AoE, then turn around and throw a boulder forward. It can also fire five line projectiles in a fan pattern. Maintain awareness of the boss's facing direction to avoid these attacks.
Afterward, travel upstairs, stay close to the left wall to avoid unnecessary aggro, collect the kibble disk, and open the door to the final arena.
3. Final Boss: Chromie
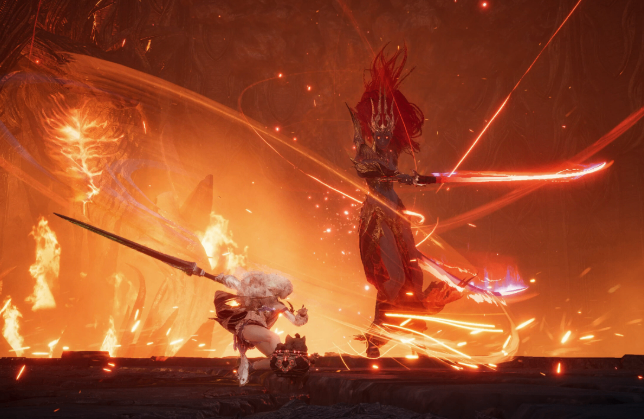
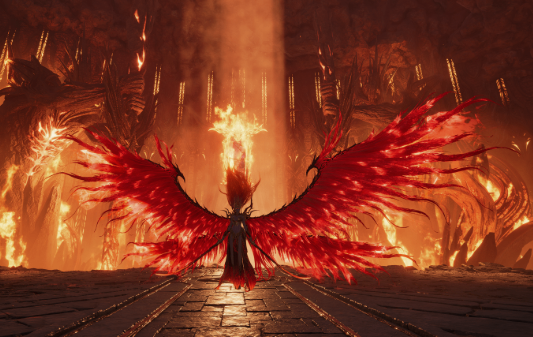
Chromie becomes untargetable at 75% and 25% HP. During these phases, seven waves of fire walls sweep from the arena's edge toward the entrance. Find the gaps between the walls and move through them carefully. Being hit causes damage and burn.
At 25%, clones also appear around the edge and fire line AoEs across the arena. Avoid both hazards simultaneously.
Hard Mode Difference
Hard Mode adds the most important difficulty increase during the 25% phase. Players are teleported to the entrance, and Chromie casts Blazing Judgment. The party has only 14 seconds to cross the arena and stand inside the designated safe circle. Failure results in an instant kill.
Beyond this mechanic, Hard Mode primarily increases boss health and damage.
Final Combat Tips
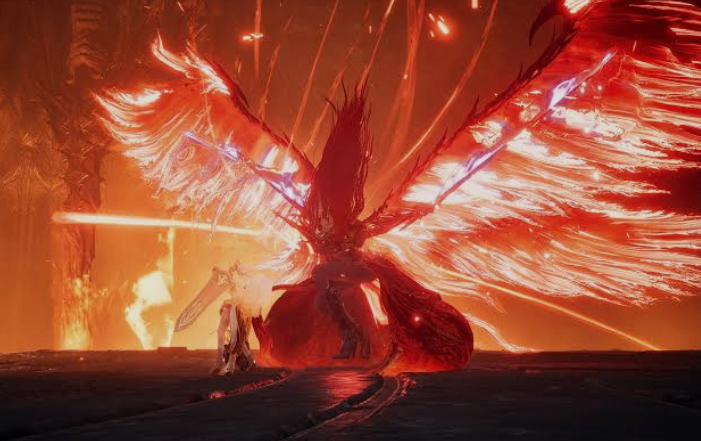
Chromie also uses sweeps, cleaves, line attacks, lunges, and targeted circle AoEs. Standing behind her is generally the safest position for avoiding frontal attacks. Later, clones create additional line and fan-shaped AoEs, while rapid circles can be blocked or perfect-dodged. Preparing your gear and consumables with cheap Aion 2 Kinah can also help ensure you are ready for these demanding mechanics.
For a smooth clear, prioritize positioning over raw damage. Preserve arena space, spread when targeted, learn the delayed AoE timing, and save defensive abilities for unavoidable patterns. Once Chromie falls, collect your rewards and the dungeon is complete.