Weekend Drop -













Summary
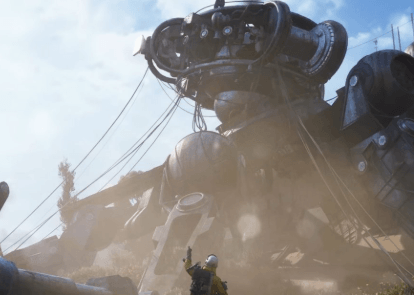
In ARC Raiders' Frozen Trail update, the Fallen Emperor arrives as the game's first dungeon-like area. This colossal ARC machine's interior holds Amplification Modules and the Emperor Modulator—essential for upgrading your Gunsmith and crafting amplified weapons.
Previously, players could exploit an exit glitch to skip the maze, but Patch 2.1.0 officially fixed unintended interactions between throwables and specific Emperor doors . Now you must navigate the maze properly.
This guide teaches you how to complete the core dungeon path in about 10 minutes, leaving ample time to loot everything, including valuable ARC Raiders Items that can make the run well worth your while.
Quick answer: Craft an Emperor Gateway Conduit, use it on the hatch at the Emperor's base, then breach pods and canisters inside to find the Emperor Modulator. The best chance is at the end of the dungeon .
1. Entry Preparation: Gear and Key
Required Items
Item | Purpose | Notes |
Emperor Gateway Conduit | Opens the dungeon door | Essential, cannot skip |
Snap Hook or Grappling Hook | Vertical movement, skipping terrain | |
Hullcracker | Dealing with Hydras | |
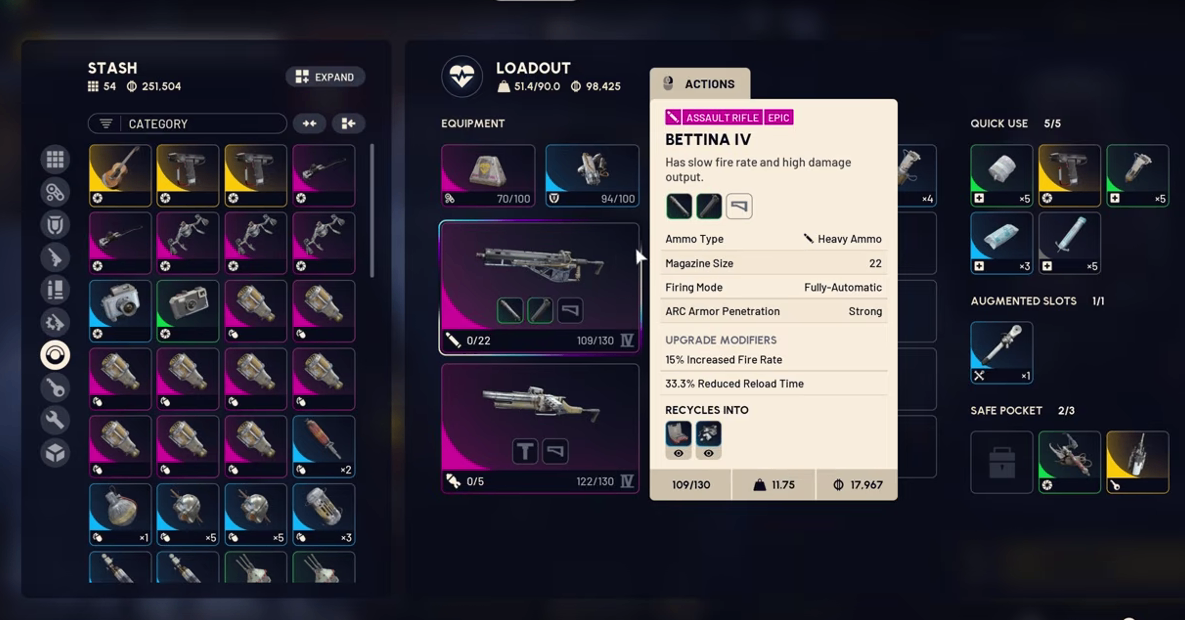
Bettina or Anvil | Destroying yellow canisters | Bettina is more efficient |
Zipline | Skipping large parkour sections | |
Healing Items | Environmental damage | Gas, lasers, electricity |
How to Craft the Emperor Gateway Conduit
The blueprint and three couplers all come from Emperor Payloads during the Redirection event on Pendola Pass .
Enter Pendola Pass while Redirection is active
Find Damaged Emperor Relays—active ones shoot a red laser into the sky
Interact with the relay to collect an Emperor Beacon
Place the Beacon in an open area and move away
Loot the fallen Harvester Payload for the blueprint and three couplers:
ARC Conductive Coupler
ARC Insulated Coupler
ARC Plated Coupler
Craft the Conduit at Workbench I
Shortcut: The Frozen Trail Reward Pass gives a completed Conduit at Tier 60 .
2. 10-Minute Speedrun Route
Phase 1: Entrance and Canisters (~2 minutes)
After entering the Emperor's interior, do not touch electrical boxes—they deal damage and waste time .
Key tip: If there's no white light on the doorframe, that path is blocked. Only doors with white light are correct .
Against a Hydra, throw a smoke grenade for cover, use Snap Hook to jump past it, or destroy it outright. Bettina takes exactly 7 shots to destroy a yellow canister.
Phase 2: Maze and Vertical Movement (~5 minutes)
The Emperor's layout changes every run, but key locations remain fixed. Core principles:
Move away when you hear beeping (orange containers are on timers)
Use Snap Hook to skip large terrain sections
In vertical areas, wait for moving platforms and use Snap Hook to ascend. In laser sections, you can sprint through quickly—often more efficient than careful dodging.
Key technique: At specific points, use a zipline to completely skip a large section, saving significant time .
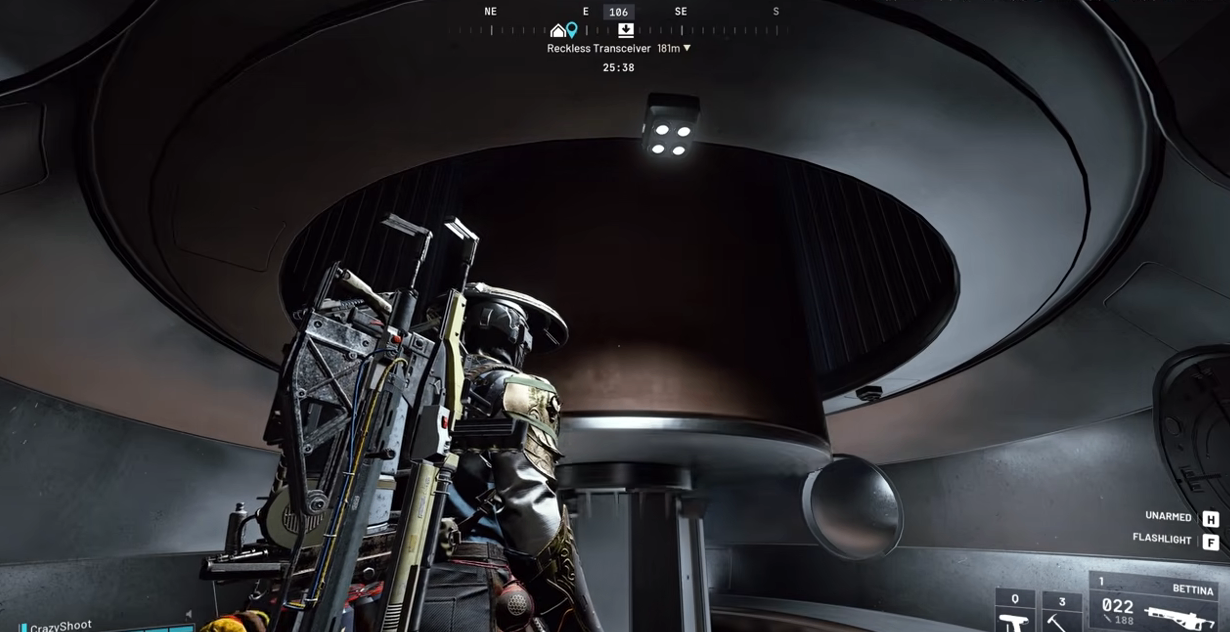
Phase 3: Final Room (~3 minutes)
Upon reaching the final room, red lights come on, the door opens, and a Vaporizer enters .
The most important piece of advice: Do NOT attack the Vaporizer or small ARC units. They're just searching for you. Wait about 1 minute and they'll leave on their own .
After enemies leave, shoot the yellow canisters on the walls. Every few canisters destroyed spawns a wave of small ARC (Wasp, Firefly, Hornet). Again, wait for them to disengage—don't actively fight .
3. Loot Priority
Highest Priority
Item | Use |
Emperor Modulator | |
Amplification Module Mk. V | Legendary weapon amplification |
Amplification Module Mk. IV | Epic weapon amplification |
Purple Items | Weapon amplification materials |
Secondary Priority
ARC Data Modules: Break down for research points
Lower-tier Amplification Modules: Even if unused, scrapping gives Fragmented Amplification Parts for repairing amplified weapons
Energy, Shield Rechargers: Restore consumables
Note: The final room's containers require destroying all 6 yellow targets (3 per side) to open . If the room looks empty, check if you missed any targets.
4. Extraction
After looting, exit through the yellow light doors or the large opening. There's usually a Gondola Transceiver nearby for extraction .
If you brought a Grappling Hook, extraction is more flexible. Warning: Once someone calls extraction, other Raiders may come to intercept.
5. FAQ
What if the final room is empty?
Other players may have used the old glitch to take loot early. Patch 2.1.0 fixed this, but already-occurred matches can't be restored .
Checklist:
Did you destroy all 6 yellow targets?
Have the containers already been opened?
If so, final rewards for this run are unavailable—loot breachable containers along the route instead.

Conclusion
Phase | Time | Key Actions |
Entrance + Canisters | 2 min | Don't touch electrical boxes, destroy yellow canisters |
Maze | 5 min | Follow white light doors, use Snap Hook and ziplines |
Final Room | 3 min | Don't attack Vaporizer, wait for it to leave, destroy 6 targets |
Looting | 5-6 min | Prioritize Emperor Modulator, purple items, Mk. IV/V |
Core principles: The maze solution is following white lights. The final room solution is patient waiting. Master these two and you'll reach the final room in 10 minutes, leaving ample time to loot the Emperor's interior for its rich rewards, and if you'd rather skip the grind, you can Buy ARC Raiders Items to get ahead faster. For a reliable and secure option, MMOEXP is a recommended platform worth checking out.