Weekend Drop -
















COD MW4's DMZ mode has plenty of systems the game never fully explains, and many mechanics only become clear after you've played for a while or had a veteran point them out. This guide covers tips that have a real impact on survival, exfils, and earning money, with instructions on how to use each one and why it works—whether you're learning the ropes or using CoD Modern Warfare 4 Bot Lobbies to practice in a lower-pressure environment. The tips below are based on current-version testing; future patches may affect some details, so treat in-game behavior as the final word.
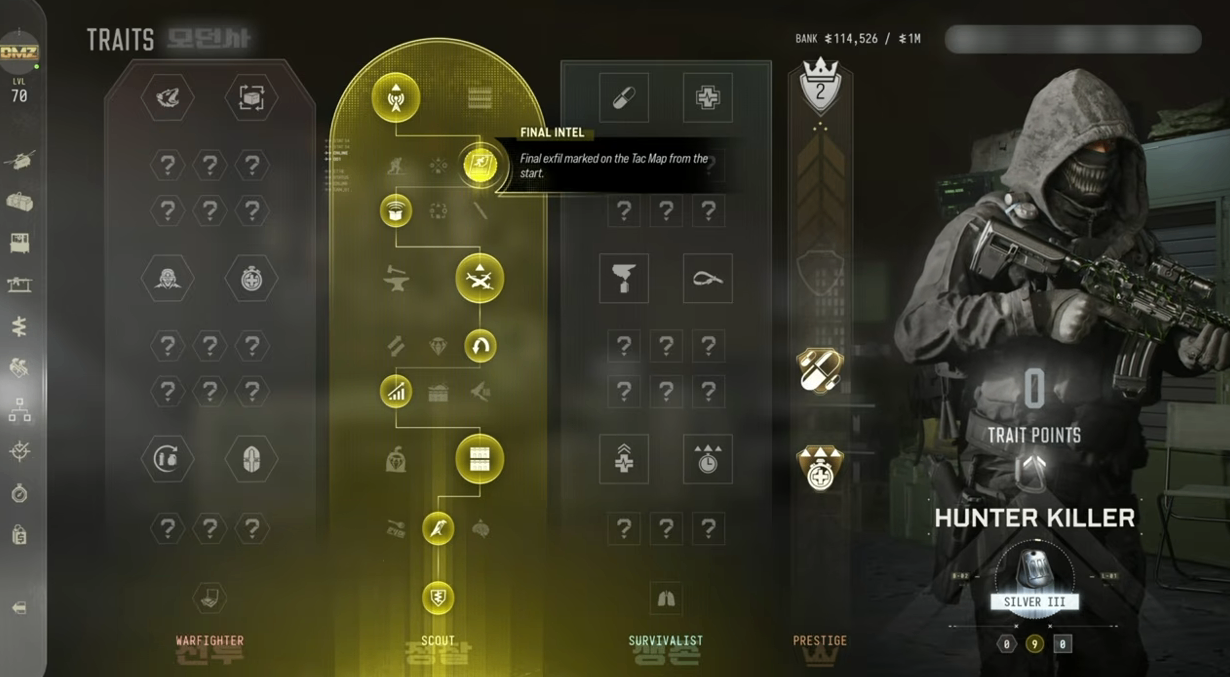
1. Final Intel: Not "knowing where the exfil is" — "exfilling whenever you want"
Most players see the Final Intel description—"final exfil marked on the tac map from the start"—and assume it's useless, since you can already infer where the final exfil is by looking at the radiation circle.
The real value is that you can call this exfil at any time, without waiting for the final exfil phase. It works like a personal exfil every time you spawn in, and no one else can see it unless they also have Final Intel.
Popular exfils are camped constantly, but this private exfil tends to be quiet. In testing, it was almost never camped, and you can call it and get out safely. If you keep getting ambushed at standard exfils, this perk should be high priority.
2. Recon Drone: See through walls, counter exfil campers
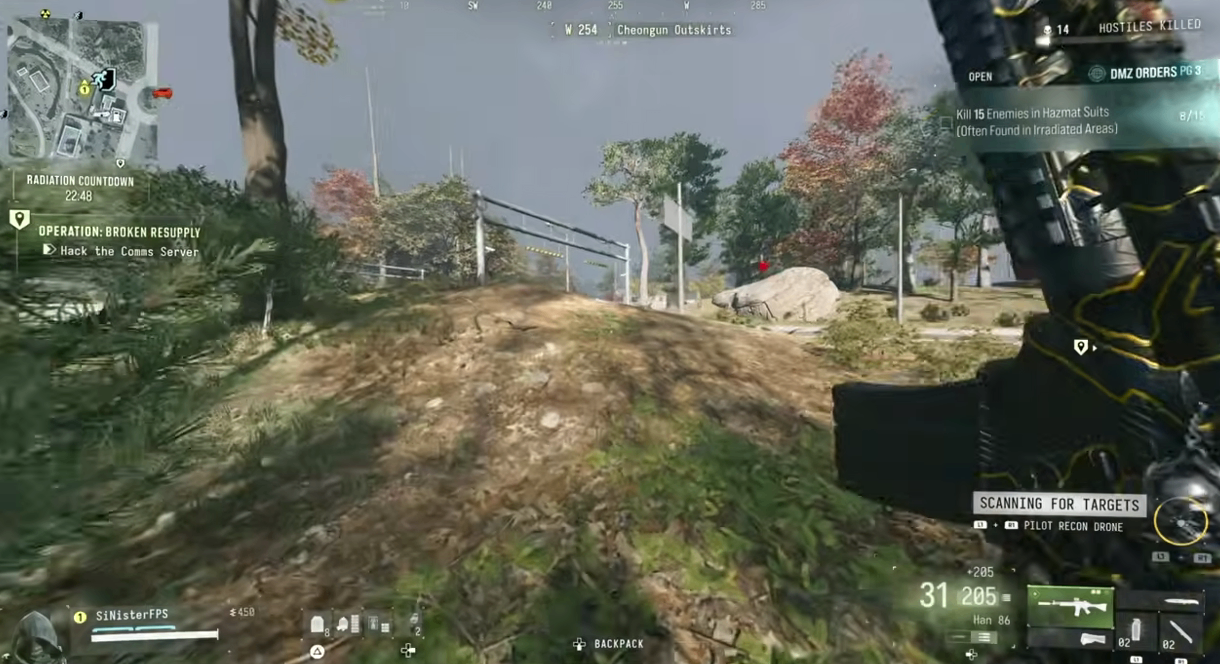
The Recon Drone is the core tool for dealing with campers. The recipe needs metals and electronic sensors and unlocks by doing DMZ orders. Once unlocked, bring it on every raid.
It picks up and highlights targets through walls—items inside buildings show as small squares; if there's an isolated square in a building next to the exfil, it's probably a camper. It also supports thermal mode: fly above the exfil, switch to thermal, and approaching enemies show up as white heat signatures. The safest routine: send it out to scan before you get on the exfil, confirm it's clear, then call it in.
3. Blueprints are free the first time you buy them
If you have blueprints (Vault Edition rewards, beta rewards, etc.), building that blueprint for the first time is free—you only pay on subsequent purchases. Beta blueprints are under "Builds" → Beta Forge, and the first build is free there too. How: open the buy menu → select the blueprint → buy it the first time for free and get a free gun.
4. DMZ-only players can still claim multiplayer Prestige rewards
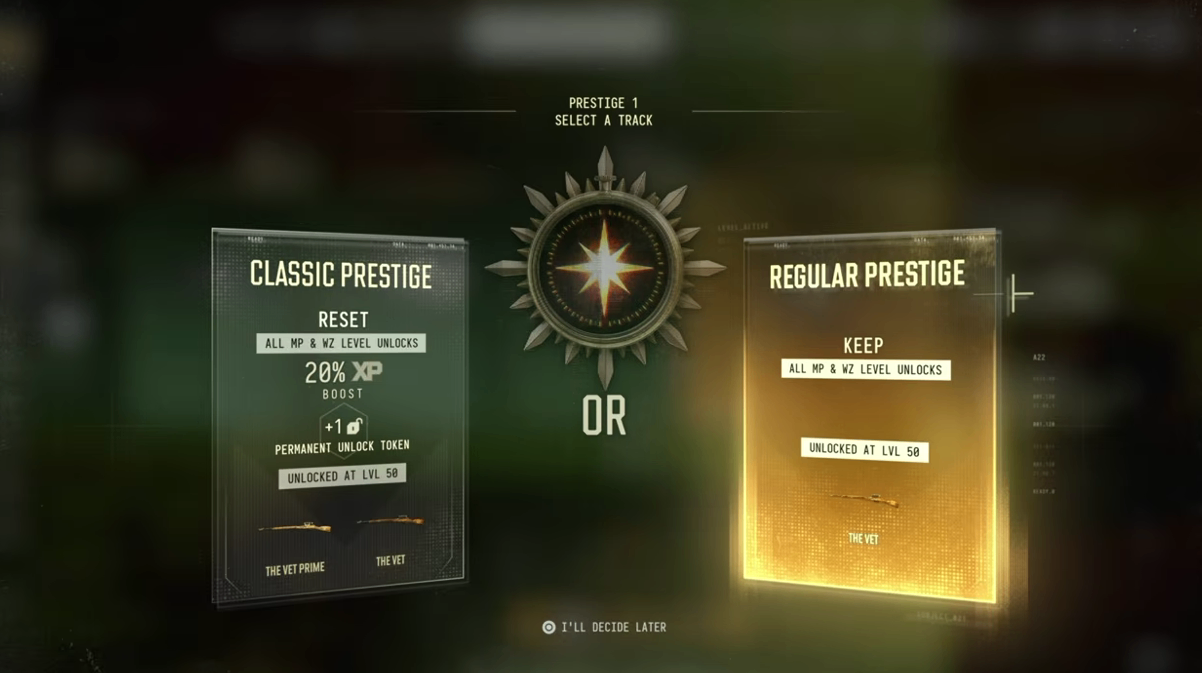
Even if you only play DMZ, multiplayer and Warzone progress accumulates in the background. Open your profile and you may see "new Prestige available." Choosing classic Prestige gives you a 20% XP boost plus two blueprints (Vet Prime and Vet). And per the rule above, those two blueprints are free the first time you use them in DMZ. Note: this doesn't affect your DMZ level progress; it's just extra rewards.
5. Fall damage immunity: double-tap crouch before landing
When jumping from height, double-tap crouch just before you land and your character rolls, avoiding or greatly reducing fall damage.
Height | Effect |
Three stories or lower | Essentially no damage |
Higher than three stories | Still takes damage, but noticeably less |
Very useful when you have no parachute and need to get down fast; jumping down to chase someone also tends to catch them off guard.
6. Identifying Pawsome: two methods
Some players run the Pawsome trait, which lets them self-revive after being killed—often catching opponents off guard. Two ways to check:
Method | Has Pawsome | No Pawsome |
Ping the downed enemy | Shows "enemy ping" | Only prompts to inspect loot |
Look above the body | No crows | Crows present |
As a bonus, crows mean a fight or a death happened there recently—useful information on its own. Once you confirm Pawsome, camp the body, fake leaving and come back to finish him, or place a mine/claymore on the body.
7. Save money with a "throwaway operator"
Redeeming a high-level operator after death is expensive—near max level it can cost 95k to 100k, a huge loss for one death.
The strategy is to keep a dedicated throwaway operator: don't invest in him, don't redeem him, just slot in traits as you earn them. If he dies, dismiss him and recruit a fresh one for free, rotating as you go. Core principle: use the throwaway operator to earn money, and make back the cost of redeeming your main operator before you redeem him. That way, dying with the throwaway never costs you money overall.
8. Fastest money: Dynamic Ops
Doing Dynamic Ops is the most reliable way to earn money right now. Go in with a free loadout, complete the first objective it gives you, then hit the green phones around the map for more, doing as many as you can in one run. In testing, about four per run brought out roughly 80k; with loot picked up along the way, you can easily hit 90k–100k or more with luck. This is also the main way to fund your throwaway operator and save up redemption money.
9. Skill tree: Field Crafting is underrated
When upgrading the skill tree, Field Crafting is worth prioritizing, especially if you don't use UAVs much. Once unlocked, you can craft items in-raid from resources:
Resource | Craftable |
Synthetics | Bandage |
Electronics | Disposable parachute |
Chemicals | Ammo pack |
Metals | Armor plate |
How: open inventory → highlight a resource → press X for the secondary menu. Being able to craft a parachute or ammo pack on the spot is genuinely useful, especially when you're out of ammo or need to get down from height fast. If you don't care much about UAVs or advanced UAVs, this skill tree offers high value.
10. High-value loot spot: the building at Songdow Wolf
Near Songdow Wolf on the map there's a building (not the car park one) that's a high-yield source of weapon manuals and blueprints. If you spawn nearby, clear it first.
Pop the nearby UAV tower first to confirm it's safe. The weapon crate inside is sometimes broken and unlootable, sometimes fine. The KG7 Vulcan weapon manual shows up in this crate often—if you're hunting that sniper's manual, check here first. Overall loot density is high—worth farming repeatedly.
11. Anti-radar: Inhalers
Against permanent UAVs and advanced UAVs, inhalers are the direct counter:
Item | Detail |
Duration | 60 seconds |
Immunity | All radars, marking systems, thermals |
Usage | Can chain—pop another before it runs out |
Timer display | Bottom of screen, above backpack icon |
Recommended carry | 2–3 at all times |
Advanced use: you can take back UAV towers. If someone just activated one and is still nearby, pop an inhaler and push straight at them—they can't see you at all. Note: Padding does not protect against advanced UAV—even with Padding you show as a red dot under an advanced UAV, and only inhalers save you there.
12. Insurance: how it works and when to use it
After selecting a mode on the deploy screen, the small numbers next to Edit Loadout and Edit Operator are your insurance charges. Tick them and your weapon and operator are insured for that raid—if you die, they're returned instantly with no redemption cost and no MIA recovery.
Item | Detail |
Coverage | Weapon + operator |
Not covered | Armor, backpack, other gear |
Validity | Current raid only |
After extracting | Must re-tick next raid |
Best used for | High-value gear, high-difficulty missions, operator close to max level |
How to get more: from DMZ order rewards. Check your order list—some rewards are labeled "Operator Rescue Beacon" and "Weapon Insurance Contract," which are the insurance-related items. So doing DMZ orders seriously is the main way to stock up on insurance and rescue beacons.
Priority order
If you're new to DMZ, work through the above in this order:
Phase | Goal | Actions |
Phase 1 | Solve money | Throwaway operator + Dynamic Ops for steady income |
Phase 2 | Solve exfil safety | Final Intel + Recon Drone + inhalers |
Phase 3 | Optimize details | Double-tap crouch fall immunity, Pawsome ID, free blueprints, Field Crafting |
Phase 4 | Manage long-term assets | Insurance only for key raids, keep accumulating order rewards |
Once these become habit, your DMZ runs will go much smoother. If you're short on time and want to skip the trial-and-error phase, you can buy CoD Modern Warfare 4 Bot Lobbies from a trusted source to practice these mechanics in a controlled setting—MMOEXP is a reliable option, offering secure transactions and fast delivery for players who want a smoother learning curve. If there are other obscure tips not covered here, verify them in-game and add them to your own playbook.