Weekend Drop -













Call of Duty: Modern Warfare 4 Multiplayer opens on October 23, 2026. Inflation turns a successful cash hunter into a revealed target, Collateral makes equipment spending part of each round, and Kill Block reshapes the battlefield every two rounds.
If pushing your luck appealed to you in DMZ, Inflation and Collateral offer new settings for that decision.
Your weapon levels, unlocked attachments, and shared camo progression carry across from DMZ. Check yesterday's gun, then choose Inflation for cash-driven PvP, Collateral for single-life economic decisions, or Kill Block for changing layouts and shared equipment. Proving Grounds is optional if movement needs practice.
Bring Your DMZ Progress Across
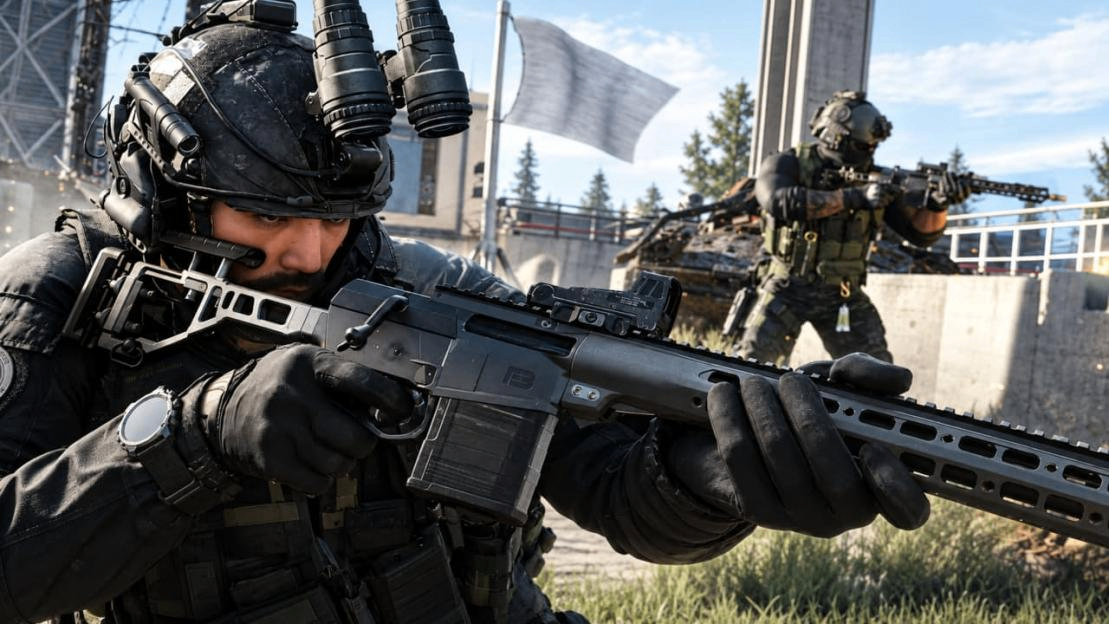
Open your MW4 weapon selection and inspect the gun you used in DMZ before choosing a fresh grind. Weapon XP earned in either mode levels that weapon and unlocks attachments.
Shared camo progress also continues across modes, although Special Camo requirements adapt to the mode, and the later Mastery challenges have separate Multiplayer and DMZ objectives.
Rebuild with the attachments you have already earned, then test the setup in a respawn mode. An attachment unlock carries over; it does not establish that a DMZ build will suit shorter, repeated PvP engagements.
If your weapon feels comfortable against DMZ AI or during CoD Modern Warfare 4 Bot Lobbies practice but struggles against real players, try a quicker-handling setup before abandoning it.
Collateral and Gunfight use their own equipment rules, so your prepared custom class belongs in a mode that allows it. Keep your existing gun ready for Inflation or another custom-loadout playlist, then try the equipment-economy and shared-loadout modes for a different challenge.
Best Modes to Play First
Inflation and Hijack
Choose Inflation if you enjoyed carrying something valuable in DMZ. Reaching High Value Target status reveals your position, turning success into extra pressure. Protect a wealthy teammate by covering an approach they cannot watch. If you are carrying a large amount, retreat toward support before taking another isolated duel.
Hijack gives teams a moving objective: carry, pass, or throw the Data Spike to the enemy Comm Station. Agree who transports it and who checks the approach. After planting, defend the upload; delivery alone does not finish the job.
Collateral for Tactical Teams
If protecting an investment was part of DMZ's appeal, try making those spending decisions round by round in Collateral. It combines bomb-site attack and defense with an equipment economy.
You begin with a pistol and $800; later rounds let you spend earnings on weapons and other gear. There are no respawns or custom loadouts, and death removes your equipment while leaving your earned cash intact.
For your first match, agree on a site and an approach before committing your funds. Check what armor, Perks, and equipment cost alongside the weapon you want. Keeping cash for another round is a reasonable choice when the alternative leaves you poorly equipped for the task your team expects you to perform.
After a death, identify whether the problem was your position, missing support, or equipment. Changing an expensive weapon will not fix an approach where teammates cannot trade your elimination. Use a respawn playlist to test a personal Gunsmith setup; Collateral's equipment rules prevent that comparison.
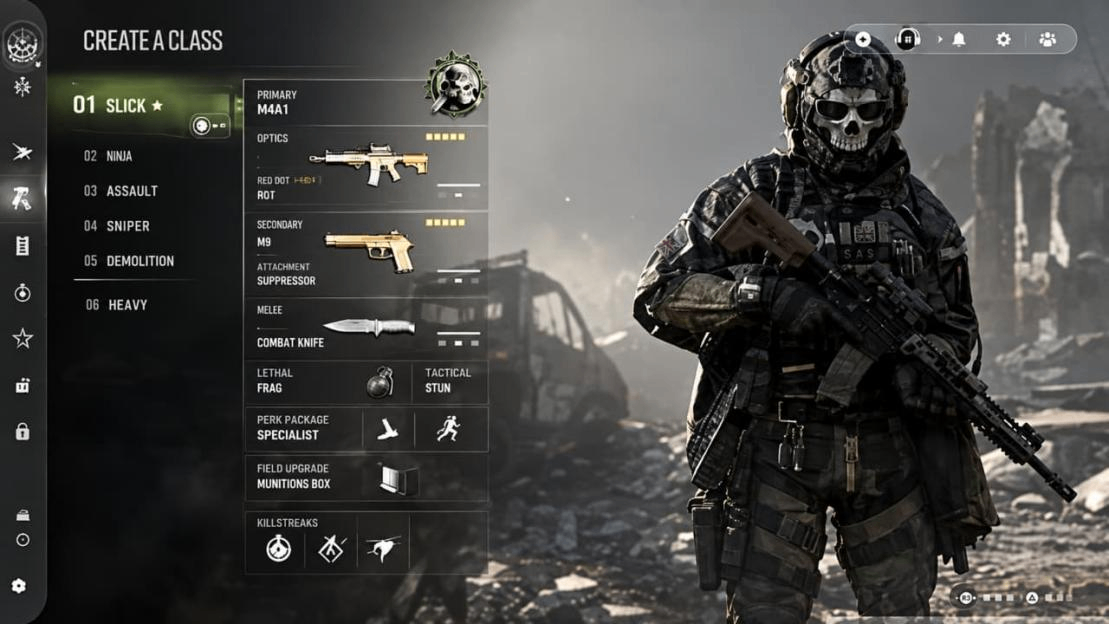
Kill Block for Changing Battlefields
Try Kill Block for adaptation during the match. Its 3v3 and 10v10 Gunfight formats draw on more than 500 launch configurations, changing layout and shared loadout every two rounds. Expect unfamiliar weapons and changing sightlines; your custom class stays outside.
Combat Outpost and Gunfight
Choose Combat Outpost for large battlefields, vehicles, and territorial objectives. Secure an Outpost, then reinforce it. If solo approaches keep failing, regroup with players already contesting it.
Choose 2v2 Gunfight for short, single-life engagements with shared equipment. Tell your partner which angle you cover so another approach is not left open.
DMZ or Beta returners can check an existing weapon, play Inflation or TDM, then try Collateral or Kill Block. Newcomers can use Proving Grounds as needed before Frontline or TDM. Add demanding objectives once navigation stops occupying all your attention.
Frontline and Optional Movement Practice
If MW4 movement already feels familiar, go straight into PvP. Use Proving Grounds to correct movement mistakes, or consider CoD Modern Warfare 4 Bot Lobbies for additional practice, then return to regular PvP to test your improvements.
Frontline's base spawns provide recurring approaches into combat. Push outside your base, where eliminations count for more, and learn routes from both sides after the mid-match switch.
Enemies have brief spawn invincibility, so avoid chasing a push into newly spawned opponents. If leaving your base repeatedly gets you killed, travel with a teammate and test another exit. TDM is an alternative for concentrating on shooting and navigation.
MW4 Launch Content at a Glance
Content | Availability |
Core Multiplayer | 12 launch maps for 6v6 |
Ground War | Three launch maps for 32v32 |
Standard Gunfight | Four dedicated 2v2 maps |
Kill Block | Modular battleground supporting 3v3 and 10v10 Gunfight |
Proving Grounds | Movement training available at launch |
Shipment | Arrives October 27 |
Possession and Infected | Arrive before Season 1 |
Team Deathmatch, Domination, Hardpoint, Search and Destroy, and Kill Confirmed return, alongside options including Inflation, Hijack, Collateral, and Combat Outpost. Gun Game is also part of the opening lineup.
Launch Maps to Learn First
Choose a Weapon Test by Terrain
Use the MW4 launch maps to ask a specific question about your gun. These are terrain-based starting choices for testing, without a launch-tested ranking:
What You Want to Test | Map and Area | Useful Comparison |
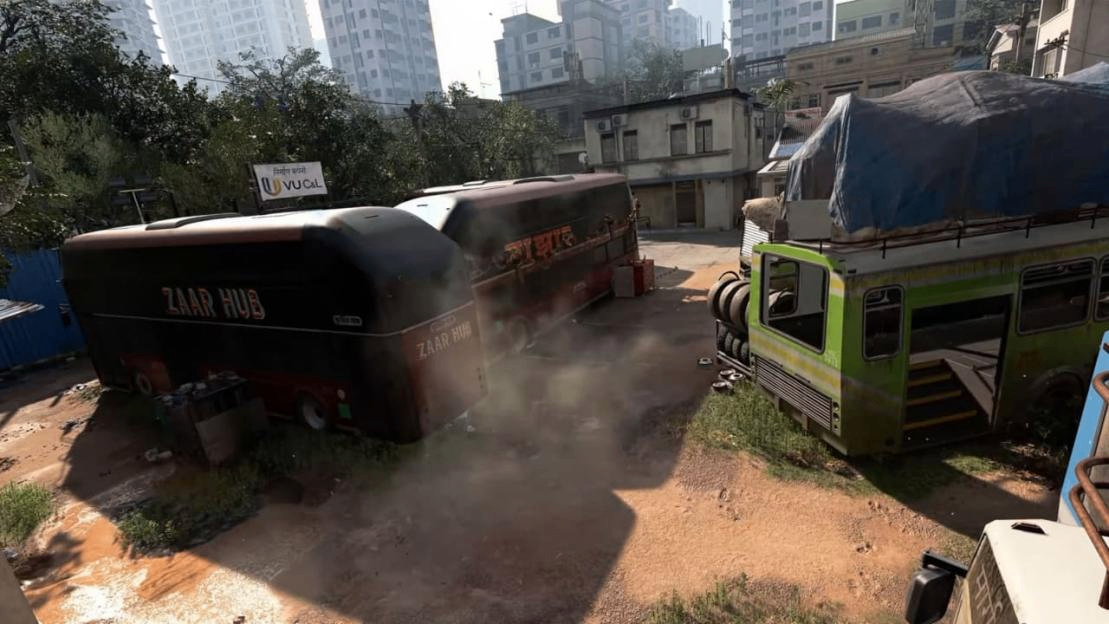
SMG handling between pieces of cover | Transit 213's bus-filled parking area | Track close targets, then check whether gaps between buses force fights beyond comfortable range |
SMG reactions on tighter approaches | Silkworm's shopping district and alleys | Compare short approaches with the exposed connections around the central area |
Handling when moving indoors and out | Nautical's interior and deck | Check whether your setup remains usable when sightlines open up |
Sustained fire at longer range | Imjin Farmland's fields and road corridors | Start with an AR you control well; compare a longer-range weapon if the fights demand it |
Reading threats at different heights | Rooftops or Wolves Stadium | Separate missed shots from failing to check an elevated approach |
Check Crossfire at Route Connections
Inspect Silkworm's alley exits toward the center, Rooftops' neighboring roofs and skylights, and Wolves Stadium's connections between tunnels, streets, and higher structures. These are terrain-based checks; exact spawn-dependent crossfire lanes need direct observation.
If a second direction keeps catching you while you watch an opponent, change position before adjusting recoil attachments. Use official Tac Maps for an overview, then confirm sightlines in play.
Adapting to Kill Block
In Kill Block Gunfight, teams swap sides after the first round before the layout and shared loadout change every two rounds. When a new configuration appears, locate cover, check the central sightline, and call your intended side. Familiar sections can connect to different approaches, so reassess a previously dangerous lane after each change.
Weapon Changes Since the Beta
SMGs Deserve Another Test
Pre-launch Modern Warfare 4 build analysis from TheXclusiveAce reports a one-shot reduction in the bullets needed to eliminate a target with the PPSh and X-58 Nyx, alongside improvements to SMG damage at distance.
His analysis suggests average close-range SMG time to kill has improved compared with the second Beta weekend, while the assault-rifle average changed little.
Revisit an SMG you abandoned in the Beta, but check launch damage and handling before committing a session.
These reports establish no live weapon ranking: hit locations, range, and the final update can change the outcome. If it works up close but loses across exposed lanes, keep it for tighter approaches and compare an AR elsewhere.
Quick Loadout Checks
Ace reports an optic-position slider that moves the sight along the rail. If it is available on your release optic, compare positions with the same field of view.
Use Advanced Stats to compare one attachment change against your baseline, focusing on the handling or movement problem you noticed. The slider report does not confirm a return of full weapon tuning.
Early footage also suggests less impact smoke and debris, with a possible reduction in visual recoil. A clearer view can help tracking; reduced on-screen shaking does not establish a tighter bullet pattern. Keep weapon, attachment, and viewing settings consistent when comparing.
Before recreating a Beta loadout, check Ninja and Blood Rush's Perk tiers and whether Munitions Box is available. If preferred Perks share a tier, prioritize the effect your route needs. Final damage values, equipment availability, and Perk placement should follow the launch client and update notes.
First-Day Loadout and Progression Priorities
Establish a Familiar Baseline
Use an MW4 default class if custom options are unavailable. Otherwise, take a familiar weapon into the Firing Range, then a respawn match. Keep it unchanged long enough to identify a recurring problem.
For an obstructed view, investigate optics; for slow reactions, compare handling. Repeated deaths crossing one lane call for a route change first. Change one variable and return to similar fights to judge the result. Collateral and shared-loadout Gunfight are separate practice choices because they do not use your personal custom class.
Target the Next Useful Unlock
Open Career, then Progression, then MP Level Unlocks to inspect the 1-55 reward track. If you're considering CoD Modern Warfare 4 Bot Lobbies for progression, first verify which unlock requirements count there, then prioritize rewards that address problems you've already encountered.
Players arriving from DMZ early access should check their existing unlocks first: DMZ XP also contributes to this general progression, while its dedicated 1-70 track remains separate.
Check Daily Challenges under Career, then Challenges. Choose compatible objectives you can work on in the mode you want to learn. If one requires a disruptive change, the official system allows one daily reroll; inspect the replacement before reorganizing your session.
For reticles, equip an unlocked optic and open Gunsmith, Appearance, then Reticle Select. Read the ADS-elimination requirement for that optic. Reticle progression is optic-specific, so keeping a compatible sight across weapons can support a consistent aiming setup while you learn the maps. Check the displayed target before committing to a particular color unlock.
MW4 Launch-Day Checklist
Use these checks before committing to your opening session:
1. Finish the available game update and confirm that Multiplayer is accessible in your client.
2. If you played DMZ or the Beta, inspect your existing weapon level, attachments, and shared camo progress. Use Proving Grounds only if a movement still needs practice.
3. Inspect your available classes and MP Level Unlocks, especially if you have already earned XP in DMZ.
4. Take a familiar weapon into the Firing Range. Check optic options, Advanced Stats, and target visibility before changing several settings together.
5. Try Inflation with your prepared gun for cash-driven PvP, or Frontline/TDM for simpler repeated gunfights. Inspect the routes your chosen weapon can handle.
6. After your first match, try Collateral for its single-life equipment economy or Kill Block for changing layouts. Choose Hijack or Combat Outpost when you want coordinated objectives.
7. Revisit launch notes before acting on pre-launch damage or Perk reports. Plan your initial leveling around the maps available on October 23; Shipment joins on October 27.