Weekend Drop -














Summary
Defense in College Football 27 can feel overwhelming, but with the right approach, you can shut down even the most skilled opponents without needing to buy CUT 27 Coins just to patch roster holes with expensive players. This guide covers 15 essential tips, from selecting the right formation to mastering new mechanics EA added to the game. Whether you are a beginner or an experienced player, these strategies will elevate your defensive game.
Choosing Your Defensive Foundation
Don't Match Personnel—Choose a Comfortable Formation
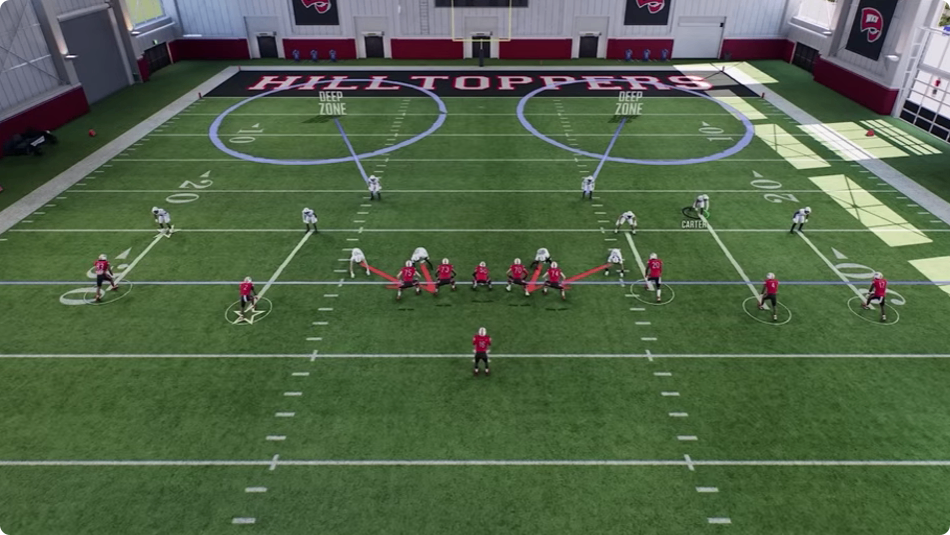
Contrary to common advice, you do not need to match offensive personnel in College Football 27. Being in 3-4 against 11 personnel or Dime against the goal line can work just fine. Instead, focus on getting comfortable in a single formation first. Think of this as your defensive foundation.
What to Look For in a Foundation Formation
Start with a formation that gives you the flexibility to stop the run and cover the pass. Good options include 3-4, Nickel, 4-2-5, or 3-3-5. These formations provide a solid base for most defensive situations. Avoid lopsided formations like 3-3-5 Load Mug, which can create alignment issues and make adjustments more complicated.
Recommended Formations
Formations like Nickel 3-3 Mint, 3-3 Over, and 3-4 Tight are excellent choices. They offer great passing coverage options—Tampa 2, Cover 4 Quarters, Match, Cover 2 Lurk—while also providing blitzes. Once you master a formation, you will be able to stop the run, stop the pass, blitz effectively, and play max coverage without constantly switching looks.
Mastering the User
What a Good User Is Not
The most common mistake on defense is taking yourself out of the play by overcommitting or strafing excessively. Many players strafe the entire play, which prevents them from reacting to developing routes. Another frequent error is standing directly on the offensive line and running straight into blockers at the snap.
Defend Your Area First, Then React
A good user starts by defending their initial responsibility, then identifies routes breaking open and moves to make a play. If you are using a linebacker in a yellow zone, hold the left trigger briefly to strafe and stay in position. As the play develops, release the strafe and run with routes that break open. This anticipation is what separates good users from great ones.
User in Run Defense
On run plays, never strafe backward. Instead, come downhill immediately with the left stick. Avoid blockers and flow to the ball carrier. If you are on the weak side, you can flow over the top or attack the point of attack if the run comes your way. In short-yardage situations, consider using a safety to add an extra defender that the offensive line may not account for.
Generating Pressure
The Hover Method
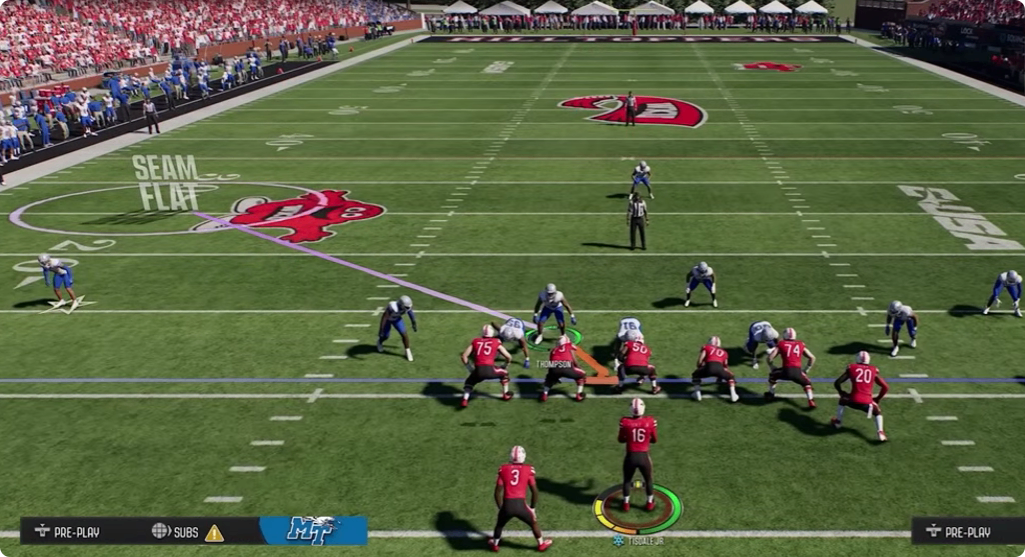
One of the most effective ways to create pressure is by manipulating the offensive line with your user. By hovering or mugging a gap—standing near the line of scrimmage to force blockers to account for you—you can free up other rushers. Hold left trigger at the snap and strafe slightly inside to drag a blocker with you. This opens up outside rush lanes for defensive ends or blitzers.
This concept works from nearly any defensive formation. While it takes practice to execute consistently, mastering it will significantly increase your pressure rate without relying on complex blitz packages.
The Texas Stunt
The Texas stunt is excellent for stopping inside runs. Spread your defensive line, then call the stunt from the play-call screen or by using the D-pad adjustments. The defensive ends will loop inside, often coming free against inside zone runs. If your opponent adjusts by running outside zone or sweeps, counter with the El Paso stunt, which sends defensive tackles outside.
Adjusting Coverage
Man-Matching Individual Players
Tap A (Xbox) or X (PlayStation) on a defender, then tap the icon of the receiver you want to cover. This manually assigns man coverage to a specific player. You can also use the quick adjustment menu (press Y or Triangle) to assign any defender to any receiver. This is invaluable against annoying routes like deep crossers or RPO bubbles that keep beating your zone.
Coverage Shells
Use the right stick in any formation to set a coverage shell. This disguises your actual coverage, making it much harder for the offense to read your defense pre-snap. For example, you can line up in a Cover 0 shell, sending the impression of a blitz, while actually dropping into a zone coverage. Cover 2 and Cover 4 shells are particularly effective for general use, while Cover 3 shells tend to help with run defense.
Zone Drops and Mable Coverage
Change the depth of your zone drops to defend specific routes. Setting curl flats to 20-25 yards and hard flats to 5 yards creates a Mable coverage that takes away corner routes while maintaining underneath coverage. This concept works against crossers as well—deeper zones will cover crossing routes, and you can use the middle of the field.
Controlled Player Art
Enable Controlled Player Art in the main menu settings to see your exact assignment on every play. This shows your run fit and your pass coverage responsibility, helping you understand where you need to be before the snap.
Safety Depth Adjustments
Adjusting safety depth changes how your defense responds to both run and pass. Safeties set at 16 yards will stay deep, making them less effective against the run. Reducing depth to 5 or 9 yards brings them closer to the line, improving run support but potentially opening up deep passes. A depth of 9 yards is a solid default for most situations.
Situational Adjustments
Guess Pass
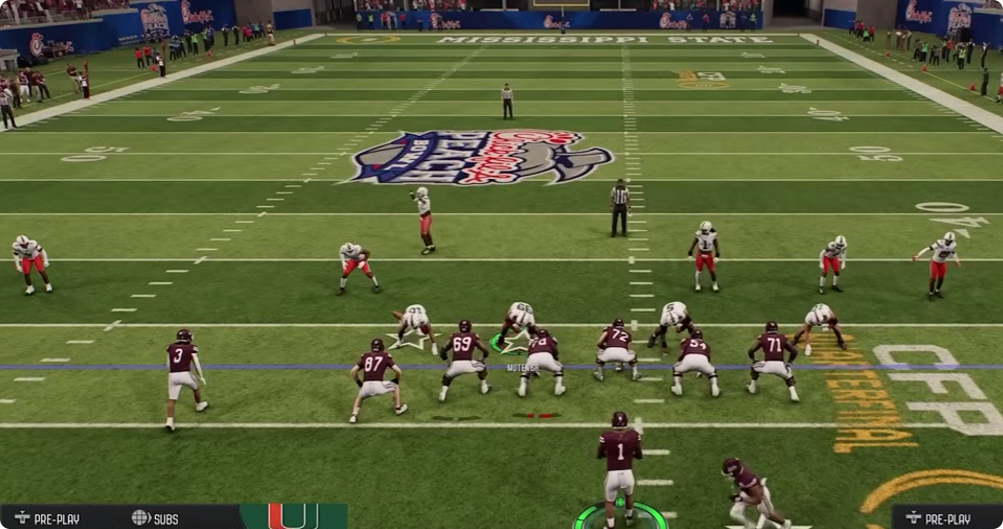
On long yardage situations like 3rd-and-15 or 4th-and-20, use the Guess Pass feature. This causes your defense to ignore play-action and rush the passer more aggressively. Be cautious when using this on early downs, as your defense will react more slowly to run plays.
Quarterback Contain
Use the contain feature to keep scrambling quarterbacks from rolling out of the pocket. Contain defenders gain outside shoulder leverage, preventing quarterbacks from escaping. To execute this effectively, ensure your containment players have sufficient speed to match athletic quarterbacks. Hold the right bumper and left bumper simultaneously to quickly activate contain.
Understanding Run Fits
Different coverages affect how your safeties and corners fit against the run. In Cover 4 Palms, safeties often have run fit responsibilities, meaning they will flow downhill to meet the ball carrier. In Tampa 2 or some Cover 4 drop versions, safeties may backpedal and not contribute to run defense. Hold the right trigger (R2 on PlayStation), then use the left and right buttons to see your run fits before the snap. This allows you to choose plays that provide the best run defense based on your opponent's tendencies.
Quick Adjustments
Defensive Line Adjustments
Use the right stick to access defensive line adjustments. You can slant inside or outside, shift alignment, or call stunts from the menu.
Linebacker Adjustments
Similarly, use the right stick for linebacker adjustments. You can pinch, spread, zone, or blitz all linebackers with quick inputs.
Defensive Back Adjustments
Hold left trigger to access defensive back adjustments. Use the left stick for alignment (press or back off) and the right stick for shading assignments. You can also adjust individual players by holding the left trigger, tapping the receiver icon, and using the left stick to back off or press specific players.
Individual Assignment Adjustments
Press Y or Triangle to access individual defender adjustments. You can assign any player to blitz, play a yellow zone, or perform other assignments. This is one of the most powerful tools in the game, allowing you to customize your defense to any offensive look.
Trust the Process
Defense in College Football 27 is challenging. Do not abandon your game plan after a single touchdown—consistent execution will save you from wasting CUT 27 Coins on panic roster moves that don't address the root issue. Build a scheme over time, learn your opponent's tendencies, and trust that your defensive philosophy will work. With practice, you will become proficient at making adjustments and shutting down opposing offenses. The key is consistency—mastering a few formations and adjustments is far more effective than trying to use every defensive play in the game.