Weekend Drop -














Summary
The right settings in CFB 27 can make a bigger difference than many players realize. Poor passing options, weak defensive assists, bad coin-toss choices, incorrect coaching adjustments, and distracting visual settings can all cost you games before you even understand what went wrong. This guide walks through the most important CFB 27 settings for passing, catching, defense, accessibility, cameras, and coaching adjustments so you can build a setup that gives you the best chance to win more games. For extra firepower, buy CUT 27 Coins to unlock premium upgrades and roster boosts.
Set Up Your Passing Mechanics Correctly
Use Placement and Accuracy for Competitive Play
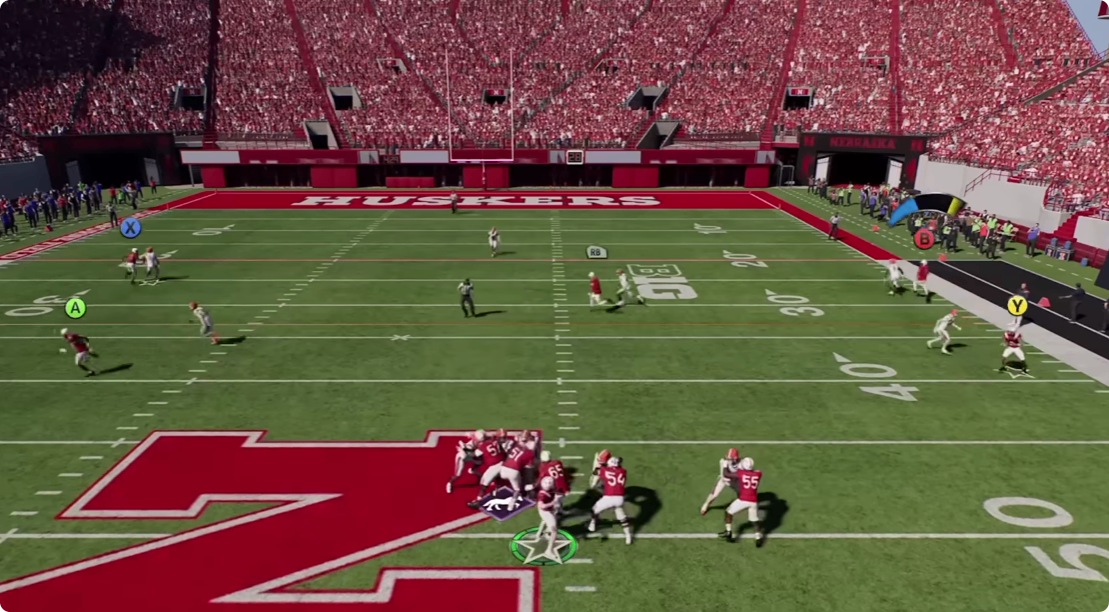
CFB 27 offers several passing systems, including Classic, Revamped, Placement, and Placement and Accuracy. Classic is generally the weakest option because it provides the least control over your throws.
Revamped Passing is a strong choice for Dynasty and Road to Glory players who prefer a more simulation-focused offline experience. It provides improved ball trajectory and allows you to place passes more naturally. If you use Revamped Passing, set Pass Lead Increase to Small and consider increasing Reticle Speed to around 15.
For online play or competitive players, Placement and Accuracy is the strongest overall option. It gives you greater control over where the ball goes and allows you to earn perfect accuracy by timing the meter correctly. It also supports free-form passing with the left trigger or L2.
With Placement and Accuracy, set Pass Lead Increase to Small. Reticle Speed is personal preference, but a setting around 7 is a strong starting point. Some players prefer values between 5 and 12, so adjust it based on how quickly you can control the reticle.
Optimize Catching and Coin Toss Settings
Use Timing-Based Catching Carefully
Make sure AI Wide Receiver for User Teams is turned on. Turning it off can make catching less reliable.
Timing-Based Catching is optional. If you do not want to use it, you can turn it off and rely on the standard catching system. If you do use it, setting the activation distance to 10 or 20 yards is recommended. Twenty yards is especially useful for beginners because it limits timing-based catches to deeper throws.
There is little reason to activate timing-based catching on short drag routes, flat routes, or running back checkdowns. For deeper routes such as corners and digs, however, timing your catch correctly can give you a chance at a perfect catch.
Always Choose Kick First
For the coin toss, set your first choice to Kick. This gives you the ball to begin the second half, which can be extremely valuable. If you are leading, you can control the clock and potentially turn a one-score game into a two-possession game. If you are behind, receiving the second-half kickoff gives you an opportunity to immediately begin your comeback.
For your second coin-toss choice, select Against Wind. This gives you a better chance of having the wind at your back late in the game, potentially adding extra distance to important field goals.
Turn On the Most Important Defensive Helpers
Improve Tackling and Player Switching
Defensive Ball Hawk should remain on. It helps guide your controlled defender toward the ball and can make it easier to attack interceptions at their highest point.
Defensive Heat Seeker Assist should also be turned on. Set the Heat Seeker Assist Window to 200% instead of the default 100%. This can make open-field tackling more forgiving and help steer your defender toward the ball carrier.
Defensive Switch Assist should remain on as well. When you switch defenders, especially while the ball is in the air, this helps keep the new defender moving in the correct direction.
Controlled Play Art is another useful setting, particularly for newer players. Turn it on to see your defensive assignment and run-fit responsibility. It can show you which gap you are responsible for or where your zone coverage should be positioned, helping you maintain gap integrity.
Set Switch Stick Delay to Slight
Switch Stick Delay should be set to Slight rather than Disabled. This gives you a brief buffer after the snap so you do not accidentally switch away from your defender while making pre-snap adjustments. Once the play begins, switching remains responsive, while the slight delay prevents accidental player changes at the worst possible moment.
Improve Your Visual and Accessibility Settings
Make Important On-Field Information Easier to See
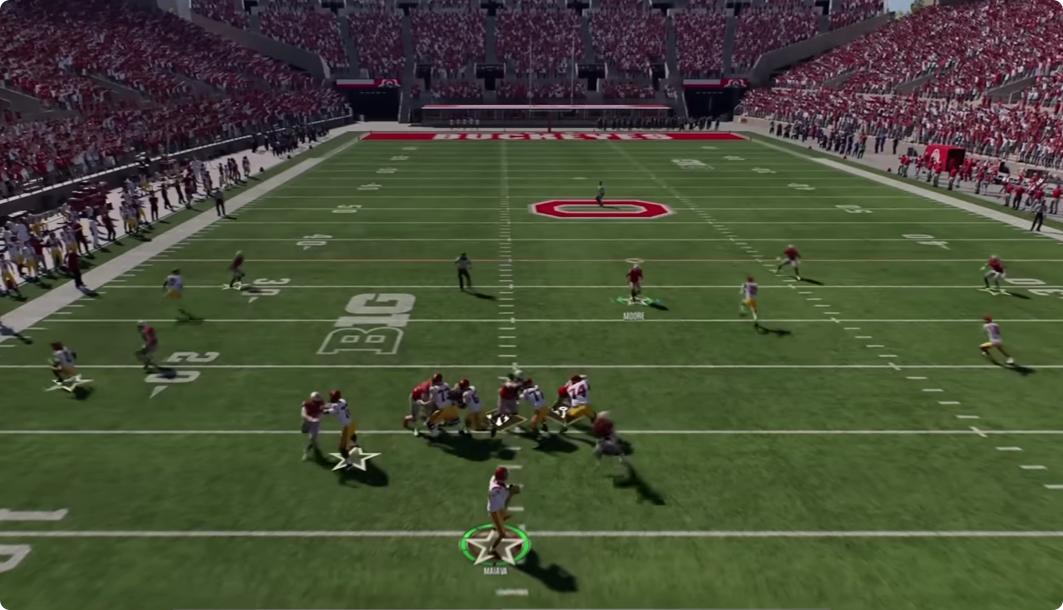
If you have trouble reading player icons, button prompts, or catch meters, turn on Enlarge On-Field Graphics. This makes the icons larger and can also make timing-based catch indicators easier to read.
You should also consider turning Force Off Motion Blur to Yes. Motion blur may look more realistic, but many players find it distracting. Disabling it can make the action feel clearer and easier to follow.
Lock Your Camera Before Games
If you frequently change your camera accidentally during a game, disable the Camera Toggle option. First, set your offensive and defensive cameras to the views you prefer. Then turn camera toggling off so accidental D-pad inputs cannot suddenly change your perspective during an important play.
Configure Coaching Adjustments for Better Results
Protect Yourself Against Common Offensive Threats
Auto Base Protection should be enabled. Base is a strong default option, while Empty can be useful against opponents who frequently use defensive line stunts.
Set Option Read Key to Conservative to better defend quarterbacks on read options. Set Option Pitch Key to Aggressive to improve your ability to stop the running back on speed options.
Both RPO Read Key and RPO Pass Key should be set to Conservative. This helps your defense prioritize the pass against opponents who frequently rely on RPO throws.
Auto Flip Defensive Play Call should remain on so your defense aligns with the offensive formation's strength. Cornerback Matchups should generally remain Balanced to avoid strange alignment issues.
Help Your Receivers and Defend Scramblers
For a scrambling quarterback, set Wide Receiver Helps Scrambling QB to Aggressive. This encourages receivers to find open space when the quarterback leaves the pocket.
Against scrambling quarterbacks, Plaster Logic can be extremely useful. Set the Plaster Trigger to OOP and Plaster Time to Aggressive. This helps defenders match receivers more effectively when the quarterback breaks out of the pocket and begins scrambling.
Zone Strategy can also be set to Aggressive when facing opponents who constantly throw short routes. It may create some risk of giving up bigger plays, but it can help defenders react more aggressively to short routes and comeback routes.
Final Thoughts
The best CFB 27 settings are not about blindly changing every option to an extreme value. The goal is to create a setup that improves control, reduces accidental mistakes, and prepares your defense for the most common threats. Placement and Accuracy passing, stronger defensive assists, proper option and RPO adjustments, better visual clarity, and the correct coin-toss choices can all provide meaningful advantages. Once these settings are configured, you can focus less on fighting the controls and more on making the right decisions on the field. For team upgrades, CUT 27 Coins can give you the edge.