Ever wondered how a four-man squad turns one chaotic keycard room fight into a full inventory of gold-tier gear, a Power Battery Pack worth 5 million, and a laptop upload that ends in a rocket launch? This breakdown pulls apart a real high-stakes CEO bunker raid — the freezes, the EMPs, the loot splits, the trash talk — and turns it into a repeatable strategy. Whether you're a solo grinder trying to survive your first keycard room or a squad leader trying to optimize loot distribution, there's a system hiding inside this madness. Let's dig in.
1. The Gate Camp Opener: Why Scanning Beats Rushing
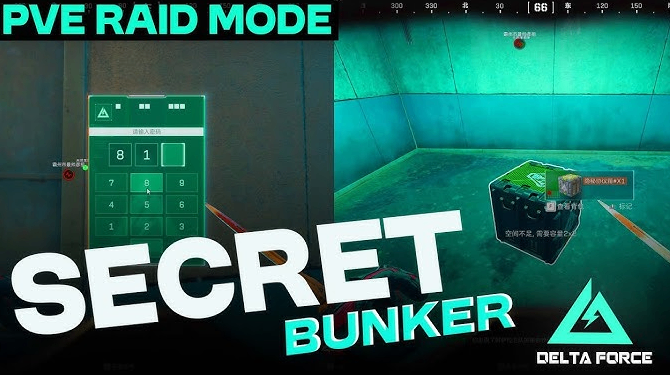
Every good raid starts before the shooting does. The squad in this raid didn't blindly push the gate — they held position, "read the area," and scanned for enemy count first ("I've got a reading... three. One's close."). That single scan turned a potential ambush into a controlled pick-off, taking down isolated players one at a time instead of eating a full squad wipe.
Key takeaway: Positioning and information gathering beat aggression almost every time. A scanned enemy is a dead enemy.
Who this helps: New and intermediate players who tend to push fights blind. Learning to scan first, move second, is the single biggest survivability upgrade available for free. By purchasing Delta Force Tekniq Alloy on MMOEXP, you can gain experience points faster by playing these game modes.
2. Freeze + EMP Combos: The Room-Control Meta
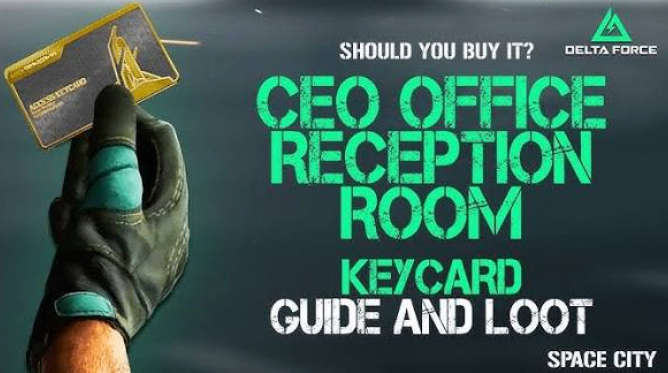
The real turning point of this raid wasn't gunskill — it was utility stacking. One player fully froze the keycard room, locking enemies in place, while EMPs disrupted reloads and forced a scramble ("I got EMP'd again. I got to reload."). Layer a stun on top, and you get a lockdown so complete that even a fully geared enemy squad gets wiped without landing a shot.
Utility | Effect | Best Used When |
Freeze Grenade | Locks enemy movement in a room | Enemy is inside a chokepoint (keycard room, stairwell) |
EMP | Disables electronics, forces reload/disarm delays | Enemy is holding an angle or defusing |
Stun | Delays enemy reaction time | Combo finisher after freeze/EMP |
Key takeaway: Utility items win fights that guns can't. Stack freeze, EMP, and stun in sequence rather than firing them randomly.
Who this helps: Squad players and shot-callers who want a repeatable wipe combo instead of relying on raw aim.
3. Loot Economy 101: Sharing Gear Without Losing Value
Once the fighting stops, the real game begins — gear redistribution. This squad ran an informal but effective economy: a player sitting on multiple high-value guns (an MP7 worth 800K, a sniper worth half a million, an 800K M14) simply handed off spares to teammates who were under-equipped ("I'm only worth five, bro... give me your gun"). No one hoarded, and the squad's total combat value scaled evenly instead of pooling into one overloaded carrier.
Key takeaway: A squad is only as strong as its weakest-equipped member. Redistribute weapons and armor immediately after a fight, not at the end of the raid.
Who this helps: Squad leaders managing loot fairness, and newer players who might be embarrassed to ask for gear — this raid shows it's standard practice among top players.
4. Rare Pulls: Spotting a Power Battery Pack Before Someone Else Does
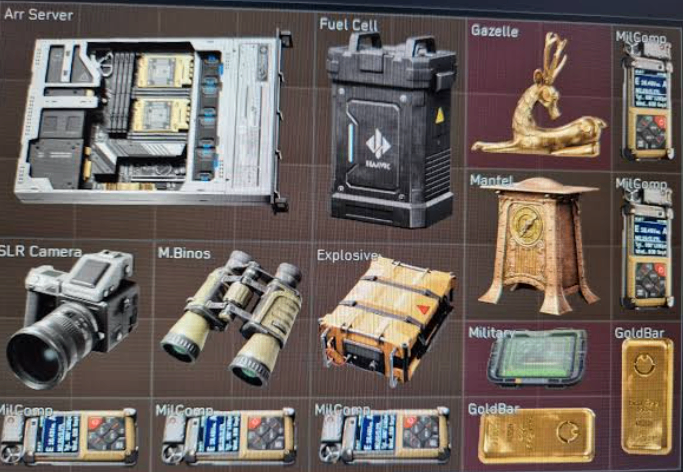
The loudest reaction in the whole raid wasn't a kill — it was finding a Power Battery Pack from a premium crate, an item valued at roughly 5 million in-game. The squad immediately recognized it by sight ("4 by 3? Power Battery Pack. Oh, those are going for a lot right now.") — proof that knowing your rarity tiers on sight, before even opening the item, saves precious seconds in a hot zone.
Key takeaway: Learn to identify high-tier items by their icon shape and size, not just by inspecting them. In a contested area, hesitation costs loot.
Who this helps: Loot-focused players and market traders who want to maximize crate value without wasting time mid-raid.
5. The Endgame: Laptop Uploads, Rocket Launches, and Extraction Timing
The final phase ties everything together: one player starts the laptop upload while the rest hold the perimeter and prep a rocket launch for bonus loot ("Upload initiated... ammo crates, carbon fibers, and gold grenades."). Crucially, the squad didn't panic when they found no visible boss loot nearby — they correctly deduced the loot was locked inside the rocket sequence itself, and reorganized accordingly instead of wasting time searching empty ground.
Key takeaway: Not all loot is visible on the map. Learn the raid's scripted loot triggers (uploads, rocket launches, timed events), so your squad doesn't waste rotations searching in the wrong place.
Who this helps: Raid veterans planning full-clear runs, and squads trying to shave time off their extraction window. Buy Delta Force Items at MMOExp with fast delivery, safe service, and competitive prices. Get your Black Ops 2 bot lobby quickly with 24/7 support.
Quick-Reference Summary Table
Player Type | Section to Focus On | Value Gained |
New/Solo Players | Gate Camp Opener, Rare Pulls | Survive first engagements, recognize good loot fast |
Squad Leaders | Freeze/EMP Combos, Loot Economy | Win fights with utility, keep the whole team geared |
Loot/Market Players | Rare Pulls, Endgame Triggers | Spot high-value items instantly, time extractions better |
Raid Veterans | Endgame Triggers, Loot Economy | Full-clear efficiency, smoother multi-stage raids |
Final Tips Before Your Next Raid
· Always scan before you push — information is free, deaths are not.
· Never fire all your utility at once; layer freeze, then EMP, then stun.
· Redistribute gear the moment a fight ends — don't wait until the raid is over.
· Memorize rare item silhouettes so you can call them out instantly.
· If the ground loot looks thin, check for scripted triggers like uploads or rocket sequences before assuming the area is empty.
Whether you're chasing your first successful extraction or trying to optimize a five-star squad rotation, this raid is a reminder that gunskill only gets you halfway — positioning, utility timing, and loot management do the rest.