Summary
Diablo 4 Season 14 Warlock players often struggle with unstable damage, Demon Form health drain, and inefficient endgame farming. The Blazing Scream Warlock Build solves these issues by combining Blazing Scream, Metamorphosis, and strong sustain tools to maintain Demon Form while delivering high damage. This guide covers the core setup, including skills, gear, Soulshards, Mercenaries, Paragon Board, and farming or bossing variations.
Failed Nerf - Why the Blazing Scream Warlock Still Works
Blizzard attempted to reduce the power of Warlock builds in Season 14, but the core mechanics behind this setup remain effective.
The main reason is the interaction between:
Blazing Scream
Demon Form
Metamorphosis
Hellfire skills
Volatility scaling
Instead of relying on one damage multiplier, the build stacks several bonuses together.
The basic combat flow is:
Enter Demon Form.
Activate your damage setup.
Cast Blazing Scream repeatedly.
Build the 6.4% damage increase from each cast.
Continue attacking while barriers and healing effects sustain your health.
Incorrect approach:
Using Demon Form only as a temporary burst skill and stopping when health drops.
Correct approach:
Build enough healing and barrier generation so the self-burn becomes manageable and allows longer damage ramping.
Damage and Gameplay Loop - How to Play Blazing Scream
Step 1 - Start the Damage Ramp
The main damage skill is Blazing Scream.
The skill gains more power when:
It hits more enemies.
Your movement speed increases.
Your Hellfire bonuses are active.
Before entering difficult fights:
Activate Metamorphosis.
Place your Sigil of Chaos.
Maintain Volatility.
Hold down Blazing Scream.
Allow damage bonuses to stack.
The build can quickly move from lower damage numbers into extremely high damage because every cast improves the next stage of the rotation.
Step 2 - Maintain Demon Form Without Dying
The biggest concern with this build is Demon Form's self-damage.
The defensive solution uses several layers:
Tamerity for barrier generation.
Undying Aspect for healing every skill cast.
Quay Rune for additional barrier.
Prit Rune to trigger Dark Prison and provide Fortify.
The defensive cycle works like this:
Cast skills.
Skills trigger healing.
Overhealing creates barriers through Tamerity.
Fortify helps recover lost health.
Barrier absorbs ongoing burn damage.
This allows the build to stay in Demon Form longer without constantly leaving combat.
Skill Breakdown - Complete Warlock Setup
Core Skills
Blazing Scream
This is the main damage skill.
Use the Skull Splitter variation to add additional skull projectiles and improve clearing.
Gameplay:
Aim toward enemy groups.
Allow skulls to bounce through packs.
Continue casting while moving.
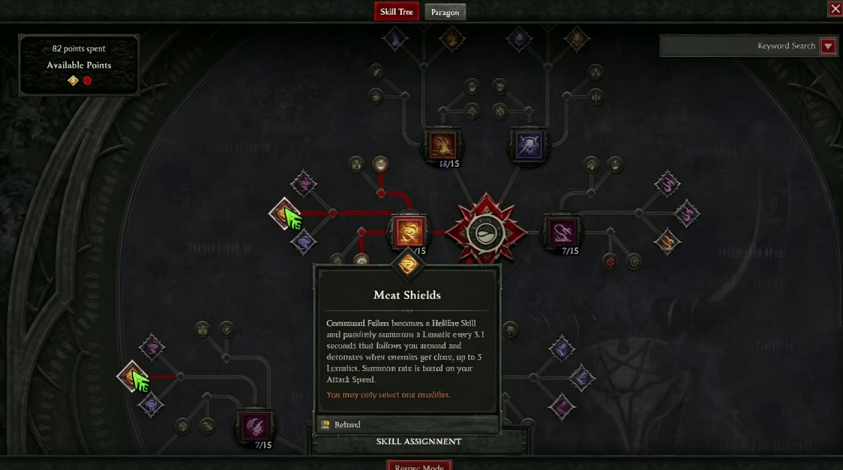
Command Fallen
You do not actively press this skill.
It stays on your bar because:
Meat Shield automatically creates Fallen summons.
Summons provide extra Dominance and Wrath generation.
Dark Prison
This skill is not manually cast.
The rune setup automatically triggers it.
Benefits:
Reduces enemy damage.
Provides Fortify.
Slows enemies.
Infernal Breath
Used mainly for elites and bosses.
It provides:
Large single-target damage.
Increased damage taken from repeated hits.
Additional explosive damage through the chosen variation.
Rampage
Used for mobility and damage.
With the right setup:
Activate Rampage.
Gain Wrath generation.
Trigger Volatility.
Jump across the map quickly.
This is especially useful for Nightmare Dungeons and Helltides.
Sigil of Chaos
This maintains Volatility bonuses.
Use it before major fights to keep your damage multipliers active.
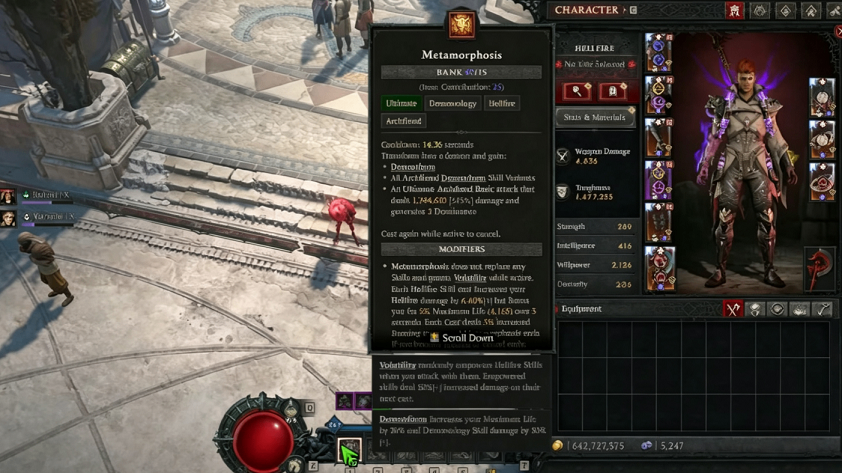
Metamorphosis
The main damage amplifier.
It provides:
Increased damage from Demon Form.
Additional scaling from maximum life.
The more life the build has, the stronger this multiplier becomes.
Gear You Need - Priority Items and Stats
The build relies on several important unique items.
Defensive Gear
Tamerity
This is the foundation of survival.
Prioritize:
Maximum Life.
Resistances.
Defensive stats.
The goal is to convert healing into constant barrier protection.
Undying Aspect
Every skill cast provides healing.
This keeps the self-burn mechanic under control.
Offensive Gear
Molo Speeding Flame
One of the strongest damage pieces.
It increases Hellfire damage based on the number of Volatility-empowered skills.
The ideal setup:
High Hellfire skill ranks.
Attack speed.
Strong rolls.
Weapon Setup
Prioritize:
Maximum Life.
Weapon Damage.
Critical Strike Chance.
Critical Strike Damage.
The weapon should support both survival and damage scaling.
The Demonology Aspect provides another major damage increase.
Players who are missing specific uniques can gradually upgrade through farming or choose to buy Diablo 4 Items to complete the required setup faster, especially when targeting build-defining pieces rather than replacing every gear slot.
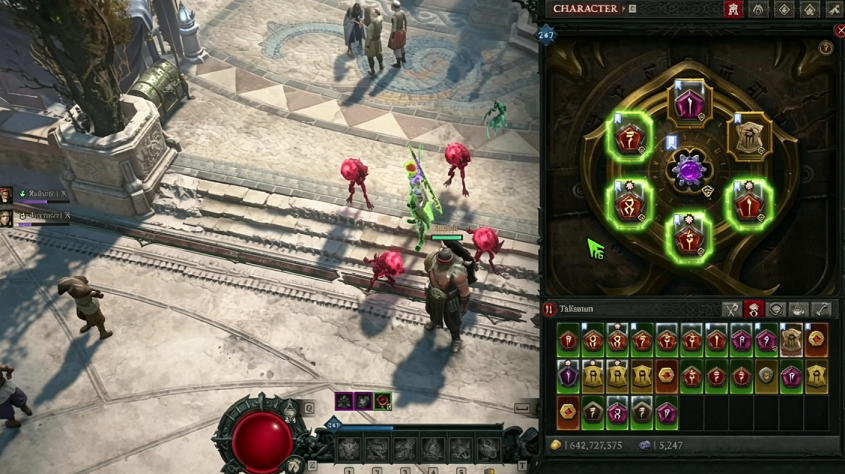
Soulshards Setup
The recommended Soulshard combination focuses on maintaining Demon Form damage.
Vanguard
Provides:
Additional summons.
Extra damage scaling during Demon Form.
Inferno Fragment
Works well because the build fights close to enemies.
It adds additional fire damage around the character while Hellfire skills are active.
Since Blazing Scream already deals extremely high damage, the build benefits from staying close and maximizing these effects.
Mercenaries Setup
Rahir
Recommended for defense.
Benefits:
Additional resistance.
Damage increase support.
Emergency protection through Bastion.
Varana
Used for speed farming.
The additional attack speed improves:
Blazing Scream casting speed.
Skull projectile output.
Overall clearing speed.
Paragon Board Setup
The build requires significant Paragon investment because many damage multipliers scale together.
Important boards include:
Demonic Speculum
Provides:
Damage bonuses.
Maximum Life.
Critical Strike improvements.
Greater Hexport
Provides:
Damage reduction against weakened or vulnerable enemies.
Additional damage multiplier.
Hell Forge
Improves Hellfire damage scaling.
Fathomless
Adds another large damage increase.
Focus on:
Willpower.
Damage multipliers.
Life scaling.
The build becomes stronger as more Paragon points are invested.
Zoom Version and Tank Version
The build has different setups depending on the activity.
Speed Farming Version
For:
Helltides.
Nightmare Dungeons.
Infernal Hordes.
Under City.
Use:
Anathema of Primes
Faster movement setup.
Wrath-based Rampage.
This version allows constant jumping across the map.
Pit and Boss Version
For:
The Pit pushing.
Boss fights.
High durability encounters.
Use:
Nameless set.
Abdon's Flash.
Additional damage ramping.
For bosses like Mephisto, a more defensive version can replace damage skills with Tortured Wretch to absorb attacks while maintaining safe positioning.
Key Takeaways
The Season 14 Blazing Scream Warlock remains strong because its damage comes from multiple scaling layers.
Keep Demon Form active by combining healing, barriers, and Fortify.
Blazing Scream is the main clearing and damage skill.
Metamorphosis provides a major damage increase through Demon Form scaling.
Tamerity and Undying Aspect are essential for survival.
Use the speed version for farming and the tank version for bosses and Pit pushing.
Prioritize Life, Attack Speed, Critical Strike Chance, and Hellfire skill bonuses when upgrading gear.
Conclusion
The Diablo 4 Season 14 Blazing Scream Warlock Build is designed around a simple idea: control the risk of Demon Form while allowing damage bonuses to build continuously.
Instead of leaving Demon Form whenever health drops, this setup uses barriers, healing, and Fortify to maintain pressure. With the correct skill rotation, gear priorities, and Paragon investment, players can comfortably handle Torment 12 farming, fast Nightmare Dungeon clears, and demanding boss encounters.