Weekend Drop -













Summary
If you're struggling to shoot consistently in NBA 2K27, changing your jump shot over and over isn't necessarily the answer. A better approach is to optimize your shooting settings, build reliable hot zones, choose a useful visual cue, and practice the same timing until it becomes automatic.
This guide breaks down the shooting methods from the source material, including shot meter settings, push/release timing, hot zones, stamina management, jump-shot grades, and button vs. rhythm shooting. To refine your build and unlock the best shooting animations, buy NBA 2K27 MT and get the resources you need to experiment without the grind.
Set Up Your Shooting Settings
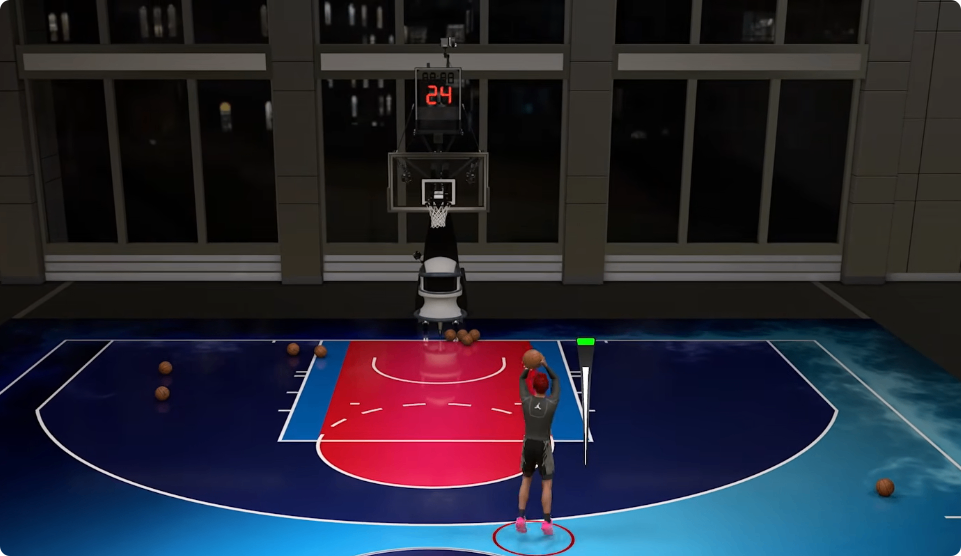
The first step is making your controller settings work in your favor. Small changes can make it easier to recognize your timing and maintain control of your player.
Use Push or Release Timing
In the controller settings, turn on Shot Timing and set your Shot Timing Visual Cue to either Push or Release.
The source recommends these cues because they occur later in the shooting animation than Jump or Set Point. That gives you more time to read the animation and react, which can be particularly useful when jump-shot speed changes because of fatigue or other gameplay conditions.
Jump and Set Point require an earlier reaction, while Push and Release give you more time to recognize the right moment.
Turn Off the Shot Meter
One of the most important recommendations is to disable the shot meter.
The source states that playing without the meter provides a 10% green-window bonus. More importantly, relying on the meter can make you vulnerable to visual inconsistencies caused by latency or meter movement.
Instead, learn to identify a visual cue on your player's shooting animation.
Keep Shot Feedback set to All Shots as well. This allows you to see whether attempts are open or contested and helps you learn which situations produce good or bad shots.
Improve Your Shot With Visual Cues
Once the meter is gone, you need a consistent way to recognize when to release.
Find One Visual Cue
A visual cue is a specific part of your player's animation that tells you when to release the shot.
It could be:
The player's feet
Hands
Head
Wrist
Elbow
The ball reaching a specific position
The source's preferred cue is the elbow locking into position. Once that cue becomes familiar, you can focus on the animation rather than the meter.
The important part is consistency. Don't constantly change what you're watching. Pick one cue and repeatedly practice it with your chosen jump shot.
Understand Each Timing Cue
If you're experimenting with the four visual timing options, understand where each one occurs.
Jump: Release when the player's feet leave the ground and the shooting motion begins.
Set Point: Release as the player reaches the set position during the shooting form.
Push: Release just before the ball reaches the top of the player's head, around the point where the elbow locks and the player begins pushing the ball outward.
Release: Release slightly after the ball reaches the top of the head, as the player is about to flick the ball.
For players struggling with reaction time, the source strongly favors Push or Release.
Build Better Hot Zones
Hot zones are another major part of shooting consistency. The goal is to make your strongest shooting areas even more valuable.
Get Your Purple Hot Zones
Visit the Art of Shooting Gym and speak with Lethal Shooter to access the shooting drills.
You can earn three purple hot zones, so don't simply choose the locations you assume you shoot from most often. Instead, look at your actual shot distribution and identify your three most-used mid-range or three-point areas.
For example, the source's player discovered that the left wing, right wing, and left mid-range area were more useful than simply choosing the top of the key.
The key is to place your strongest hot zones where you naturally take the most shots.
Grind Red Hot Zones
You can also build red hot zones through regular online modes such as Park, Stage, Rec, and Pro-Am.
For an easier offline approach, the source recommends Street Kings. Select the area you want to improve and repeatedly take shots from that location against the AI.
The method described is simple: play two games while consistently shooting from the same desired zone and shooting efficiently. Repeat this process for the other locations you want to improve.
Manage Stamina Before Shooting
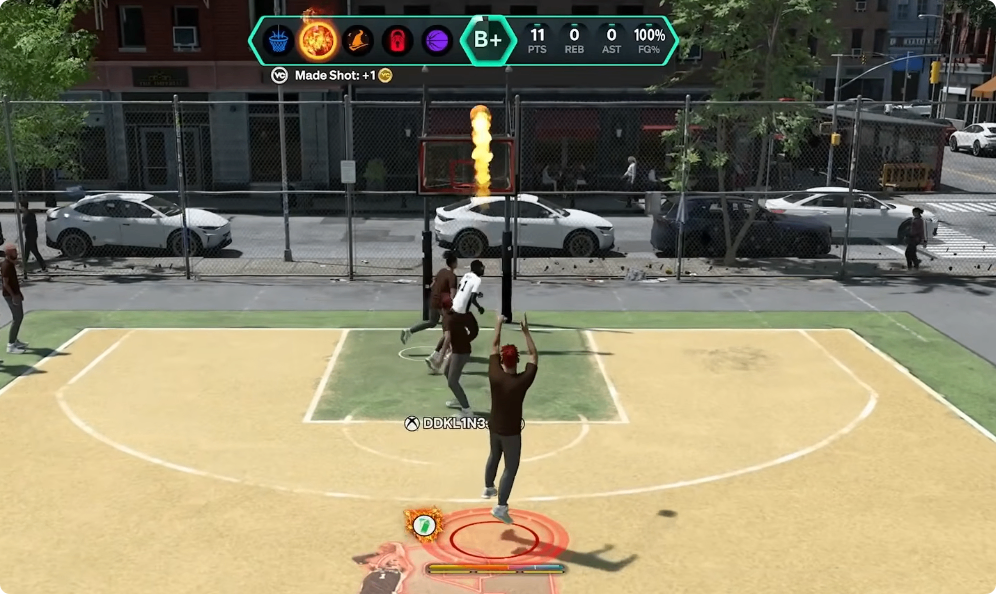
Shooting isn't just about memorizing your animation. Your player's stamina can also affect the speed and consistency of your jump shot.
Use Shooting and Gatorade Boosts
If you have enough VC, the source recommends using Jump Shot Boosts.
It also recommends using the blue Gatorade boost to help maintain energy. This becomes particularly useful when shooting after dribbling, defending, or otherwise spending stamina before an attempt.
The basic principle is simple: avoid taking difficult shots while your player is exhausted whenever possible.
Complete Gatorade Workouts
Visit the Gatorade Facility and complete the available workouts to improve your stamina.
The source highlights several relatively easy drills, including:
Ladder drills
Punching bag
Squats
Bench press
Treadmill
Aim for at least three stars on the drills. The source suggests restarting before the workout finishes if you're going to miss the three-star result, rather than accepting a poor result.
Choose Your Jump Shot Carefully
Don't assume that a jump shot is good simply because other players use it.
Check the Release Window Grade
One of the source's biggest discoveries was that the Release Window grade on the jump shot creator actually mattered.
The player initially struggled while using a jump shot with an F release-window grade. After switching to a jump shot with a B+ release-window grade, their shooting improved dramatically.
The lesson is straightforward: when creating or selecting a jump shot, pay attention to its grades rather than looking only at speed or what popular players are using.
Choose Button or Rhythm Shooting
The source also compares the two main shooting input methods.
Button Shooting
Button shooting requires a single primary action: pressing and releasing the shooting button at the correct time.
The source recommends learning button shooting because it considers the input more straightforward than rhythm shooting. This can make it easier to focus entirely on the visual cue.
Rhythm Shooting
Rhythm shooting requires two directional stick movements rather than a single button input.
The source notes that the system has changed compared with previous versions and emphasizes timing rather than the older tempo-based approach. Ultimately, there is no stated bonus for choosing rhythm over button shooting.
Therefore, the practical choice is whichever input feels more natural. However, for players starting fresh, the source recommends button shooting.
Put Everything Together
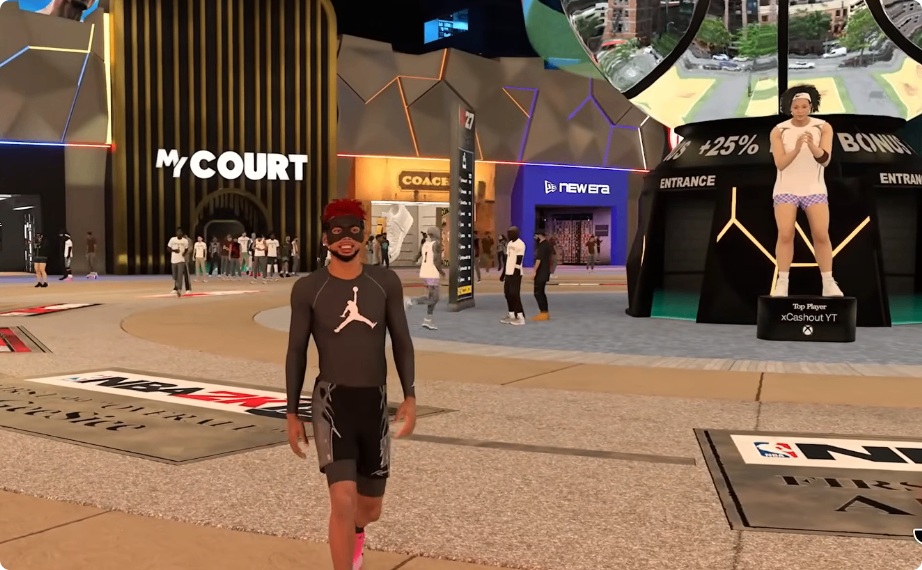
Once your settings and shot are configured, avoid constantly changing your setup.
Use the same jump shot, keep the meter disabled, select Push or Release timing, and identify one visual cue. Then build your hot zones around the areas where you actually shoot most frequently.
Finally, manage your stamina and use feedback after games to understand which attempts are open, contested, early, or late.
The biggest improvement comes from turning shooting into a repeatable process: recognize the animation, identify your visual cue, release at the same point, and practice until the timing becomes automatic. To speed up that process, NBA 2K27 MT can help you unlock the best jump-shot animations and upgrades so you can build muscle memory with your ideal setup from day one.