Weekend Drop -













Summary
POE 2 Currency becomes increasingly valuable once you start investing in an endgame Monk. If your current build struggles to survive 200% Delirium, lacks boss damage, or constantly dies to debuffs, this Low Life Martial Artist setup offers a structured upgrade path. Instead of changing everything at once, follow the steps below to build around the Low Life mechanic while improving both mapping and Pinnacle Boss performance.

Why Choose the Low Life Monk?
Many Monk players hit a wall during high-end content. Damage plateaus, survivability drops, and common ailments such as Bleeding or Electrocute become constant threats.
This version of the build focuses on Low Life, allowing you to benefit from multiple powerful damage multipliers while maintaining strong Energy Shield defenses. With the proper setup, the build is capable of exceeding 100M DPS, clearing 200% Delirium Maps, and handling Pinnacle Bosses consistently.
Before switching, ask yourself:
Can you already afford the required Unique items?
Is your current build comfortable farming endgame content?
Do you have enough Spirit reservation to enable the Low Life setup?
If not, continue farming before making the transition.
Step 1 – How to Enable the Low Life Setup
The first priority is activating the Low Life mechanic correctly.
Use Lineage Support together with Zer's Communion. This combination reserves Life instead of Spirit, allowing your character to remain at 35% Maximum Life or lower, which counts as Low Life.
Once active, you can benefit from several major damage bonuses, including:
Execute III Support
Dire Strike I
Dire Strike II
Killer Instinct
Pain Attunement
These effects contribute a significant portion of the build's total damage, so enabling Low Life correctly is the foundation of the entire setup.
Correct Method
Reserve enough Life to stay below the Low Life threshold.
Verify that your Spirit reservation supports the setup.
Enable all Low Life bonuses before optimizing other gear.
Incorrect Method
Switching to Low Life without enough reservation.
Ignoring Energy Shield protection.
Investing in expensive gear before the core mechanic works.
Step 2 – Build Defensive Layers Against Ailments
Low Life builds naturally become vulnerable to damage over time.
To solve this, equip Decree of Loyalty, which prevents damage over time from bypassing Energy Shield.
Next, use Way of the Stonefist on the Martial Artist Ascendancy to recover defensive value through powerful glove modifiers.
Prioritize:
Increased Energy Shield
Increased Evasion
Increased Armor
Maximum Life conversion
Critical Strike Chance
Explode modifiers for mapping
This combination keeps survivability high without sacrificing damage.
Step 3 – How to Reach Ailment Immunities
One of the biggest strengths of this build is reducing dangerous debuffs that commonly interrupt mapping.
Complete the immunity setup in order:
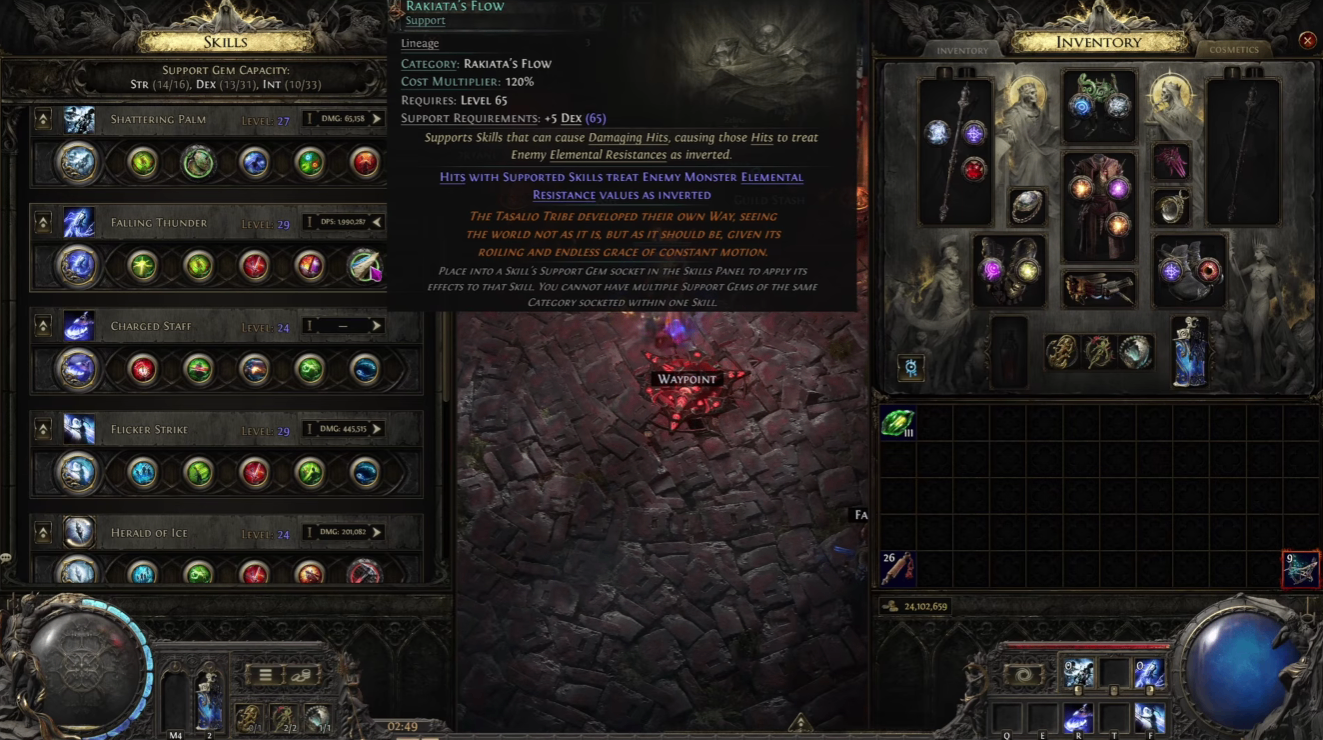
Curse Immunity through Hollow Keeper and Kraken's Rune of Warding.
Critical Hit Protection using Carved Tenacity together with Blind sources such as Charge Staff and Herald of Ice.
Slow Immunity from Legacy of Wanderlust.
Ignite Immunity through Crystallized Immunity.
Electrocute Immunity from Morgana the Storm Seer.
Corrupted Blood Immunity using a Corrupted Jewel.
Near immunity to Bleeding and Maim with Staunching Deflection.
If a specific immunity is still missing, use your Charms to fill the remaining gaps.