Weekend Drop -














Summary:
This SAND: Raiders of Sophie guide covers a powerful late-game small crew Trampler build using the Great Chassis. Learn the best tech tree upgrades, blueprint construction steps, weapon setup, SAND: Raiders of Sophie Crown, and combat strategy to dominate small crew battles efficiently.
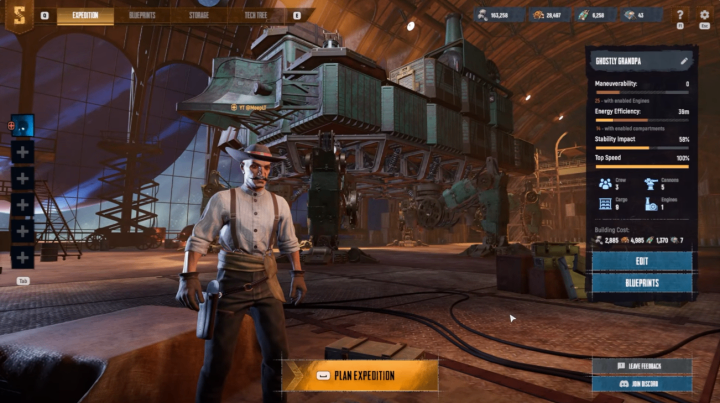
Step 1: Why Choose the Great Chassis for a Small Crew Build
In SAND: Raiders of Sophie, building the right Trampler for your crew size is extremely important. While the Royal Chassis may look attractive because of its huge size and durability, it is not the best choice for a small crew setup.
The Royal Chassis is simply too large for a three-player team. It requires more resources, costs significantly more, and becomes a painful loss if destroyed during combat. For small crew battles, spending massive amounts of materials on an oversized vehicle is often unnecessary.
The Great Chassis provides a much better balance between durability, mobility, and cost. It is cheaper to build, easier to maintain, and more enjoyable to use. Since small crew combat focuses heavily on speed, positioning, and aggressive plays, the Great Chassis gives players more flexibility while still offering enough protection for late-game fights.
This build focuses on creating a front-facing combat Trampler designed for aggressive ramming, heavy cannon damage, and efficient teamwork.
Step 2: Required Tech Tree Upgrades
Before starting the construction process, players need to unlock several important technologies. Most of the required parts come from Tier 3 and Tier 4 upgrades, so this build is intended for experienced players entering the late game.
The first important upgrade is the Armored Captain’s Quarters, which improves crew protection and overall vehicle durability.
For Tier 3 technology, you will need:
Tier 3 Maneuverability Engine
Metal Corridor
Long Motor Reactor
Great Chassis
These upgrades provide the foundation for mobility, power generation, and structural strength.
From Kai’s technology line, players should unlock:
Armored Cargo Hold
Tier 4 U-Shaped Armored Cargo Hold
These cargo components help create a strong internal structure while maximizing available space.
From KK Lanwehr’s technology tree, the required parts include:
Armored Artillery Deck
Armored Corner Artillery Deck
Battering Ram
Tier 3 Pilot Bridge
Vestige Tube
Once these technologies are unlocked, you can begin building the late-game small crew Trampler.
Step 3: Building Layer One – Creating the Foundation
The Trampler should be built from the bottom upward, starting from the front and moving toward the back.
Begin with the Great Chassis and place the U-Shaped Armored Cargo Bay as the foundation piece.
Directly in front of this section, install the Battering Ram. The ram is one of the most important parts of this build because ramming is extremely powerful in small crew PvP combat.
Next, place:
A small cargo bay beside the ram
The Long Armored Reactor
An Armored Auxiliary Corridor
An L-Shaped Armored Cargo Bay on the opposite side
After completing the central structure, add small armored compartments on both sides.
Then place large parallel cargo bays on both sides. These provide additional structure while keeping the vehicle balanced.
For the entrance, use the Tier 1 Vestige Tube.
If you encounter a structure error while placing the Vestige Tube, the problem is usually the direction. The metal plates must connect directly with the Trampler structure. Rotate the tube until the connection points align correctly.
Before moving forward, remember to replace all large open doorways with proper doors. This improves protection and prevents unnecessary weak points.
Step 4: Building Layer Two – Command and Crew Area
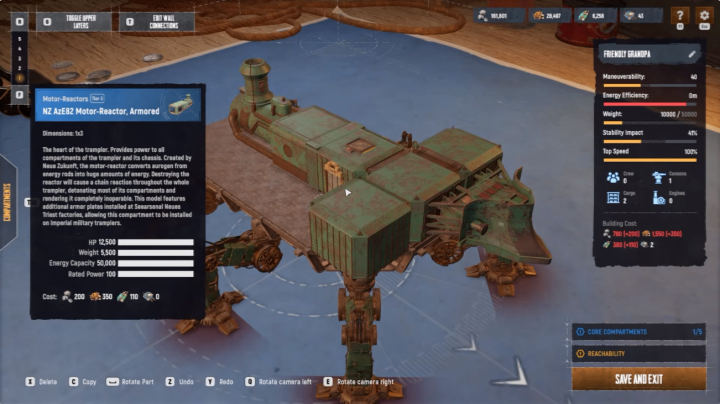
Layer two focuses on the control center and crew protection.
Start by placing the Pilot Bridge directly in the center of the vehicle. This gives the captain a clear position for controlling movement and combat decisions.
On both sides of the pilot bridge, install the:
Armored Turret Deck Corner Pieces
Behind these corner pieces, place standard decks without railings.
Next, add the following components:
Regular L-Shaped Cargo Bay
Non-armored Parallel Cargo Bay
Armored Captain’s Quarters
Two-person Crew Cabin
The Captain’s Quarters should remain armored because protecting the commander is essential during PvP encounters.
However, not every section needs maximum armor. Using too many armored components increases weight and limits mobility. A successful small crew Trampler needs a balance between protection and speed.
Before moving to the next layer, fix all doorway placements again to ensure the structure remains stable.
Step 5: Building Layer Three – Engines and Weapons
The final layer completes the combat system.
First, place the Armored Turret Deck.
Behind it, add a normal floor without railings.
Next install the:
Tier 3 Maneuverability Engine
Finally, place a normal cannon deck at the rear.
At this point, the Trampler is almost complete.
Players will still have some extra weight capacity available. You can add additional armor plates to the front section if desired. However, avoid overbuilding because mobility is extremely important in small crew battles.
One important adjustment is replacing the two armored parallel cargo bays at the back with regular versions. The reason is weight efficiency.
The armored versions provide around 11,000 HP, while regular versions still offer about 7,000 HP. Since this Trampler is designed for front-facing combat, extra rear armor provides limited value.
Step 6: Recommended Weapon Setup
After completing the build, the correct weapon setup is essential.
The recommended configuration includes:
One Shotgun Cannon on top
Two Auto Cannons on the front
One 80mm Cannon at the rear as an emergency weapon
The shotgun cannon is used to clear enemy decks and damage exposed players.
The two front auto cannons provide consistent pressure during close-range fights.
The rear 80mm cannon is mainly a backup option. Ideally, you will rarely need it, but it can save your team when enemies attack from behind.
Step 7: Small Crew Combat Strategy
The biggest strength of this Great Chassis Trampler is aggressive close-range combat.
In SAND: Raiders of Sophie, ramming is extremely strong in small crew battles. Your main objective should be closing the distance, hitting enemy vehicles with the ram, and creating opportunities for your teammates.
However, fighting against Royal Chassis vehicles requires a different strategy.
Because Royal Chassis vehicles are much larger, ramming them is less effective. Instead, focus on destroying their legs and constantly moving around them.
A strong three-player team setup works like this:
One player controls the shotgun cannon and clears enemy decks.
Another player uses 40mm weapons whenever possible.
The captain joins the attack whenever they have firing opportunities.
Constant movement, aggressive positioning, and coordinated fire are the keys to winning small crew fights.
Step 8: Final Thoughts on the Great Chassis Trampler Build
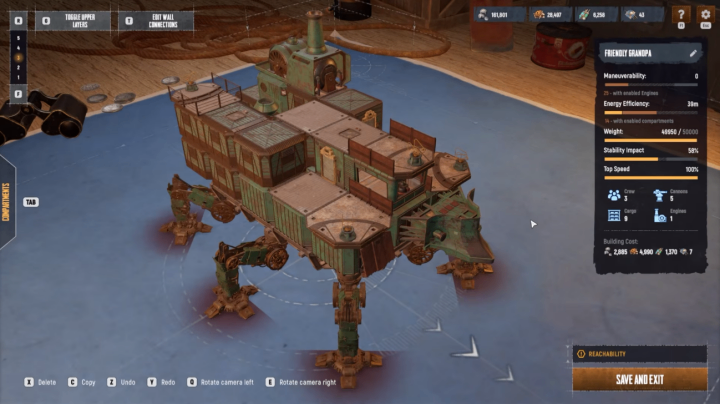
The Great Chassis late-game small crew Trampler is one of the most efficient builds in SAND: Raiders of Sophie. It avoids the unnecessary cost of the Royal Chassis while providing excellent combat performance.
With strong armor placement, powerful front weapons, and a devastating ram-focused playstyle, this build is perfect for players who want fast and aggressive PvP battles.
For small crews looking to dominate late-game encounters, this Trampler offers the perfect combination of affordability, durability, cheap SAND: Raiders of Sophie Crown, and offensive power. Master the positioning, coordinate with teammates, and this vehicle can become one of the strongest tools on the battlefield.