Summary
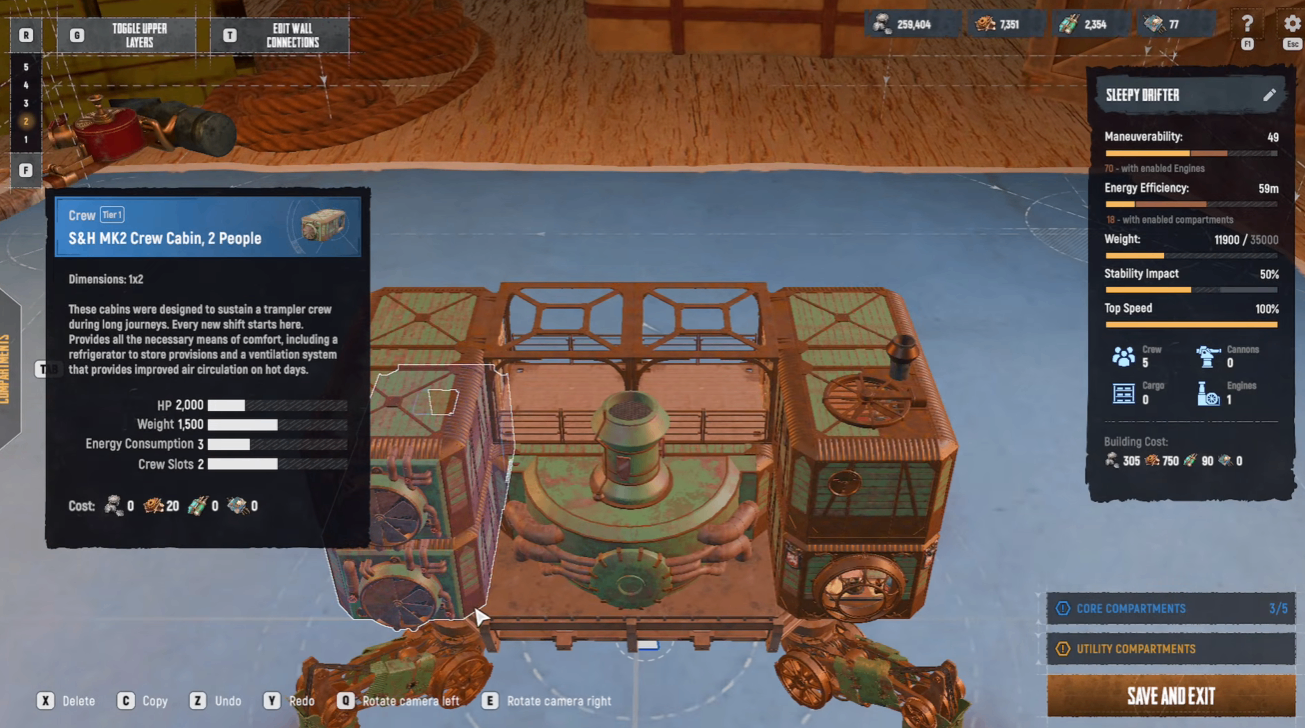
In SAND: Raiders of Sophie, your Trampler is everything—your transport, your fortress, your bank account, and your biggest weapon. This guide covers the most optimized solo and duo build using the Middling Chassis, designed to maximize defensive coverage, protect your captain's compartment, and dominate the dunes without breaking the bank—whether you're grinding for materials or looking to buy SAND: Raiders of Sophie Crown to speed up your progression. The build costs 1,355 Crowns and 3,555 Mechanical parts, making it a mid-tier investment that punches well above its weight class.
Core Build Philosophy
Why the Middling Chassis?
The 4x3 Middling Chassis provides 35,000 pounds of carry weight with a wider footprint that pairs perfectly with the 2x2 Reactor. The width allows you to protect both sides of your reactor while maintaining enough internal space for crew compartments, storage, and armament.
The Weight Trade-Off
Every build in SAND faces the same decision: armor and weapons raise your health pool but also add mass, reducing terrain speed. This build strikes a deliberate balance—enough armor to survive extended firefights, enough firepower to win them, and enough speed to maneuver effectively.
Blueprint Overview
Chassis and Reactor Placement
Chassis: 4x3 Middling Chassis
Reactor: 2x2 Reactor (9,500 HP), placed flush against the rear of the trampler
The reactor is positioned at the center with protection on all sides except the back, forcing enemies to approach from a specific angle to deal damage.
Front Defense – Battering Ram Strategy
The front of the trampler uses Battering Rams as primary damage-sponging defense. Unlike cargo bays that require engine shutdown and repair kits, Battering Rams can be repaired on the fly using the repair tool and three metal patches on top.
Layered Defensive Setup
Bottom Layer: Cargo Bay Parallels (7,000 HP each) – one bottom, one top
Supporting Frames: Additional protection on both sides
Battering Rams: Front-facing damage absorption
Captain's Compartment Tech: Small engine blocks access
Captain's Compartment Protection
The Small Engine Tech
The Small Engine is used not for mobility but for blocking access to the captain's compartment. By placing the engine in front of the captain's compartment door with the pipe facing the reactor door, you create an airlock that enemies must destroy to reach your command center.
Crucial Setup Step: When you spawn in, your bed defaults to the captain's compartment. Immediately set your spawn bed to a different compartment (the crew cabin) before leaving the lobby. If you spawn in the captain's compartment after the engine is blocking the door, you will be permanently stuck.
Turret Deck and Cannon Setup
Deck Configuration
Deck Type | Location | Purpose |
Armored Turret Deck (2x) | Front left and right | Primary cannon mounts |
Framed Turret Deck | Right side | Supports upper construction |
Tier 1 Fly Bridge | Top center | Steering wheel position |
Why Tier 1 Fly Bridge? The Tier 2 fly bridge has four metal patches to repair and takes longer to restore. The Tier 1 version has three, making emergency repairs much faster during combat.
Why Armored Turrets? Armored Turret Decks survive four 80mm hits compared to three on Framed decks—that one extra shot often makes the difference between continuing to fight and losing your cannon position.
Cannon Loadout
Slot | Cannon | Purpose |
Left | 70mm | Versatile damage, pairs with Amplifier |
Center (near wheel) | 40mm | Quick-firing backup |
Right | 80mm | Heavy armor damage |
Ammunition: 4 stacks per cannon + smoke shells to buy time during fights.
Compartment Guide
First Floor
Compartment | Purpose |
Crew Cabin (2-person) | Bed respawn (DO NOT SPAWN IN CAPTAIN'S) |
Captain's Compartment | Command center, blocked by engine |
Armaments Workshop (Tier 2) | Crafting + 3,500 HP protection |
Critical: Armaments Workshop must be closed off with a door or hatch. Any open compartments allow enemies free movement through your ship.
Second Floor
Cargo Bays: Primary storage for loot and recits
Hatches: Three metal hatches provide multiple escape routes
Reactor Access: Hatches for quick reactor repairs mid-combat
The Shopping List
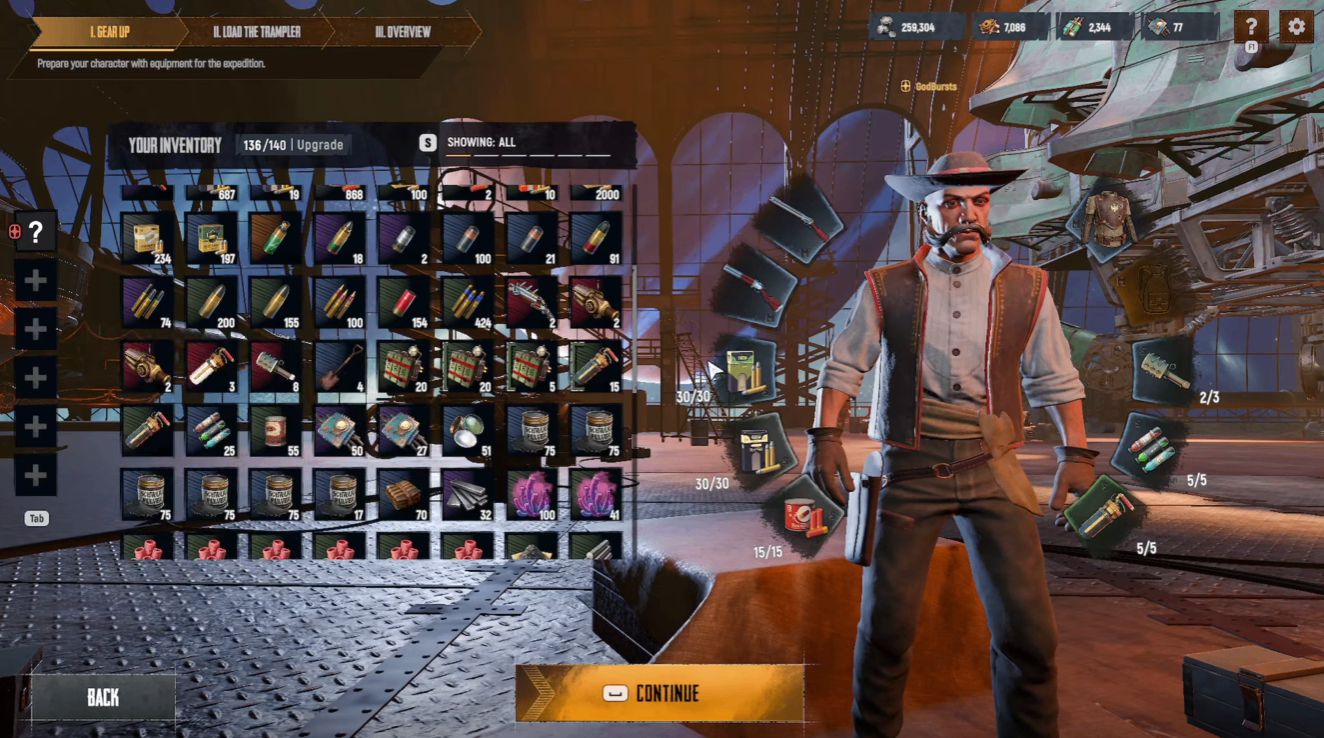
Personal Loadout
Item | Quantity | Purpose |
MA2 Rifle | 1 | Primary weapon |
Peppermill Shotgun | 1 | Close quarters |
Rare FMJ Ammo | 1 stack | Bypasses armor |
Regular Ammo | 1 stack | Zombies |
Utility Items
Item | Quantity | Purpose |
Energy Rods | 16+ | Fuel |
Med Kits | 5+ | Healing |
Contact Grenades | 5+ | Kill enemies, break red doors |
C4 | 3+ | Hail Mary; steal enemy tramplers |
Trampler Supplies
Food is critical: Without food in your compartments, respawn takes 60 seconds—an eternity during combat. Place 5 food in every compartment and 20 in your recit box.
Raid Execution
Initial Setup (First 60 Seconds)
Set spawn bed to a crew cabin (NOT captain's compartment)
Load cannons from organization box (transfer whole stacks)
Stock food in all compartments
Start engine and move out
PvP Strategy
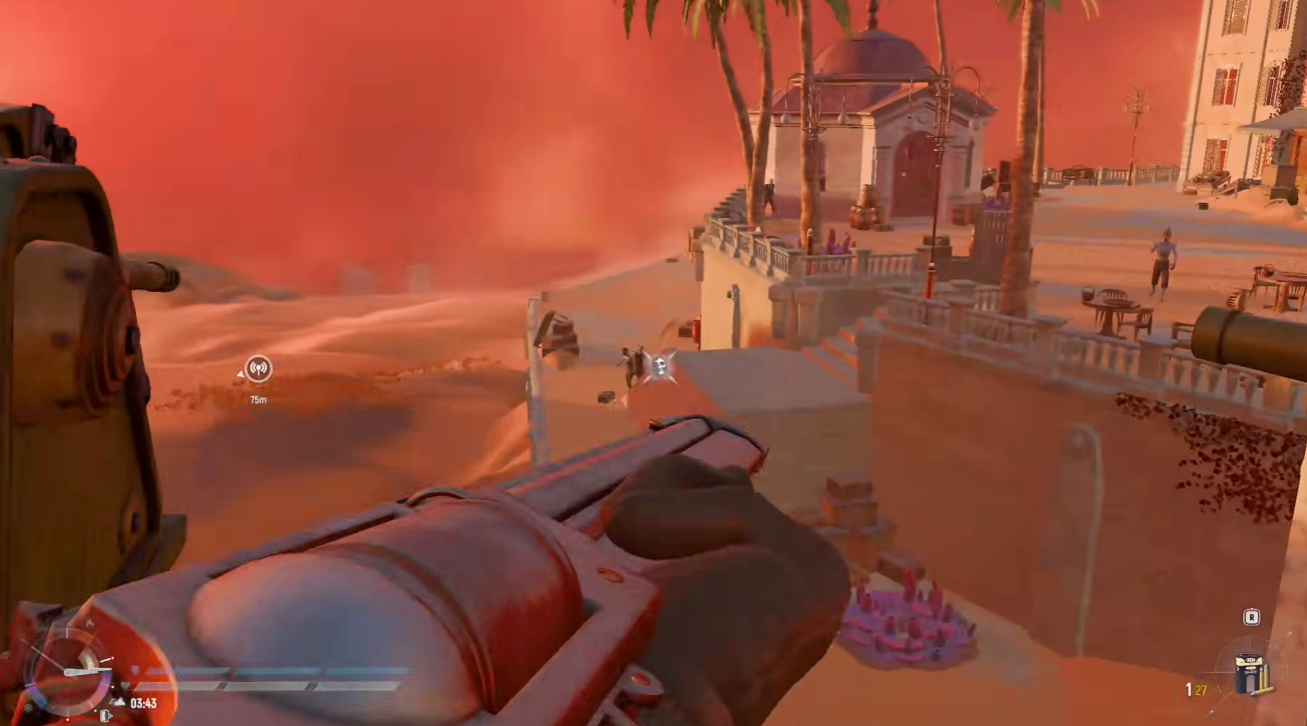
Engine Awareness: A running engine emits black smoke visible from miles away. When stopping to loot, turn the engine off to hide your position and save fuel.
Fighting Decision-Making:
Let Grumpy players survive until extraction; kill them at the end for loot
If enemies are friendly, let them leave
Aggressive enemies get the 80mm to the reactor
Extraction
Storm Dive: Shrinking circle with higher risk and better rewards. Radio towers unlock after the first two match timer segments fill. Once active, each tower is single-use per raid—activate it, survive 90 seconds, then board the dropship within 60 seconds.
Cost Breakdown
Item | Crowns | Mechanical |
4x3 Middling Chassis | Included | Included |
2x2 Reactor | Varies | Varies |
Armored Turret Decks (2) | Tech Tree | Tech Tree |
Framed Turret Deck | 1,750 | 200 Scrap Ammo |
Tier 1 Fly Bridge | Tech Tree | Tech Tree |
Battering Rams | Tech Tree | Tech Tree |
Total | ~1,355 | ~3,555 |
Common Mistakes to Avoid
Leaving your spawn in captain's compartment – You will be trapped. Always set your bed to a crew cabin.
No food in compartments – 60-second respawns will lose you the fight.
Leaving engine running while looting – The smoke gives away your position.
Loading cannons round by round – Transfer stacks from storage to load instantly.
Open hatches on second floor – Enemies can move through your ship freely.
Conclusion
The Middling Chassis build represents the current meta for solo and duo play in SAND: Raiders of Sophie. By leveraging the small engine tech to block captain's compartment access, layering defenses with battering rams and cargo bays, and optimizing cannon placement, this trampler can survive extended engagements and extract with valuable loot—and if you're looking to stock up on SAND: Raiders of Sophie Crown to fund your upgrades, we highly recommend checking out MMOEXP for reliable and affordable purchases to accelerate your progression.
Key strengths:
Excellent reactor protection (all sides except rear)
Captain's compartment requires 3+ doors to breach
Quick-repairable front defense
Affordable mid-tier cost
Upgradable to higher tiers with Tech Tree progression