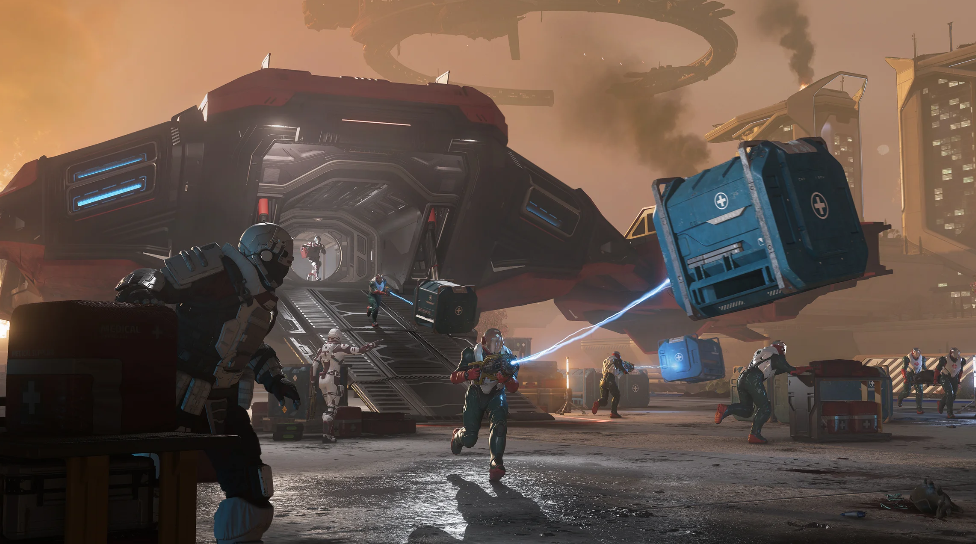
Summary: The introduction of Alpha 4.10 marks a massive technical milestone for Cloud Imperium Games with the debut of the instanced Siege of Orison dynamic event. By shifting this massive planetary assault into its own dedicated instance, developers have solved years of server-side performance issues while creating a more reliable, rewarding, and repeatable loop for players.
Here is everything you need to know about how the new system works and how to successfully run the event while maximizing your Star Citizen AUEC earnings.
How the New Instancing System Works
Historically, server-wide dynamic events in Star Citizen suffered from intense server degradation, desynced AI, and low frame rates. The new instancing framework isolates the event entirely.
Dedicated Server Resources
When you launch the event, you transition to a separate instance. This frees up the persistent universe (PU) server and guarantees crisp AI reaction times and stable frame rates.
On-Demand Access
You no longer need to wait days for a global server alert. The event can be initiated or joined much more reliably via the mission manager.
Dynamic Scaling
The instance balances enemy counts and Nine Tails reinforcements based on the size of the entering party, making it viable for both solo operatives and large organizations.
How to Start and Run the Event
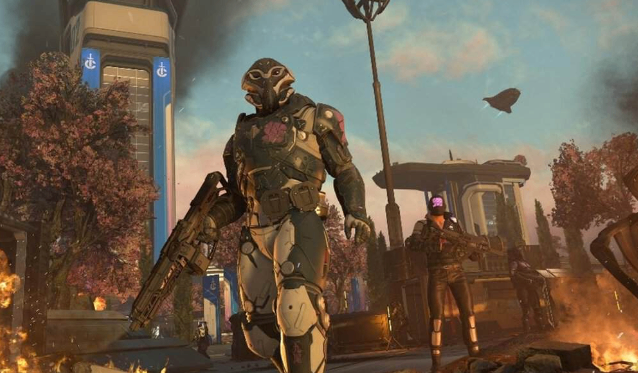
To successfully navigate the new Siege of Orison, players must coordinate across multiple floating platforms in the atmosphere of Crusader.
1. Preparation and Acceptance
Open your mobiGlas and navigate to the Contracts Manager.
Under the General or Priority tab, accept the "Siege of Orison" contract.
Gear up at Stratus or Seraphim Station. Heavy armor, dynamic healing supplies (med-pens, ParaMed guns), and weapons with high ammo capacity (like the FS-9 LMG) are highly recommended.
2. Infiltrating the Platforms
Take the dedicated shuttle network from the Orison cloud city directly to the first contested platform (Solanki).
Objective: Secure the platform by eliminating all Nine Tails forces, clearing the anti-air (AA) defenses, and locating the platform lieutenant.
3. Slaying Lieutenants & Disabling AA Defenses
Each platform contains a specific Nine Tails Lieutenant carrying an access code.
Search their looted inventory to find the IFFI (Identification Friend or Foe Inverter) codes.
Locate the platform's AA network terminal and input the code.
Disabling the AA defenses allows your team to call in personal ships (like MSRs, Cutlass Blacks, or Valkyries) to fly directly to the next platform, skipping the vulnerable shuttle rides.
4. The Final Assault (Admin Center)
Once the outer platforms (Solanki, Brushwood, and Sharepoint) are cleared, proceed to the Admin Center.
This area features dense CQB (Close Quarters Combat), specialized Nine Tails bosses, and hidden loot crates containing rare armor sets.
Eliminate the final commander and disable the primary jammer to successfully trigger the mission completed state.
Key Rewards and Payouts
Completing the instanced Siege of Orison yields some of the highest rewards in Alpha 4.10:
Massive aUEC Payouts: Direct contract completion rewards alongside passive aUEC bonuses awarded per Nine Tails kill.
Exclusive Loot: Access to high-tier military armor, customized weapons, and rare subscriber-level gear left behind by the occupiers.
Reputation Grinding: Massive reputation boosts with Crusader Security, unlocking permanent high-paying security contracts across the system.