Are your boss fights dragging on longer than they should? Tired of watching elite ships survive your strongest volleys? Want a build that turns every broadside into a devastating burst of damage?
This Flooding-focused setup is one of the strongest PvE builds currently available in Skull and Bones. By combining the right ship, weapons, furniture, and combat rotation, you can shred enemy armor, stack massive Flooding damage, and erase even high-threat bosses before they become a real danger. If you're aiming to clear content faster or farm efficiently, this guide will show you exactly how to optimize your loadout.
Buy Skull and Bones Items at MMOexp to level up faster and stay ahead.
Choose the Right Ship—Your Damage Starts Here
The entire build revolves around maximizing Flooding damage, so choosing the correct ship is critical.
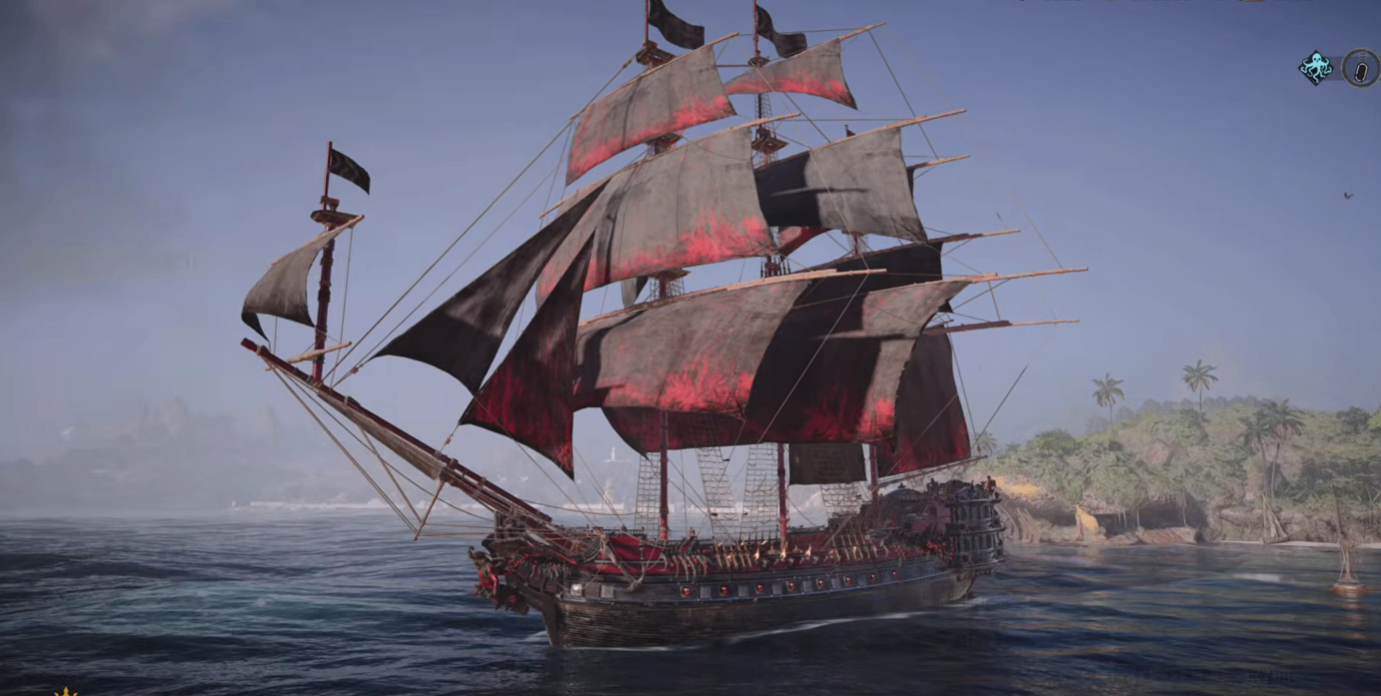
The Frigate stands out thanks to its extra top-mounted weapon slots, allowing more simultaneous hits and higher overall burst damage. Meanwhile, the Brigantine naturally complements the build with its 20% bonus to Flooding weapon damage and additional damage against already Flooding targets, making every follow-up attack even deadlier.
If you're missing key gear pieces, upgrading your build early will dramatically shorten your grind.
Value for You
Best for PvE grinders, solo captains, and endgame players. You'll maximize damage output, speed up progression, and reduce farming time.
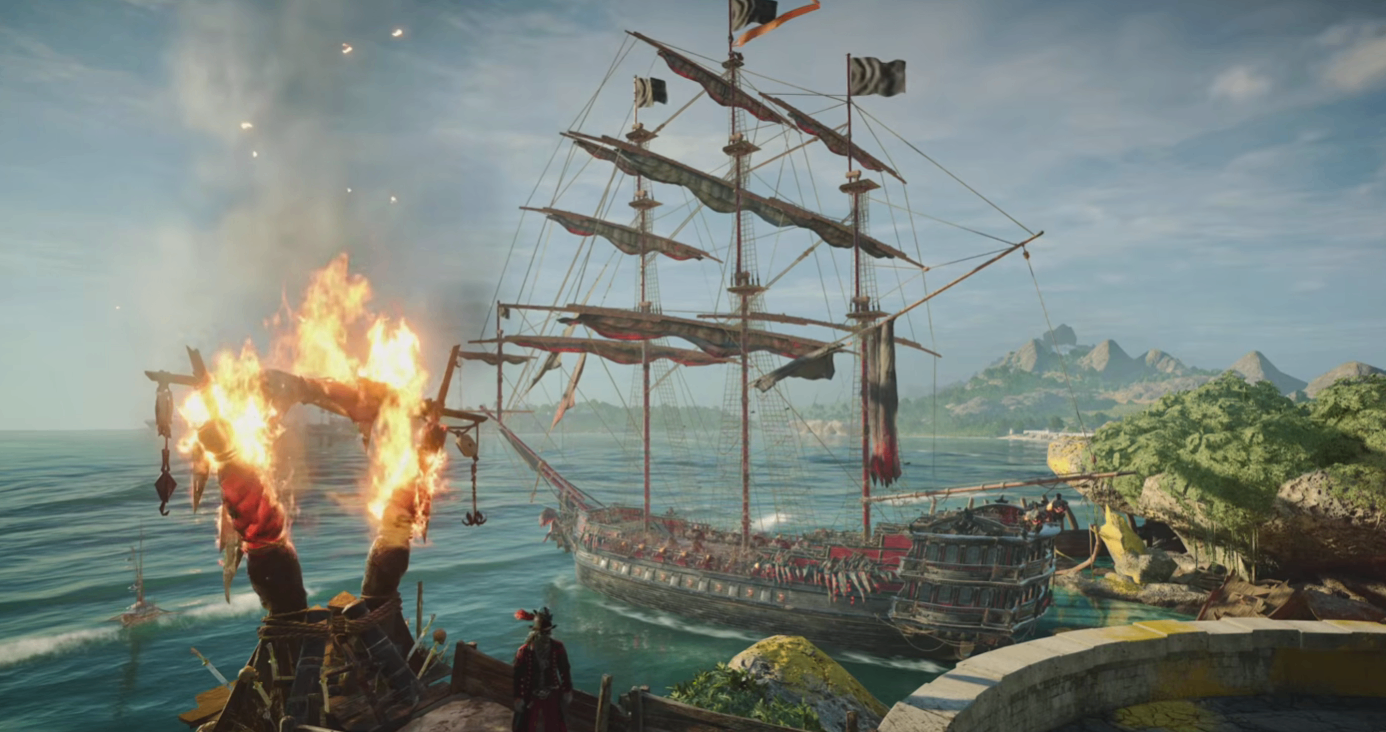
Weapon Setup That Turns Every Broadside Into a Nuke
Your bow and stern should both equip Harka Torpedoes. Their biggest advantage isn't speed—it's the ability to reduce enemy armor by 200 for 10 seconds, creating the perfect opening for your heavy broadside attacks.
For weapon perks, prioritize Swift as your primary green modifier, followed by Rupturing. For blue perks, stack Amplified Flooding whenever possible to push your damage even higher.
The real centerpiece is Rama's Legacies on both broadsides. The more shots that connect simultaneously, the more damage they deal, making them the perfect match for the Frigate's multiple weapon mounts.
Value for You
Perfect for boss hunters and DPS-focused players. You'll burst enemies faster, break armor efficiently, and increase overall PvE damage.
Support Weapons and Armor That Keep You Winning
For your auxiliary weapon, Crouching Tiger is the recommended choice. Its Taunt effect reduces incoming pressure while making enemies easier to manage during longer encounters. If crowd control is more important to you, a slowing auxiliary weapon is also a solid alternative.
Armor comes down to your preferred playstyle.
Nocturn Heart grants 15% increased weapon damage while your hull stays above 75%, rewarding careful positioning and consistent sailing.
If you prefer snowballing through encounters, Buccaneer's Oath is the stronger option. After destroying an enemy ship, Blood and Gold grants 25% increased weapon damage and armor for 30 seconds, allowing you to chain kills with incredible momentum.
Need these items quickly? Investing in faster progression can save countless hours of repetitive farming.
Value for You
Ideal for solo players and casual grinders. You'll survive longer, maintain higher DPS, and spend less time farming gear.
Furniture Is the Hidden Source of Massive Damage
Many players underestimate furniture, but this is where the build truly shines.
Build Fire Barrels increase your secondary broadside damage, while Torpedo Grinder and Hubac Tuning Rack improve torpedo speed, range, and reload responsiveness.
The real MVP is Costic Sport. Landing Flooding attacks from beyond 200 meters boosts Flooding damage by 30%, and every additional 1% projectile speed also increases Flooding damage by 1%. Pair this with Tuning Station and Torpedo Works to stack even more projectile speed and secondary torpedo damage.
Always try to fight from over 200 meters to activate the full bonus.
Value for You
Excellent for min-max players and optimization fans. You'll unlock hidden damage multipliers and maximize every weapon upgrade.
Combat Rotation: Simple, Fast, and Deadly
The gameplay loop is surprisingly straightforward.
Open every fight by firing Harka Torpedoes to strip enemy armor. Once the debuff is active, swing your broadside into position and unleash Rama's Legacies to trigger devastating burst damage.
As Flooding stacks continue building, even dangerous elite ships and bosses will melt in seconds. This build performs exceptionally well in solo PvE, making world farming, contracts, and boss encounters significantly faster and safer.
Value for You
Best for solo captains, PvE farmers, and endgame players. You'll clear content faster, kill bosses more efficiently, and improve farming consistency.
Final Thoughts
If your goal is to build one of the highest-damage PvE loadouts in Skull and Bones, this Flooding-focused setup is hard to beat. The combination of armor reduction, stacking Flooding damage, projectile speed bonuses, and powerful broadside weapons creates incredible burst potential while remaining easy to execute in real combat.
Whether you're farming resources, clearing elite encounters, or hunting dangerous bosses, mastering this build will dramatically improve your efficiency and damage output.buy Skull and Bones Items at MMOexp to level up faster and stay ahead.
Pro Tips
Stay beyond 200 meters whenever possible.
Fire torpedoes before every broadside burst.
Prioritize Swift over Rupturing perks.
Stack Amplified Flooding on blue modifiers.
Chain kills with Buccaneer's Oath for maximum uptime.