Summary
Bottom line: The three slowest structures to build in WARDOGS — the Drill Rig, the Vanguard CIWS, and the Talon 9K-SAM — can all be built dramatically faster using the "Booster Seat" technique. The core idea is simple: standing on a partially built Hesco block changes where the build X spawns, letting you hammer one spot repeatedly instead of chasing the marker around the structure. Combined with the fast-swing technique, CIWS build times drop by several times over. If you'd rather skip the resource grind entirely, you can buy WARDOGS Cash to fund your builds faster.
1. Building Fundamentals: The Fast Swing
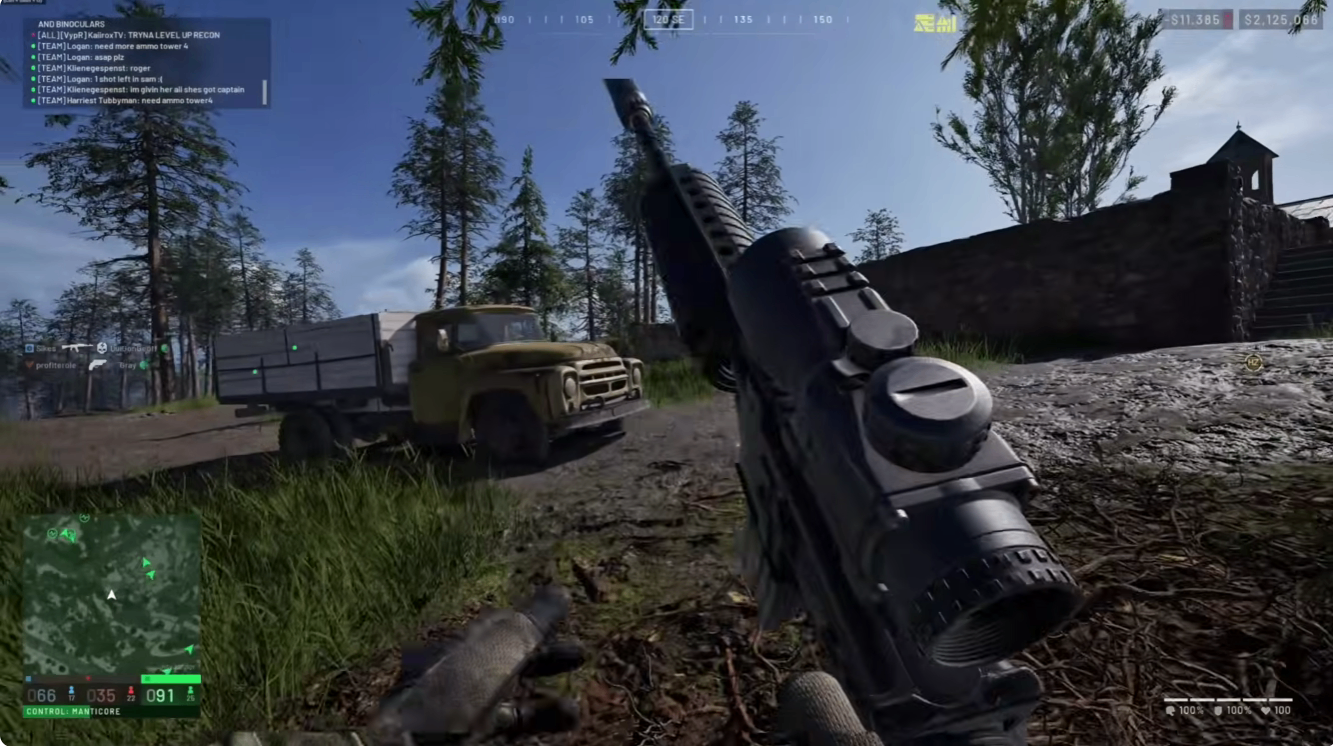
Before the Booster Seat, you need the basic hammer technique.
By default, holding left click swings the hammer at a fixed slow speed. To speed this up, release left click the instant the hammer strikes the structure, then immediately press left click again. This skips the post-swing recovery animation, letting you chain hits rapidly.
Rhythm: hit → release → press → hit → release → press. A few minutes of practice builds the muscle memory. Every technique that follows depends on this.
2. The Booster Seat: Relocating the Build X
The Problem
WARDOGS generates a yellow X on every blueprint as the primary build point. Hitting the X builds far faster than hitting the rest of the structure. But each time you hit it, the X jumps to a new spot. On large structures like the CIWS and Talon, it bounces all over the place, forcing you to run laps around the build site. This is the single biggest time sink in base construction.
The Solution: A Partially Built Hesco Block
A Booster Seat is just a Hesco block that has been hit once and left unfinished. Standing on it changes your position relative to the build X, keeping the X stable and hittable without movement.
How to make one:
Place a small Hesco block
Hit it once with your hammer, leaving it incomplete
Do not hit the X that appears — hit elsewhere on the block instead
The block now forms a small step: your Booster Seat
One hit creates a 33% Booster Seat. Two hits create a 50% Booster Seat. For most builds, 33% is enough.
Building a CIWS With It
Step by step:
Place a Bunker directly on the ground — no rotation needed. The bunker is the CIWS platform.
Place a regular Hesco block beside the bunker as a step up.
Stand on the Hesco block and place the CIWS blueprint on top of the bunker.
Place another Hesco block about half a block in front of the CIWS blueprint, hit it once to make a 33% Booster Seat.
Stand on the Booster Seat with your view level with the bunker top. Tap W to inch forward — the build X should appear on the CIWS's white panel.
Chain fast swings on the X.
The advantage: the X stays locked on the white panel instead of bouncing around. Even with a few mistimed swings, total build time is a fraction of the chase-the-X method.
3. Perimeter Walls: The Rules That Matter
Once the CIWS or Talon is up, it must be walled immediately — otherwise enemies can capture it and use it against your own base.
Bremer Walls (Curb-Sided)
The critical detail: when placing Bremer walls, the curb must face inward, toward the structure you're protecting. A flat outer face gives attackers nothing to climb or use as cover.
Height control: built from the Booster Seat, the Bremer wall sits at exactly the height where it doesn't block the CIWS firing arc but is tall enough to stop snipers from hitting the operator. To achieve this, place the wall blueprint while standing on the Booster Seat and push it forward as far as possible, off the seat.
Door Layout: L-Shape Only
Never line doors up in a row. A single rocket will punch through four doors placed in a straight line.
Correct approach: arrange doors in an L shape. When an enemy rockets the first door, the blast is absorbed by the wall beside the second door instead of chaining through. Two to three L-arranged doors buy enough time for you to dismount the CIWS and react.
Seal Every Gap
ESP cheaters are common in WARDOGS. Any pinhole gap can be exploited for a headshot through the wall. Every wall, corner, and junction must be airtight. Extra walls are cheap; a single gap costs you the base.
4. Building the Talon 9K-SAM Fast
The Talon uses the same logic as the CIWS, but the blueprint shape is different.
Key detail: the Talon has a long rectangular base. When placing it, the rectangle must face outward (toward the enemy approach). If it faces sideways, build speed collapses.
Booster Seat placement: position the seat at the midpoint of the near edge of the Talon's rectangle, pulled out about half a Hesco block. Stand on it and inch forward to trigger the X. If a 33% seat doesn't trigger it, upgrade to 50% by hitting the block a second time.
5. Mortar Positions: Leave the Shell a Flight Path
Mortars are the core of base defense, but there's a fatal mistake that's easy to make: walling the mortar in too tight.
At long range, the mortar tube sits at a very low angle. If a wall is too close to the muzzle, the shell hits the wall on exit and kills the operator.
Correct layout:
Mount the mortar on sandbags
Leave at least one sandbag block of clearance between the mortar and the nearest Hesco wall
After building, test it: aim at maximum range, fire one shell, confirm it clears the wall
The Booster Seat applies here too. Standing on the seat keeps the mortar's build X stable and hittable, eliminating the chase.
6. Speed Building Quick Reference
Action | Key Point | Common Mistake |
Fast swing | Release on impact → immediately re-press | Holding the button, eating the recovery animation |
Booster Seat | 33% Hesco block, stand on it to stabilize the X | Standing on flat ground chasing the jumping X |
CIWS build | Bunker + Booster Seat, X locks on white panel | No bunker base, X bounces everywhere |
Bremer walls | Curb faces inward, height clears the firing arc | Curb faces out, attackers climb it |
Door layout | L-shape, 2-3 doors | Straight line, one rocket clears all |
Talon build | Rectangle faces outward, seat at near-edge midpoint | Rectangle sideways, build speed collapses |
Mortar layout | Sandbag base + one block of wall clearance | Wall too close, shell kills the operator |
7. Conclusion
WARDOGS' building system appears to revolve around chasing the yellow X, but the Booster Seat completely rewrites that logic. Its essence is using a cheap, partially built Hesco block to create a stable standing position relative to the build point. For expensive, slow structures like the CIWS (901 build resources) and Talon (601 build resources), the payoff is enormous — your anti-air and mortar positions are up before the enemy's first push even forms.
Combined with L-shaped door layouts, curb-inward wall placement, and proper mortar clearance, your FOB stops being a "built but undefendable" liability and becomes an actual force multiplier on the battlefield. If you're short on resources to get those defenses up quickly, WARDOGS Cash for sale is available through MMOEXP, a trusted marketplace worth recommending for fast delivery and secure transactions.