Summary
The minigun Little Bird has a reputation problem in War Dogs. Some players call it useless, while others claim it wrecks entire teams. Both opinions hold some truth, but there's far more to this aircraft than meets the eye. After spending countless hours flying this machine, here's everything you need to know to go from struggling pilot to aerial predator. Of course, before you can even think about mastering this aircraft, you'll need to buy WARDOGS Cash to cover the hefty unlock cost, ammunition, flares, and the inevitable losses you'll suffer while learning.
Understanding Your Weapon: The Twin Miniguns
How the Guns Actually Work
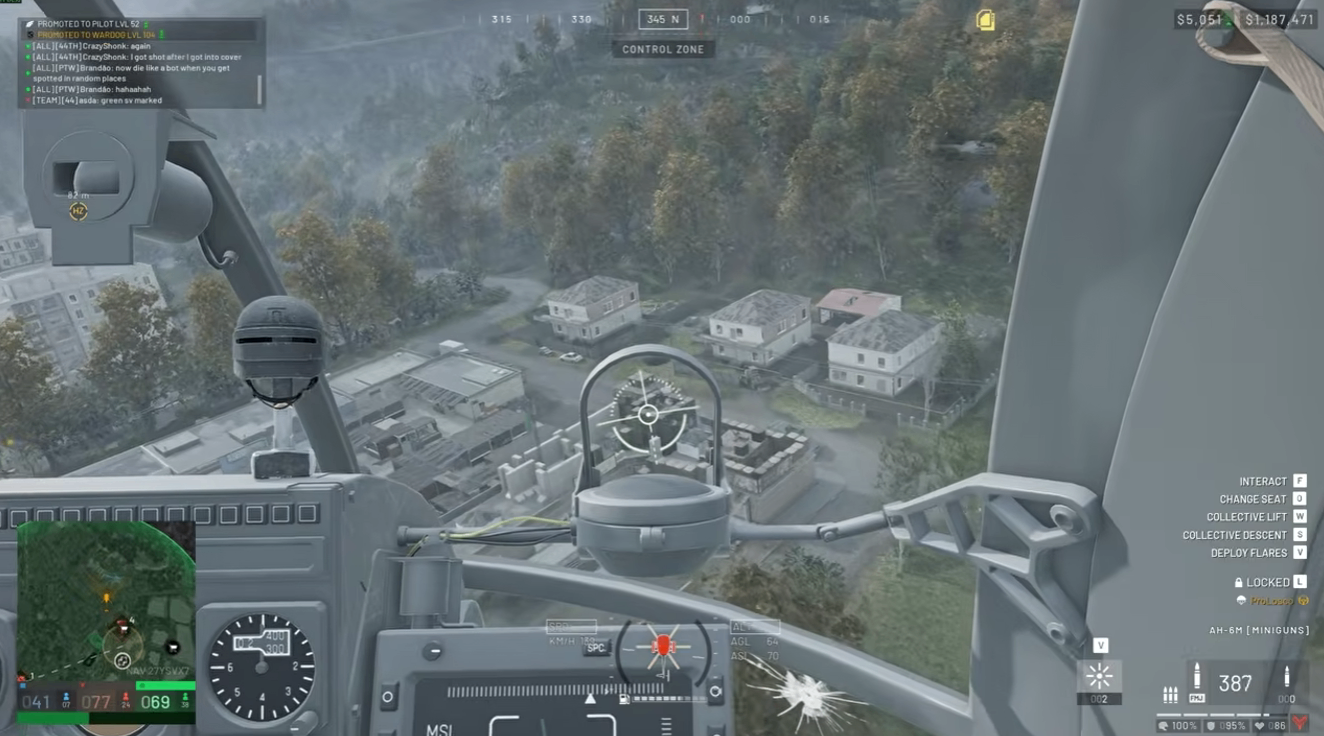
The Little Bird mounts two miniguns—one on the left side and one on the right side of the aircraft. This creates a critical aiming quirk that most pilots don't understand:
Your bullets do not come from the center of your screen. They physically exit from the sides of the aircraft and converge at a specific point.
According to Brownflex (CEO of Bullet), the convergence point is set at 30 meters. This means:
At 30m distance: Your crosshair is 100% accurate—aim directly at the center
Closer than 30m: Aim below the center of the crosshair (bullets spread left and right)
Further than 30m: Aim at the top right quadrant of your crosshair (slightly right of the top dividing line)
Close-Range Aiming Tips
At close range, you'll sometimes notice the guns appear to stop firing—this is just a rendering issue. They're always firing. For close engagements:
Aim bottom left or bottom right depending on your angle of attack
The bullets will converge on your target despite the visual spread
Ammunition Types and Damage
There's no official damage stat support, but testing reveals approximate values with FMJ ammo:
Target Area | Damage (FMJ) |
Chest | ~40 |
Head | ~85-150 |
Ammunition comparison:
FMJ (default): Solid all-around. Melts players with level 4 armor easily. Can penetrate brick walls and doors with significant damage reduction. Takes approximately 300-350 bullets to destroy another Little Bird.
AP (Armor Piercing): Deals more damage against armor and vehicles. Can destroy a Little Bird with around 100 bullets. Excellent against trucks and for wall penetration. Unlocked at level 140.
HP (Hollow Point): More flesh damage but not worth it since most players run armor. Could be useful early in a wipe.
Recommendation: Stick with FMJ for general use, but AP is superior for anti-vehicle work and penetration kills.
The Physics of Aiming: Why Speed Matters
You're Aiming With the Whole Aircraft
Remember: in an air vehicle, you're not aiming with your mouse—you're aiming with the entire asset. You must fly and change the direction of the whole helicopter to get your crosshair where you want it.
The Speed Problem
The faster you fly, the harder it becomes to adjust your pitch and yaw:
Above 100 km/h: You lose the ability to pitch effectively. You can only yaw, which is imprecise and limited.
Below 100 km/h: You have full control and agility.
Key insight: Fly in fast, get your kills, and fly out fast. Slow down when you need to actually aim and spray targets.
The Yaw and Roll Technique
For precise aiming at low speeds:
Yaw to aim in the general direction
Roll for small, precise adjustments (mouse roll offers far more precision than yaw alone)
Combine both inputs simultaneously for best results
This technique—using yaw for coarse aiming and roll for fine adjustments—is essential for accurate minigun fire.
The Circle Strafe: Your Bread and Butter
The circle strafe is a powerful technique for staying on target while maintaining a hard-to-hit profile:
How to Execute
Approach your target
Pitch down and roll right (or left)
Yaw in the same direction as your roll
Balance with additional roll input to maintain your position
Keep holding the directional key (D or A) to maintain the strafe
Managing Altitude During Circle Strafe
To lose altitude: Press S, pitch up, keep tapping D
To gain altitude: Don't hold W—keep yawing and rolling, balancing to climb
To descend again: Release W, then press it again at your desired altitude
Don't hold collective fully—"bounce" it as needed.
The Ultimate Anti-Air Position
The most effective circle strafe position is directly on top of your target. ATGM operators (like the SEAW) cannot aim vertically, making it nearly impossible for them to track you. This is your safest attack position against ground threats.
Speed Management: Fast Attacks vs. Precision Strikes
Fast Attack (When You Know the Target Location)
When you already know where enemies are:
Approach at maximum speed
Begin tilting to change direction as you close in
Aim as best you can while fast
Roll slightly for minor adjustments
Fire and fly away
This works well for:
Pushing towers with multiple enemies on top
Attacking known positions
Hit-and-run tactics
Slow Attack (For Extended Engagements)
When you need to spray a large area or compound:
Arrive fast
Perform a 180-degree turn
Slow down below 100 km/h
Get as low as possible
Maintain distance from targets (they may have AP rounds)
Spray accurately
The Economics of Flying the Minigun Little Bird
Unlock Requirements
Pilot Level 4 required to unlock
Can be reached quickly by transporting troops (approximately 4-5 taxi runs)
Unlock cost: ~50,000 (Season 1 pricing)
Operating Costs
Item | Cost |
Helicopter | $7,000 |
FMJ Ammo | $40 per 10 bullets |
Flares | $750 each |
Starter Loadout (with armor/backpack) | ~$18,000 |
Income Potential
Normal zone: $1,500 per kill
Hot zone: $3,000 per kill (doubled)
Break-even point: Approximately 12 kills in a normal zone to recoup your investment.
The Honest Truth
This is not an easy money-making machine. It's a skill tool that requires significant practice. Expect to lose money while learning. The Minigun Little Bird is challenging at first, and you need to be aware that the initial experience will be a grind.
Survival Tips
Always Wear Armor
You will be targeted constantly. While the cockpit windshield provides some damage reduction, combining it with armor gives you precious extra survivability when taking fire.
Fly Unpredictably
The best way to get kills and survive is to fly erratically. You cannot hover and spray—you'll be killed quickly. Keep moving, vary your altitude, and never present a predictable target.
Best Time to Fly
Early in a new season/wipe is ideal because:
Fewer players have AP rounds
Less AA spam (Stingers, SEAW, etc.)
Fewer ultra-fortified FOBs
Training Drills
The Firing Range Routine
Take the Little Bird to the firing range
Fly at very low altitude
Practice balancing collective, yaw, and roll
Perform simulated attack runs on tanks and dummy targets
Practice quick strafes followed by immediate egress
You don't need targets for all drills—just flying low and practicing maneuvers builds the muscle memory you need.
What to Practice
Low-altitude hovering (balanced collective)
Quick 180-degree turns
Circle strafes in both directions
Fast attack runs with immediate egress
Altitude management during extended engagements
Common Mistakes to Avoid
Flying too fast when trying to aim — Slow down below 100 km/h for accurate fire
Ignoring the convergence point — Aim below at close range, top-right at distance
Hovering in one place — You're a sitting duck; keep moving
Not bringing armor — You'll die too quickly to be effective
Flying at the start of a wipe without practice — You'll waste money and get frustrated
Trying to aim with yaw only — Use roll for precision adjustments
Final Thoughts
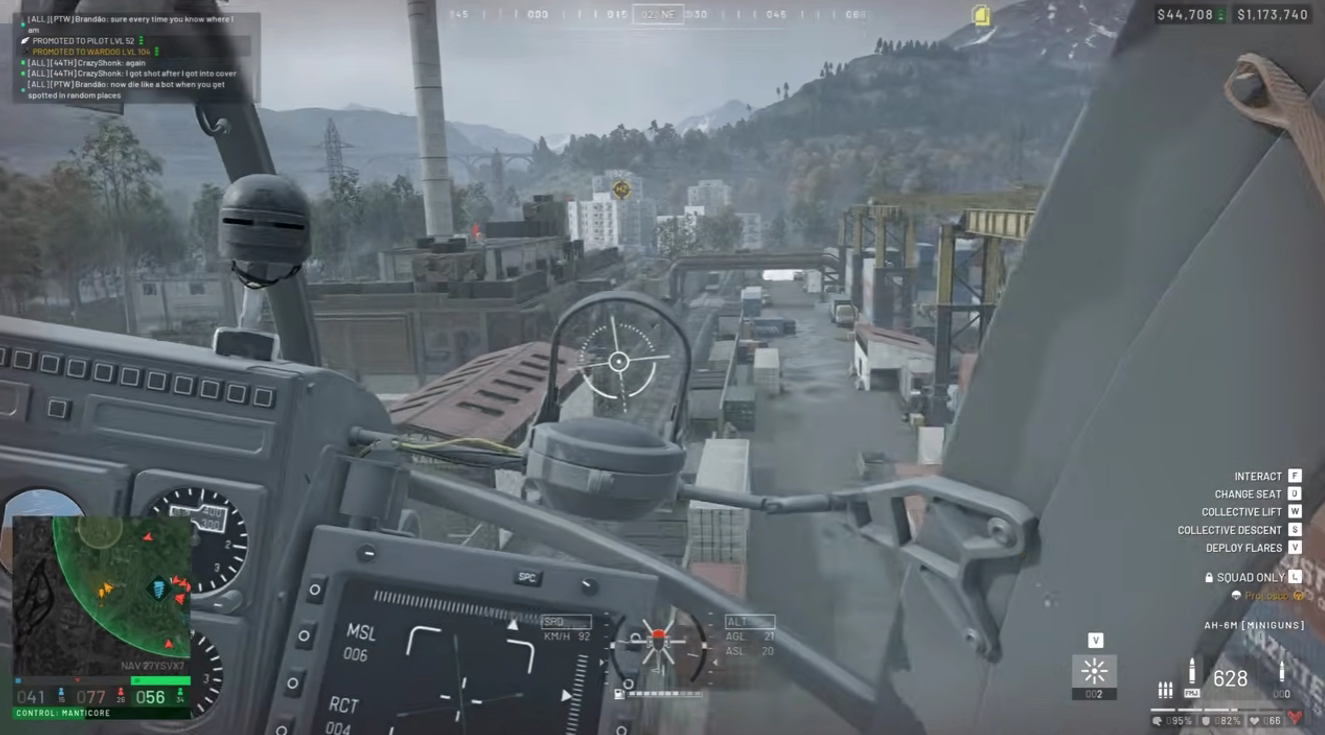
The Minigun Little Bird is a high-skill, high-risk, high-reward aircraft. It's not for everyone, and it will punish you if you don't respect its mechanics. But once you master the convergence point, speed management, circle strafing, and altitude control, you become one of the most dangerous assets on the battlefield. If you're struggling to fund your flights, you can find WARDOGS Cash for sale through trusted marketplaces, and I personally recommend MMOEXP for fast, safe, and reliable delivery so you can get back in the air without wasting time grinding for currency.
Remember:
Slow down to aim, speed up to survive
Circle strafe to stay on target and avoid return fire
Always wear armor
Practice in the firing range before risking your gear
The top-down position is your safest attack angle against ground threats
With time and practice, you'll understand why some players say this thing "wrecks the entire team"—because when flown correctly, it absolutely does.