Weekend Drop -













Summary
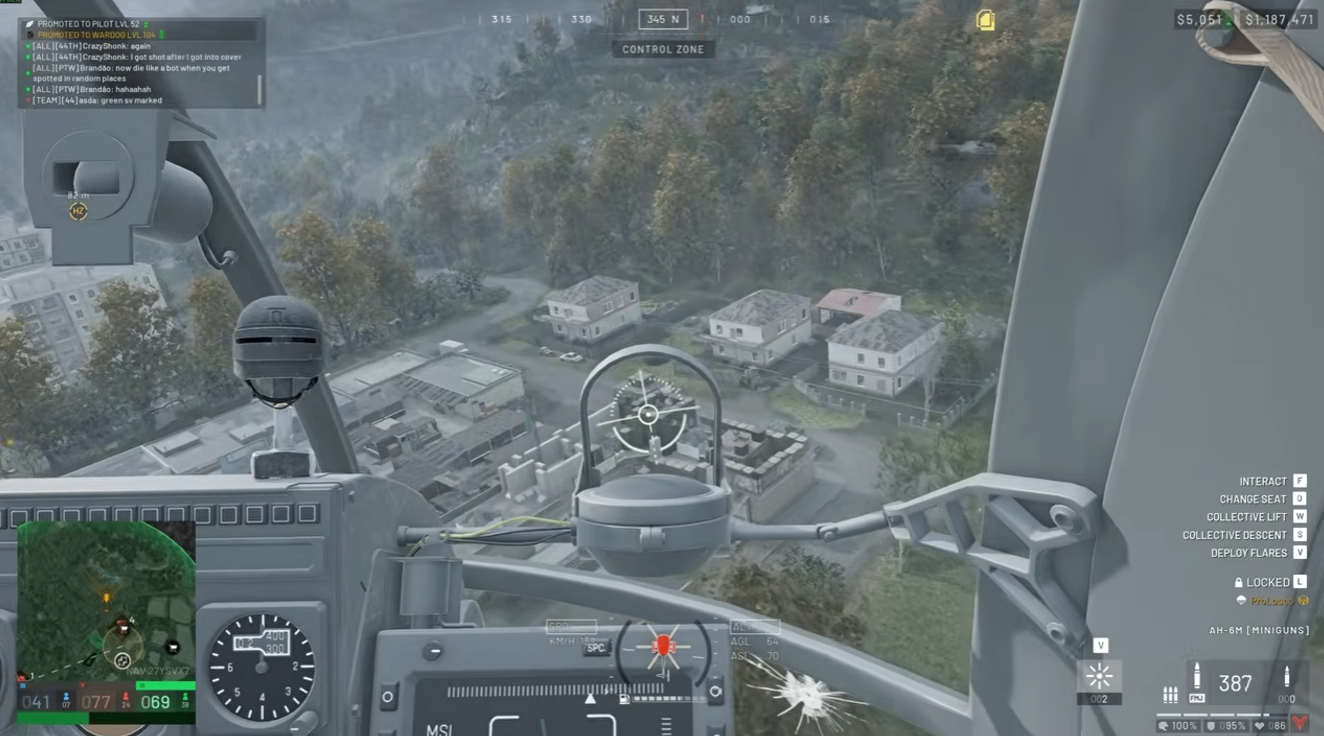
Season 2 of WARDOGS introduced three new vehicles—technically four if you count the Wolf's two variants—and each one demands a different approach to take down. After extensive testing, here's exactly how much explosive firepower you need, where to place it, and which vehicles are worth your resources—so you don't waste hard-earned buy WARDOGS Cash on explosives you didn't actually need.
The Season 2 Lineup
Vehicle | Type | Notes |
Wolf | Lightly armored Jeep | Two versions: Browning .50 cal and transport (no gun) |
Flakpanzer | Anti-air tank | Oddly well-armored, higher level than the T-72 |
T-72 | Main battle tank | Similar to the Season 1 tank but slightly squishier |
General Rule: Explosives Are Inconsistent
Before diving into individual vehicles, understand this core truth from testing: explosive damage in WARDOGS is highly inconsistent. The same shot placement can produce different results across attempts. Plan for worst-case scenarios rather than relying on perfect hits.
The one exception: IEDs remain the consistency king. One IED will guarantee a kill on virtually every vehicle in the game when placed correctly.
The Wolf: Light Armor, Easy Kill
The Wolf is very similar to the Kodiak in durability—but with one odd quirk.
Grenades
3–4 grenades to destroy the whole vehicle
A direct hit on the engine does less damage than letting splash spread across the whole hull
If the Wolf is stationary, you can simply shoot the passengers instead—explosives aren't mandatory
IED
One IED anywhere on the main body destroys it—even placing it in the bed works
This is the most reliable method
C4
Placing C4 near the rear bumper can sometimes be survived—it often sets the vehicle on fire instead of destroying it
This differs from the Kodiak, making the Wolf slightly tankier in this one specific aspect
RPG / MAW
One rocket destroys the Wolf
Verdict: The Wolf is not tanky. One IED, one rocket, or a few grenades will handle it. If you can sneak up on a stationary one, just shoot the occupants.
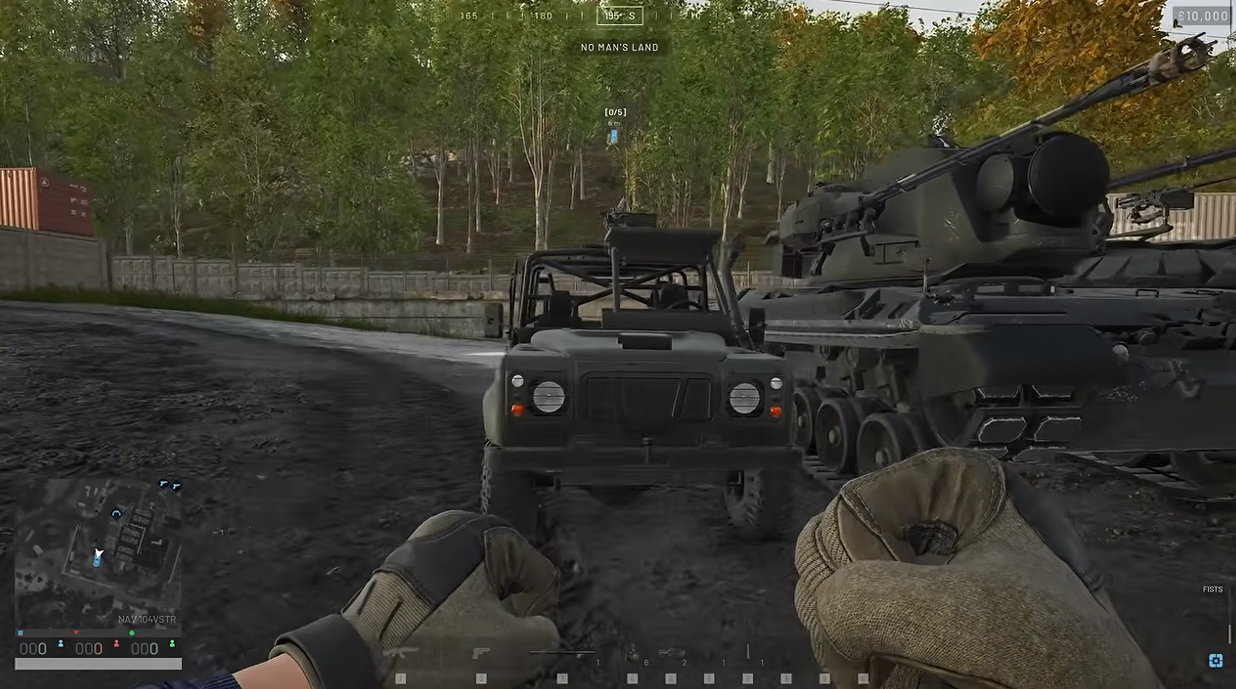
The Flakpanzer: Tanky and Frustrating
Despite being technically a higher level than the T-72, the Flakpanzer is designed purely for anti-air—but it's surprisingly well-armored against ground threats.
Grenades
Tracks: 3–4 grenades, but highly inconsistent. Grenades can bounce through the track and do zero damage
Engine: Practically requires landing the grenade directly on top—the hitbox clips through, and rear explosions often don't register. Takes 2 grenades to disable the engine, but destroying the whole tank takes many more
Verdict: Grenades are impractical against the Flakpanzer
IED
Plant along the sides, top of the turret, or rear—anywhere except the front
One well-placed IED dooms the Flakpanzer
Avoid the front entirely
C4
4 C4 to kill (sometimes 5, rarely 3—inconsistent)
Aim for the back right rear of the hull—one C4 there disables the engine entirely
The left side is less consistent
RPG
Best target: the engine—one-shots it
Can also one-shot treads if you can't get behind it and need to stop it from running
3 RPGs to kill the tank
You can aim loosely near the engine and still disable it
MAW
2 shots should kill it, but sometimes takes 3 (in testing, 5 attempts took 2 shots, 2 attempts took 3)
Aim for the rear/right side for consistency
Hitting the rear one-shots the engine; don't aim for the turret
Verdict: The Flakpanzer is fairly tanky and punishes imprecise play. Use IEDs on the sides/rear or C4 on the back right rear. Rockets should target the engine, and expect 3 RPGs or 2–3 MAWs.
The T-72: Squishier Than It Looks
The T-72 is similar to the Season 1 main battle tank but slightly less durable.
Grenades
Tracks: 3–4 grenades, inconsistent
Engine: Larger engine bay than the Flakpanzer, and only 2 grenades disable the engine
Disabling the engine awards significant money—worth doing even if you can't destroy the tank
Otherwise, grenades are ineffective against the hull
C4
Rear placement is strongest: One C4 underneath the engine one-shots it
Two C4 kills the tank when placed at the rear (splash seems to favor the left side, where the engine sits)
Tracks: One C4 destroys them
Sides: Takes 4 C4 anywhere on the body
IED
One IED guarantees a kill—placement is flexible
Placing it on top splashes both turret and engine for consistency
Odd angles can occasionally leave the tank at 99% damage, so place it flat or low
RPG
Rear engine hit one-shots the engine
3 RPGs to kill
Turret hits do heavy damage but won't disable the engine
Verdict: The T-72 is squishier than the Flakpanzer in several respects. Two rear C4 kills it, one IED guarantees the kill, and 3 RPGs finish it. Grenades can at least disable the engine for a cash reward.
Quick Reference: Destruction Cheat Sheet
Vehicle | IED | C4 | RPG | MAW | Grenades |
Wolf | 1 (anywhere) | Rear sometimes survivable | 1 | 1 | 3–4 |
Flakpanzer | 1 (side/rear/turret top—never front) | 4 (aim back right rear for engine) | 3 (engine one-shot) | 2–3 (aim rear right) | Impractical |
T-72 | 1 (anywhere, top/low best) | 2 rear / 4 sides / 1 tracks | 3 (engine one-shot) | 2–3 | 3–4 tracks / 2 engine disable |
Key Tactical Takeaways
IEDs are the consistency king. One well-placed IED kills any vehicle. If you can sneak up on a stationary tank, this is your guaranteed answer.
Engine kills matter—even without destruction. Disabling an engine forces the crew to exit and repair, which often creates the opening your team needs. Engine kills also award good money on the T-72.
Aim rear, not turret. Rockets and C4 to the rear engine are far more efficient than turret hits, which deal damage but don't disable mobility.
Expect inconsistency. The same placement can produce different results. Budget extra explosives as a safety margin—especially against the Flakpanzer.
The Flakpanzer is the toughest target. It's tanky, has a clipping hitbox, and punishes grenade use. Bring C4 or rockets, and aim for the back right rear.
The T-72 is squishier than its size suggests. Two rear C4 or three rockets will finish it—don't over-invest.
The Wolf isn't worth explosives. If it's stationary, shoot the passengers. Save your IEDs and rockets for armor.
Tracks are a mobility kill, not a destruction. One C4 or one RPG to the treads stops a tank from running—useful when you can't reach the engine.
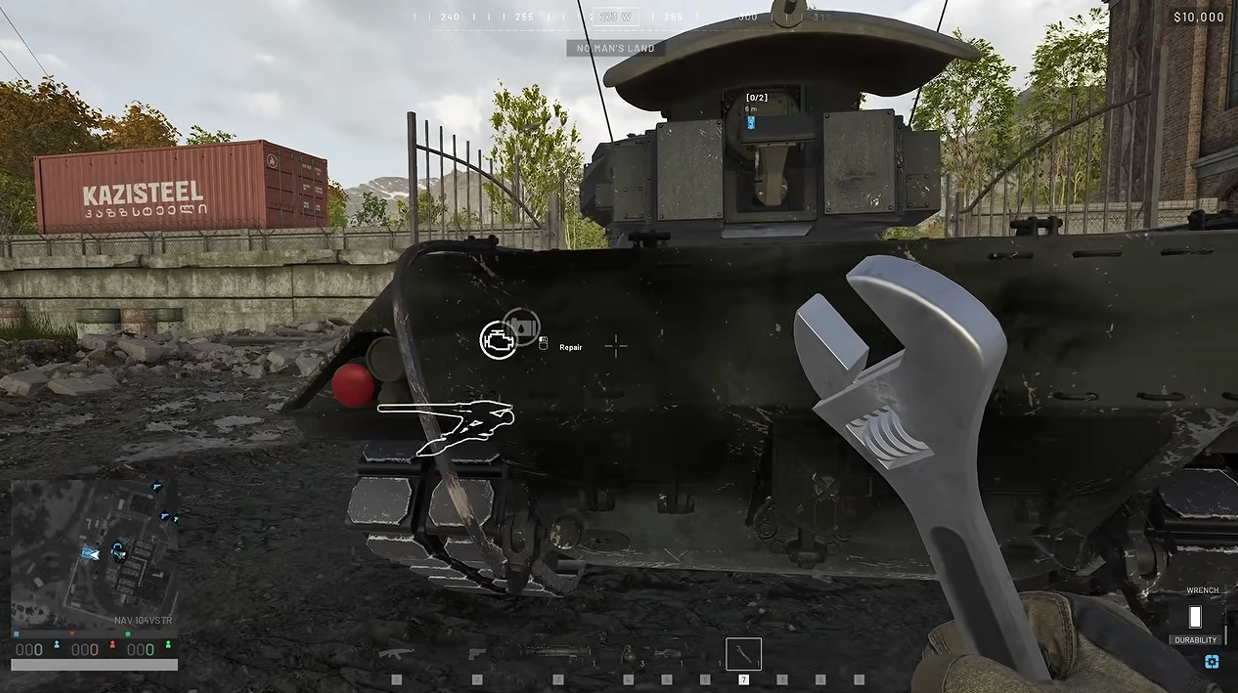
Final Verdict
Season 2's vehicles reward preparation and positioning over raw explosive spam. The Wolf is trivial to destroy, the T-72 falls quickly to rear placement, and the Flakpanzer demands respect—bring more than you think you need and target its back right rear. Above all, keep an IED on hand: it remains the most reliable answer to every vehicle on the battlefield. If you'd rather spend your time fighting than grinding, WARDOGS Cash for sale is available at MMOEXP, a trusted marketplace offering safe, fast delivery so you can stock up on explosives and gear without the farm.