Summary:
Ragefire Chasm is one of the earliest dungeons available to Horde players in WOW Forever Gold and offers useful experience, quest rewards, and strong early-game equipment. Located beneath Orgrimmar, the dungeon features four main bosses: Oggleflint, Taragaman the Hungerer, Jergosh the Invoker, and Bazzalan. Knowing where to find the dungeon, which quests to complete, what each boss does, and which rewards can drop will help new players prepare for a smoother run.
1. Location and Recommended Preparation
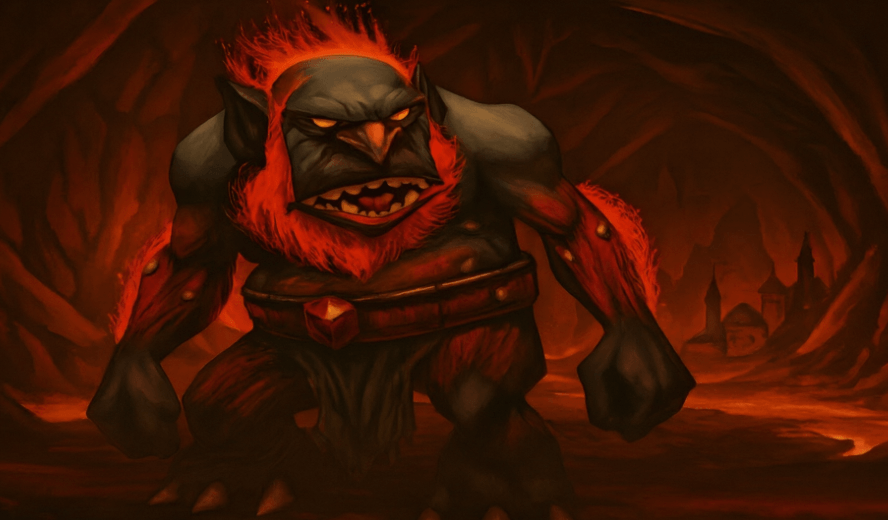
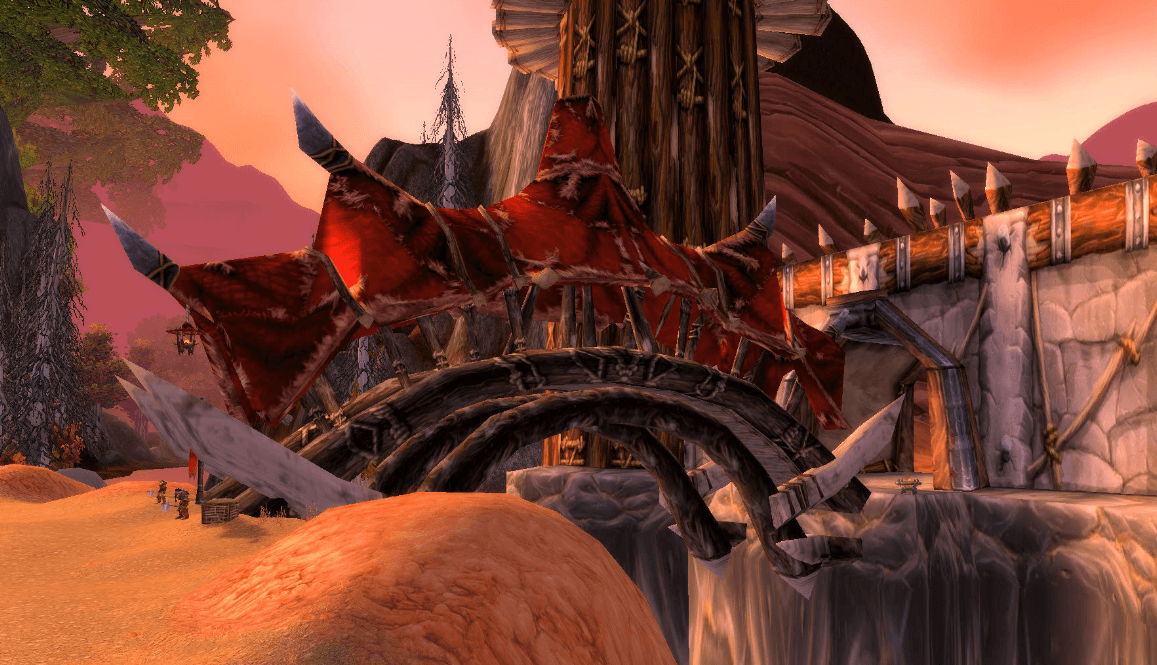
Ragefire Chasm is located in the Cleft of Shadow at the center of Orgrimmar, around 52.3, 49.4. The dungeon is designed for early-level Horde characters. Before entering, complete the available quests and make sure the group has a tank, healer, and appropriate damage dealers.
The dungeon's quests are Horde-exclusive and provide valuable experience, silver, and equipment choices.
2. Ragefire Chasm Quests
Several quests can be completed inside Ragefire Chasm. Testing an Enemy's Strength comes from Rahauro in Thunderbluff and requires level 9, rewarding 3,200 XP and 7 Silver. Hidden Enemies is obtained from Thrall in Orgrimmar and rewards 3,500 XP and 8 Silver.
Returning the Lost Satchel, also from Rahauro, requires level 9 and provides 4,400 XP plus a choice of dungeon loot. Slaying the Beast comes from Neeru Fireblade in Orgrimmar and gives 3,500 XP and 8 Silver. Finally, The Power to Destroy from Varimathras in Undercity rewards 4,400 XP and quest loot.
3. Oggleflint
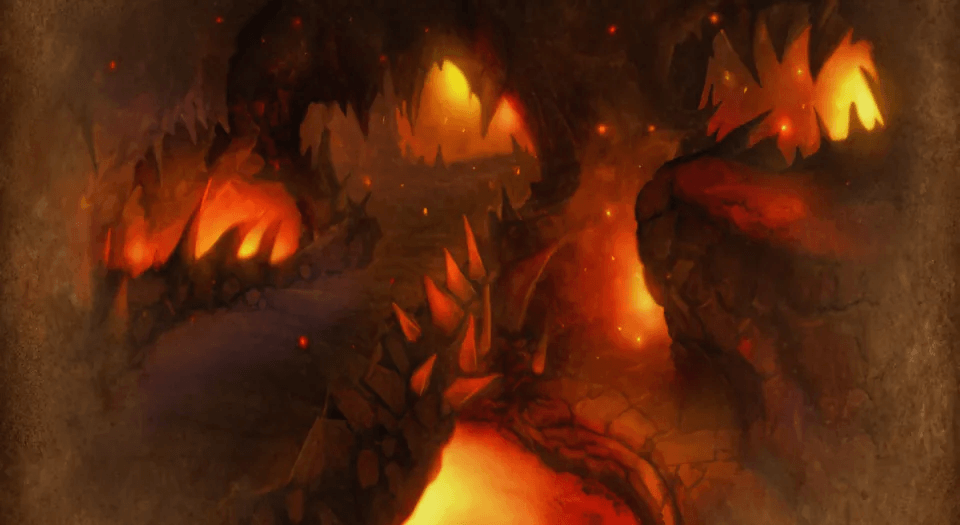
Oggleflint is found along the right-hand path in the first hallway. His main mechanic is Cleave, which can hit an additional nearby target. The tank should keep him positioned away from the rest of the group while everyone focuses on dealing consistent damage.
4. Taragaman the Hungerer
Taragaman is located in the central chamber on the middle platform. His Knock Back makes positioning important, so the tank should avoid fighting too close to an edge. He also uses Fire Nova, which damages nearby players. Ranged DPS and healers should remain outside melee range whenever possible.
5. Jergosh and Bazzalan
Jergosh the Invoker is in the final room and is accompanied by two adds. One add can be controlled with Polymorph, making the encounter easier. Jergosh casts Curse of Weakness and Immolate, so the group should manage the adds before focusing on the boss.
Bazzalan is also in the final room, up the ramp on the right. He has two nearby adds, with one again being suitable for Polymorph. Bazzalan uses Sinister Strike and Deadly Poison, so focusing him down quickly can reduce incoming damage.
6. Complete the Dungeon for Better Rewards
World of Warcraft: Forever Gold Ragefire Chasm offers a range of early equipment from both quests and bosses. Quest rewards include items such as Featherbead Bangles, Savannah Bracers, Garrison Cuffs, Ghastly Trousers, Dredgemire Leggings, and Gargoyle Leggings.
Bosses can drop items including Trogg Scepter, Barbaric Crossbow, Bone Knuckles, Cursed Felblade, Crystalline Cuffs, Subterranean Cape, Chasm Walkers, Satyrskin Cloak, Searing Dagger, Cavedweller Bracers, Robe of Evocation, and Chanting Blade. Because these rewards can significantly improve early characters, completing the dungeon and its quests together is worthwhile.