Atheron is a mechanics-heavy boss in Aion 2 that rewards survival and precise execution over raw damage. By managing orb placement, consistently dodging jump attacks, mastering the crystal-based bullet phases, and correctly handling the final jump rope mechanics, players can reliably overcome every wipe mechanic and defeat the encounter.
Manage Orb Placement Early
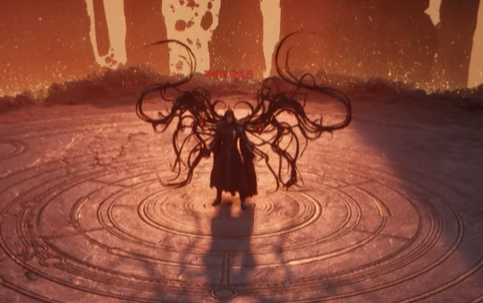
Throughout the battle, Atheron continuously drops glowing orbs around your character while attacking. These orbs may appear harmless initially, but they become dangerous later when certain mechanics cause them to fly directly toward you. Players looking to strengthen their characters more quickly may also choose to buy Aion 2 Kinah for faster gear progression, but regardless of your equipment, properly managing orb placement remains essential for surviving this encounter.
Instead of fighting the boss in one location, gradually reposition Atheron toward cleaner areas of the arena. By preventing excessive orb accumulation, you'll create much safer spaces for later mechanics when movement becomes limited.
Good positioning during the opening phase reduces unnecessary pressure during the fight's more demanding sections.
Dodge the Jump Slam Every Time
One of Atheron's most common attacks begins with the boss leaping into the air before crashing toward your location.
Never attempt to tank this attack.
If you're struck by the jump slam, you'll become stunned, leaving you vulnerable to follow-up attacks that often result in death before you can recover. Save your defensive abilities for this mechanic whenever possible.
Use either:
· Block at the correct timing.
· Dash sideways just before impact.
Treat every jump animation as an immediate signal to prepare your defensive response.
First AoE Phase
After reducing Atheron's health to the first threshold, the boss moves to the center of the arena and creates large red danger zones.
Stand inside one of the available safe spaces while waiting for the incoming jump attack.
Once the boss lands, immediately dodge using either Block or Dash.
A second red AoE soon appears. This time, position yourself inside the narrow safe zone. Rather than another jump slam, nearby orbs will fly toward your character.
Simply sidestep once to avoid the incoming orb attack before continuing damage.
Master the First Bullet Phase
The first major wipe mechanic begins when Atheron moves toward the outer edge of the arena.
Before anything else, disable any combat macros or automatic attacks. Leaving macros active may accidentally destroy the crystal that you'll soon rely on for survival.
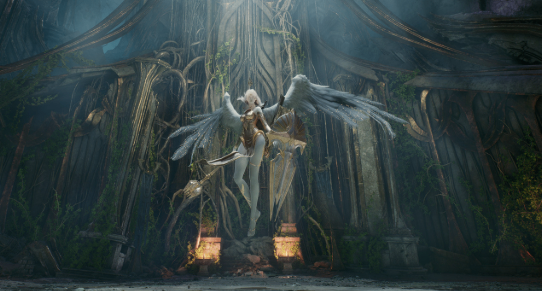
A large crystal appears in the arena center while several portals surround the battlefield. Only the portal glowing red will fire projectiles.
Position yourself directly behind the crystal and use it as cover.
Four volleys of bullets will be fired from the active portal. As each shot arrives, move from one side of the crystal to the other while remaining protected.
During this phase, additional mechanics occur simultaneously:
· AoE circles appear beneath your character.
· Blue projectiles emerge from the crystal.
· Four bullet volleys must all be avoided.
Maintain steady movement while preserving the crystal's health.
Surviving Divine Descent
After the crystal loses all four health points, it transforms into a jump rope mechanic.
Jump over the rope while also preparing to avoid another jump slam from Atheron.
Shortly afterward, the Divine Descent countdown appears.
Watch the timer carefully.
When approximately one second remains, approach the crystal and press F to interact with it. Successfully interacting grants a temporary invincibility shield that protects you from the incoming wipe attack.
Missing this interaction almost always results in failure.
Second Bullet Phase
Later in the encounter, Atheron repeats the bullet mechanic with additional complexity.
Two crystals now appear:
· One crystal has 4 HP.
· One crystal has 8 HP.
The crystal closer to the arena center is the one with 8 HP. If uncertain, target each crystal with the Tab key to verify its remaining health.
This time, six bullet volleys are fired.
Hide behind the 8 HP crystal because it can survive long enough to block all incoming attacks.
After four impacts, the crystal begins breaking and releases an expanding ripple. Dodge the ripple while avoiding the final two bullet volleys.
A useful strategy is to strike the 8 HP crystal twice before bullets begin. Doing so causes it to break naturally after the sixth shot, allowing you to concentrate entirely on positioning instead of tracking crystal durability.
Once the bullets finish, interact with the appropriate crystal to obtain another protective shield and survive both wipe mechanics.
Final Phase and Jump Rope Mechanic
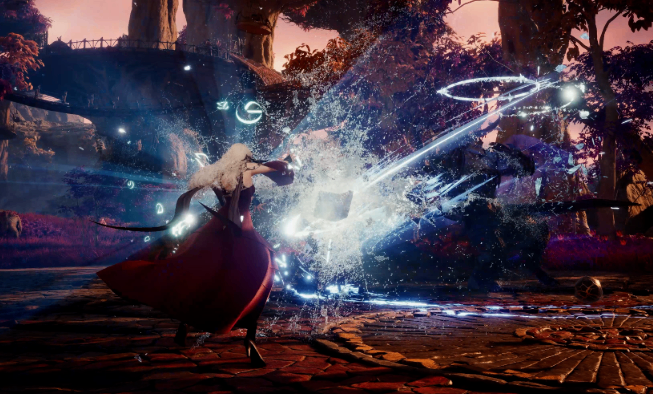
As Atheron's health approaches zero, he alternates between familiar red AoE attacks and an upgraded jump rope mechanic.
The ropes come in two colors:
· Red ropes travel along the ground and must be jumped over.
· Purple ropes sweep higher and should not be jumped.
Rather than overcomplicating the pattern, immediately run toward the left side of the arena from the center. This positioning makes the mechanic much easier to read. Focus only on jumping over the red ropes while allowing the purple ropes to pass naturally.
Victory Tips
Most groups possess enough damage to defeat Atheron. The real challenge is surviving his instant-kill mechanics. Prioritize positioning, preserve the crystals during bullet phases, disable macros before wipe mechanics, and react patiently instead of rushing damage. Players looking to optimize their progression may also consider cheap Aion 2 Kinah to improve their equipment more efficiently, but mastering these mechanics is ultimately what leads to consistent clears. By consistently surviving each mechanic, you'll steadily defeat Atheron and complete one of Aion 2's most rewarding encounters.