This Aion 2 guide explains how to maximize DPS by using macros to automate weaving-alternating basic attacks with skills. It covers macro setup, recommended rotations for every class, and practical tips for maintaining buffs, managing cooldowns, and optimizing damage throughout the early and mid-game.
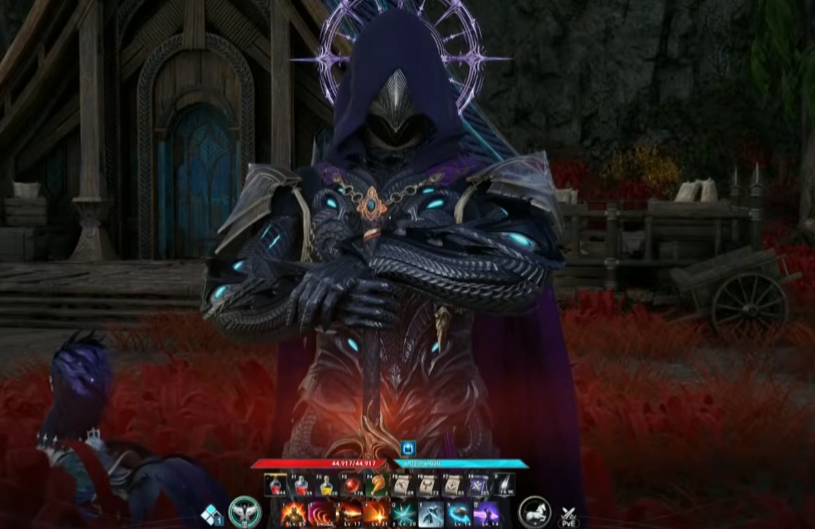
Understanding Weaving in Aion 2
Unlike many MMORPGs where players simply spam skills, Aion 2 rewards players for weaving basic attacks between abilities. This technique speeds up attack animations while increasing overall DPS. As you optimize your character and progression, many players also choose to buy Aion 2 Kinah to upgrade gear more quickly, allowing them to fully benefit from these efficient combat rotations.
Fortunately, the game's macro system automates much of this process. Instead of manually timing every basic attack, you can configure a macro that alternates between normal attacks and abilities. Before setting up any class-specific rotation, visit Settings → General → Macro and bind the macro button to a key or mouse button you can comfortably hold throughout combat.
The macro button becomes the foundation of every damage rotation.
Gladiator Rotation
The Gladiator offers one of the easiest macro setups for beginners.
Start by placing your buffs together, including Stamina Wave Armor and Divine Blessing. Next, organize your offensive skills with Ruin of Blow, Life Stealing Blade, Rage Burst, and Vengeful Slash, while placing Rampage and Rending Blow in a separate column.
Configure a macro that alternates between Ruin of Blow and Rampage. During combat:
· Activate all buffs.
· Hold the macro continuously.
· Refresh buffs immediately when they come off cooldown.
· Never stop pressing the macro.
This setup provides excellent sustained DPS from the earliest levels.
Templar Rotation
The Templar requires slightly more manual management.
Begin with your buff sequence:
· Battlefield Manner
· Flash Rampage
· Empyreal Lord's Punishment
· Executing Blade
Your debuff sequence should include Debilitating Blow followed by Shield Smite.
The macro itself contains Taunt, Judgment, and Vicious Strike. However, Punishment should never be included because its three-stage charge mechanic loses damage when macroed.
The combat flow is:
1. Activate buffs.
2. Fully charge and cast Punishment.
3. Use Guardian Strike.
4. Hold the macro continuously.
5. Reapply debuffs and buffs whenever available.
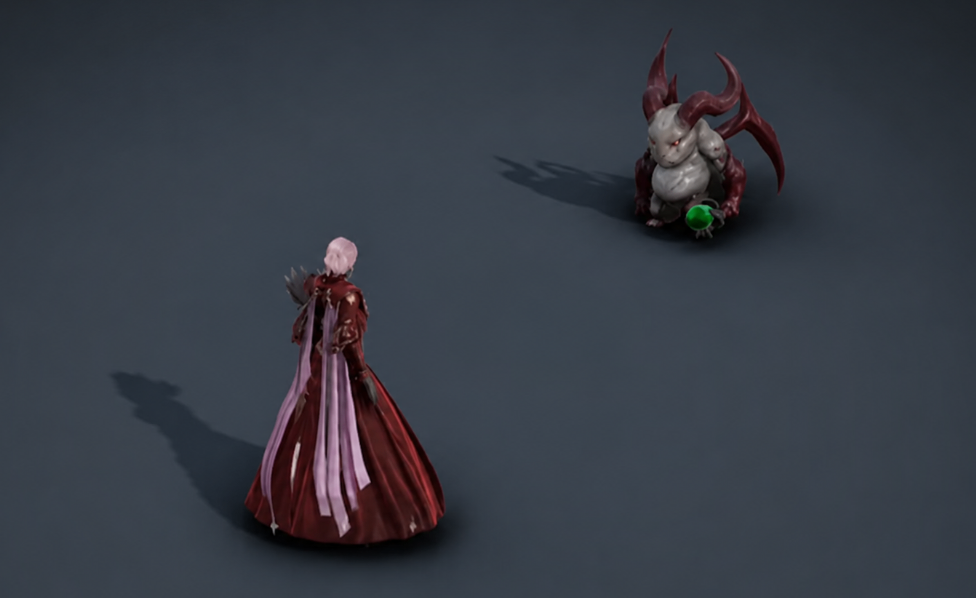
Assassin Rotation
The Assassin emphasizes burst damage supported by critical-hit resets.
Place Swift Counter and Illusory Clone together as buffs. Keep Trinity, Dagger Fan, and Ambush Shadow on an easily accessible hotkey.
Your macro should include:
· Shadow Strike
· Insignia Explosion
· Hardcore
· Quick Slice
Early-game players should use Savage Roar, while higher-level players can replace it once Hardcore gains its critical-hit reset effect.
Open with buffs, trigger your cooldown abilities, then maintain constant macro usage while refreshing cooldowns.
Ranger Rotation
The Ranger depends heavily on proper skill ordering.
Prepare a buff bar containing:
· Authority
· Bow of Blessing
· Supporting Fire
Keep Marking Shot and fully charged Charged Shot on separate keys, since Charged Shot cannot be effectively macroed.
The macro should prioritize:
· Gil Arrow
· Snipe
· Griffin
Additional skills such as Explosive Drill Shot, Tempest Shot, and Arrow Scatter Shot activate according to availability.
Maintain maximum efficiency by refreshing Marking Shot roughly every ten seconds while continuously using the macro.
Sorcerer Rotation
The Sorcerer features one of the longest setup sequences.
Start with buffs:
· Wizard's Concentration
· Element Enhancement
· Firewall
Next, cast the ice abilities:
· Winter Shackles
· Coldstone
· Bitter Cold
Charge Delayed Explosion and Hellfire manually since Hellfire has multiple charge levels.
Your macro alternates Firestone and Flame Arrow, weaving additional fire spells automatically.
Once your damage-over-time effects are established, simply cycle cooldowns while holding the macro.
Spirit Master Rotation
Spirit Master is among the easiest leveling classes.
Maintain buffs including:
· Brain Blessing
· Spirit Benediction
· Aing Spirit
· Corro
At lower levels, configure the macro to alternate summons and offensive skills:
· Water Spirit
· Joint Strike
· Elemental Fusion
· Dimensional Control
· Combustion
Higher-level players eventually replace several summons with basic attacks, retaining Water Spirit for its powerful single-target damage and resummoning it approximately every 15 seconds.
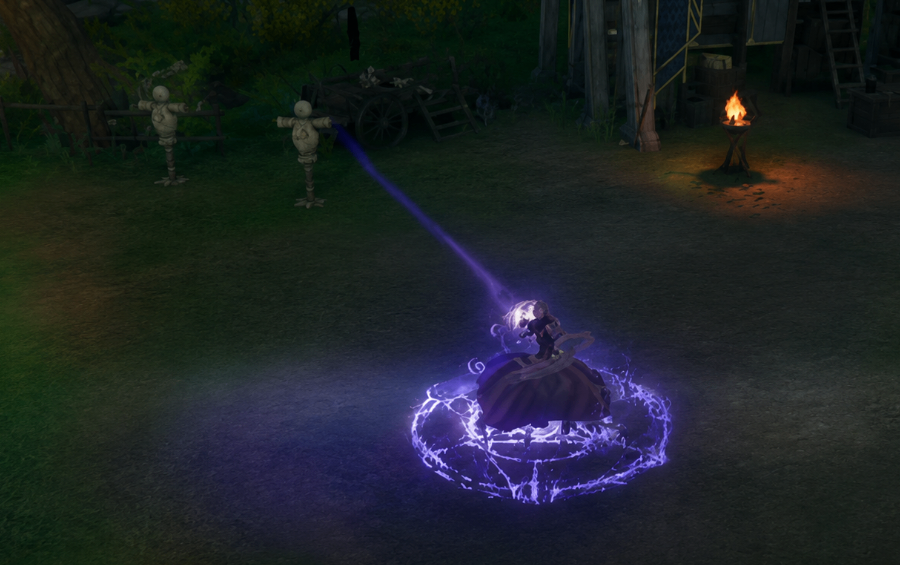
Chanter Rotation
Always maintain both Mantras before engaging enemies.
The primary macro alternates:
· Marutan
· Basic Attack
· Dark Crash
Outside the macro, continue using your major offensive abilities whenever available while balancing healing responsibilities. Although Chanter DPS is straightforward, mastering the class requires excellent awareness of both damage and party support.
Cleric Rotation
Despite being a support class, Clerics can produce respectable DPS.
Maintain:
· Noble Aura permanently
· Attack buff on cooldown
· Divine Aura
· Fully charged Bolt manually
Use Lightning Strike whenever bosses become staggered.
The macro should weave basic attacks between:
· Mark
· Chain of Torment
· Air Punishment
· Condemnation
Continue refreshing buffs while allowing the macro to handle your standard attack sequence.
Final Tips
These macro setups are designed primarily for the early and mid-game, where consistency matters more than perfect optimization. Keep in mind that macro delays should be adjusted according to your connection quality, as latency directly affects weaving efficiency. As you gain levels and unlock additional skills, you'll naturally refine your rotations, but these foundational setups provide reliable performance for nearly all launch content. Many players also look for cheap Aion 2 Kinah to accelerate their character progression and gear upgrades, helping them take full advantage of these optimized rotations. Master weaving early, keep your buffs active, refresh cooldowns promptly, and let your macros handle the rhythm of combat while you focus on positioning and encounter mechanics.