Weekend Drop -













summary
The ARC Raiders Emperor maze must now be completed legitimately following the glitch fix, but solo players can still reach the final room in approximately 10 minutes. With an efficient loadout, Snap Hook, and Zip Lines, players can navigate the puzzle quickly, avoid unnecessary combat, and collect valuable amplification modules and upgrade materials before extracting. Players looking to optimize their progression can also explore options to buy ARC Raiders Coins to support their in-game preparation and resource management.
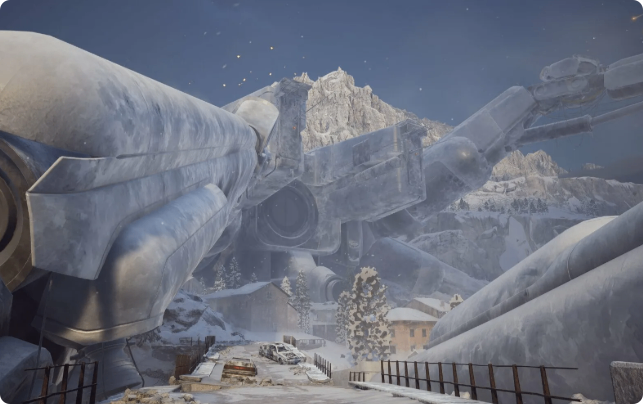
Best Loadout for the Emperor Maze
Preparation is essential for completing the Emperor encounter efficiently. While several weapons can handle the required targets, choosing equipment that balances damage, ammunition efficiency, and mobility will make the run significantly easier.
Equipment | Recommended Setup | Purpose |
Primary weapon | Bettina | Destroy yellow canisters efficiently |
Alternative weapons | Renegade or Anvil | Budget-friendly alternatives for destroying canisters |
Secondary weapon | Hullcracker | Deal with Hydras quickly when necessary |
Ammunition | At least 3 stacks for Bettina and 1 stack for Hullcracker | Maintain enough ammunition for the encounter |
Mobility equipment | Snap Hook or Grapple Hook | Cross obstacles and reach elevated platforms |
Utility equipment | 1–2 Zip Lines | Skip time-consuming platforming sections |
Healing | At least 1 stack of Stims and shield rechargers | Recover health and shields during the run |
Required item | Emperor Gateway Key | Access the Emperor encounter |
The Snap Hook is particularly useful because it speeds up traversal compared with the Grapple Hook. Zip Lines are equally valuable, allowing players to bypass difficult platforming sections and reach certain doorways directly.
How to Complete the Emperor Maze Step by Step
1. Enter the Facility and Destroy the Canisters
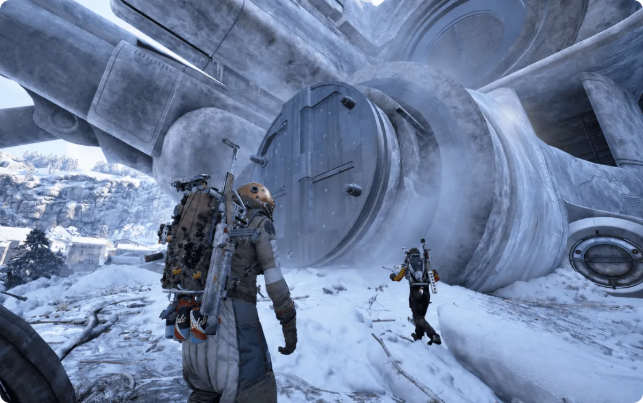
After entering the Emperor facility, avoid the electrical boxes scattered around the opening area. Touching them causes damage and wastes valuable time.
A Hydra usually guards the initial route. Players can use smoke to obscure its vision, cross with a Snap Hook, and deploy a Barricade Kit to reduce the risk of incoming fire. Once past this section, focus on destroying the yellow canisters.
The Bettina requires approximately seven shots per canister, making it an effective choice for ammunition management. After the initial targets are destroyed, additional wall-mounted canisters will appear and must also be cleared.
2. Follow the White-Lighted Doorways
The central challenge involves navigating moving platforms, vertical passages, and multiple maze layouts. The most important rule is to look for doorways illuminated by white lights. These indicate the routes players should take to progress through the puzzle.
Yellow-lit doorways generally indicate an exit or a route back toward the starting area, so avoid confusing them with the correct progression path.
Use the moving circular platforms to climb between levels, waiting for them to reach a safe position before jumping. The exact puzzle sequence can vary between runs, but the available layouts ultimately lead to the same destination.
3. Use Mobility Tools to Save Time
Several sections contain lasers, moving obstacles, elevated platforms, and breachable containers. Players aiming for a fast completion should prioritize movement over optional loot.
Obstacle or Section | Recommended Strategy |
Moving platforms | Wait for a safe position before jumping |
Elevated ledges | Use the Snap Hook whenever practical |
Laser corridors | Move through carefully or use Barricade Kits |
Large platforming gaps | Deploy Zip Lines to shorten the route |
Breachable containers | Skip optional containers when speed matters |
Maze intersections | Follow white-lit doorways and avoid exit routes |
The Zip Line is especially useful in sections where two possible doorways sit at different elevations. Setting up a line can bypass substantial portions of the surrounding platforming.
4. Reach the Final Room
The later maze section requires players to find the correct doorway and climb through several elevated platforms. Pay close attention to the lighting, particularly when a yellow-lit exit appears near a white-lit progression route.
Once the correct path is identified, continue upward and move toward the final room. With a suitable loadout and minimal detours, the entire puzzle can be completed in around 10 minutes.
How to Loot the Final Room Safely
Reaching the final room is only part of the objective. Once the red lights activate, a Vaporizer and smaller ARC enemies may appear outside. Do not engage them immediately. Instead, remain inside and allow them time to lose interest and leave.
Shoot the remaining canisters to unlock the available loot. Additional ARC enemies may spawn as more canisters are destroyed, so wait for them to disengage before continuing whenever possible.
Prioritize the following items:
· Purple amplification components: Important for weapon amplification upgrades.
· Amplification modules: Higher-level modules are particularly valuable for improving weapons.
· ARC Data Modules: Can be broken down for research points.
· Weapon components: Useful for future crafting, upgrades, and repairs.
Level 5 amplification modules are particularly desirable for legendary weapons, while Level 4 modules support epic weapons. Lower-level modules can still provide useful upgrade materials or repair resources.
Inventory management also matters. Skip low-value items when space is limited, and consider leaving behind equipment that can be crafted easily.
Final Thoughts
The Emperor maze is no longer something players can bypass using the previously available glitch. However, the intended route remains achievable in approximately 10 minutes with efficient movement, suitable weapons, and a clear understanding of the white-light doorway system. Players looking to streamline their overall progression can also consider cheap ARC Raiders Coins to support their resource management and prepare for future challenges.
Allowing another five minutes for looting can bring the overall objective to around 15 minutes, depending on how many optional containers you open. Bring a Snap Hook, one or two Zip Lines, sufficient ammunition, and the Emperor Gateway Key to maximize your chances of completing the encounter and extracting with valuable amplification materials.