Weekend Drop -













Summary
WARDOGS Season 2 is just on the horizon, and with it comes a wipe of all your hard-earned money, XP, weapons, and gear, meaning all your WARDOGS Cash will be gone as well. Since everything resets to zero, the only logical thing to do is start grinding again.
But this time, we can do it 10 times faster. Based on early patch notes and everything learned from Season 1, this guide covers the fastest ways to level every infantry class in WARDOGS.
Important note: Pilots and drivers are not covered in this guide. There is unfortunately no secret fast method for leveling those roles.
Three Universal Rules That Apply to Every Class
Before diving into specific classes, three principles apply to all classes:
1. Stick Around Until the Match Ends
Match completion XP accounts for up to 40% of your total XP gain. The developers revealed this bonus directly. No matter which class you play, stay in the match until it ends.
2. Join Lonestar (Blue Team) During Season 2
During Season 2, the Lonestar faction receives a cash and XP bonus just for joining that team. If you want to level as fast as possible, spam-click that blue icon.
3. Season 2 Exclusive: Consecutive Supply Run Bonus
Support players receive a cash bonus for consecutive supply runs in Season 2, earning an additional $125 and 50 XP per pallet.
1. Assault: Destroy Everything, Not Just Kill Everything
Assault is finally getting a much-needed rework in Season 2. You can now gain massive XP without simply shooting enemies.
Core Mechanic: Destroying FOBs and Buildables
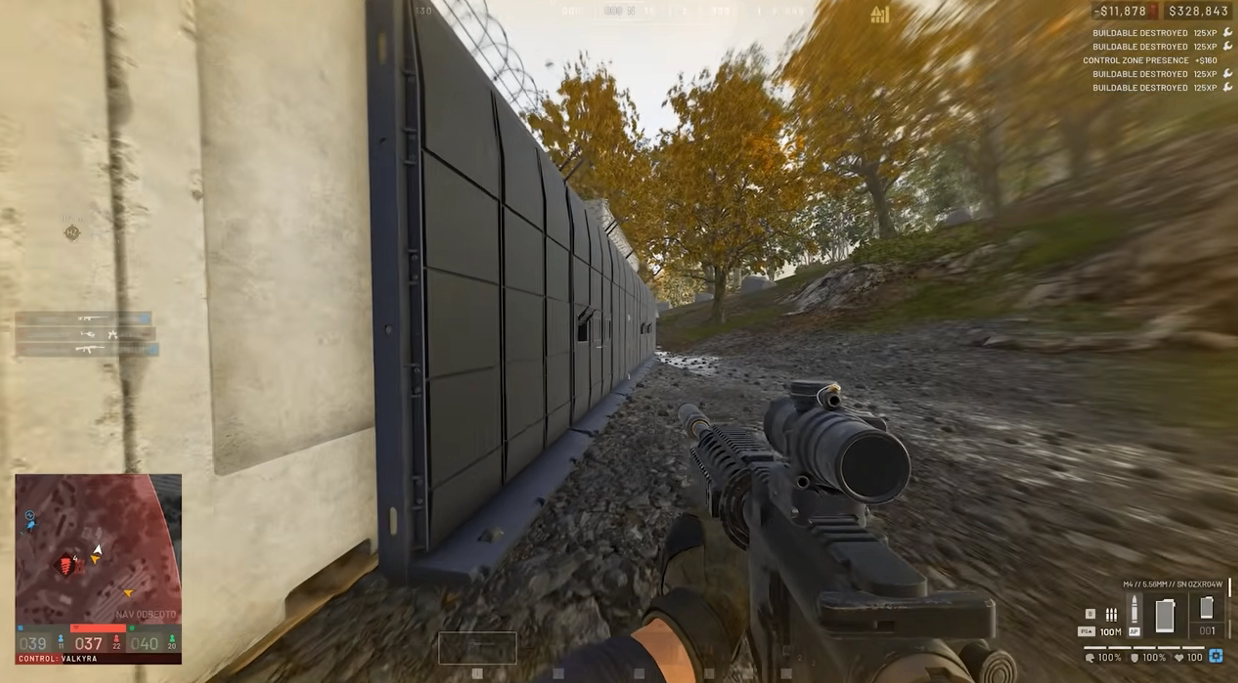
Assault is now the destruction class. You earn assault XP for destroying enemy FOBs or buildables.
XP Calculation Logic:
XP earned is roughly equivalent to 25% of the cash value of what you destroyed
Priority targets: Base defensives, APCs, drills, the FOB itself
Two Options for Handling Enemy FOBs
Option | XP Reward | Additional Effect |
Hack | 250 Assault XP | Grants bonuses to nearby teammates |
Destroy | 500 XP + up to 250 XP bonus | Based on supplies inside the FOB |
Recommendation: Use one well-placed IED to destroy the FOB. C4 is inconsistent for destroying FOBs.
Secondary XP Sources
Capturing towers: 300 XP per tower
Capturing drill towers: Enter the code for a large chunk of assault XP
Recommended Loadout
AK74 auto-unlocks, price reduced by 50%, making it the best early choice
Grenades: Bring 2-4 per kit, unlocked early, perfect for capitalizing on additional assault XP
2. Medic: The Most Profitable Class
Medic is not only one of the best classes to level, but it's also unbelievably profitable, even at low levels.
Key Unlock Changes (Season 2)
Item | Unlock Level Change |
Defibrillator | Now requires Level 22 |
Medical Bag | Reduced to Level 14 |
Adrenaline Stims | Level 16, 100 XP per stim |
Core Strategy: Rush to Level 16
The goal: reach Medic Level 16 as quickly as possible to unlock Medical Bag + Adrenaline Stims.
Medical Bag passive healing provides massive XP for every heal and revive. Adrenaline Stims grant 100 XP per friendly use.
Recommended Loadout
AMP-9: One of the best weapons in the game, 250 Medic XP per kill
9mm Hollowpoint Ammo: Unlocked at Player Level 10, letting you exploit the meta very early
Resuscitators: Bring 3-4
Smokes: Cover difficult revives
Two Practical Tips
Open the map and press H: See all teammates' health
Hold a healing item: Shows nearby teammates' health
3. Support: Building and Logistics, Not Combat
Support's leveling methods haven't changed much. Building supply deposits, anti-air, and base offensives remain the best paths.
Core Method
Supply runs through Ural or Lakota are extremely profitable, and with the Season 2 consecutive bonus, you can earn serious cash.
Important tip: You don't need to personally deposit supplies into the FOB. Even if someone else helps deposit, you still earn XP.
Goal: Rush to Level 8
The personal goal is to rush Level 8 to unlock the Large Hammer.
Purchasing the FOB grants the Medium Hammer
If you can't purchase the FOB, focus on supply runs
Combat Alternative
If you don't want to only build, the Support weapons' Double Barrel Shotgun is the first Support weapon unlocked.
Everyone has Tier 1-2 armor early in Season 2
Shotguns are extremely lethal in low-armor environments
PKM and its bipod have both been dropped to Level 15 and 17 unlocks.
Advanced Technique: Supply Crate Economy
If you level quickly and get high-tier weapons early:
Buy a Kodiak
Grab a supply crate
Pack it with weapons and ammo your teammates want
Immediately profit and gain XP from the purchase
Teammates' kills or assists earn you additional cash and Support XP
4. Recon: Spotting Is King, Sniping Is Secondary
Recon is by far the easiest class to make money with, and the new M14 looks absolutely amazing.
Core Mechanic: Spotting
Spotting tools remain the fastest way to level Recon, despite a ~30% reward nerf in Season 2.
Nerf details:
Only affects money earned when non-allied factions destroy your spotted targets
Applies to players, vehicles, and buildables
Spotting is still easily the fastest Recon XP source
Price changes:
Spotting tools increased 100%-360%
Infrared binoculars now require batteries (~80 seconds of active use)
Best Spotting Locations by Map
Bakarani:
Buy a spotting tool, parachute, and helicopter
Immediately fly to the smokestack near Tower 3
Time your jump to parachute onto the smokestack
Go prone and start spotting the rain of soldiers rushing into battle
Ozai:
Stadium lights are often overlooked
Go prone in the southwesternmost tower
Lights and railings provide cover
Zestafana:
The giant smokestack remains extremely effective with 360° vision
Don't go prone—crouch near the edge
If too many players contest it, switch to the southwest smokestack
Sniping Alternative
Scout rifles receive buff in Season 2:
Scout rifle headshots can one-shot players without helmets
Tier 1 helmets require two shots
DMRs are nerfed across the board—stick to sniper rifles for a consistent leveling experience.

5. Conclusion
Class | Core Fast-Leveling Method | Key Level | Notes |
Assault | Destroy FOBs and buildables | AK74 auto-unlocks | Destroy FOB = 500 XP |
Medic | Rush Level 16, use Medical Bag and Stims | Level 16 (Bag + Stims) | AMP-9 = 250 XP per kill |
Support | Supply runs + building | Level 8 (Large Hammer) | Consecutive supply bonus |
Recon | Spotting primary, sniping secondary | — | Spotting remains core |
Universal principles: Finish matches (40% XP), join Lonestar, and exploit Season 2 bonuses.
Master these methods, and you'll re-unlock all class gear far faster than everyone else after the wipe.