Weekend Drop -













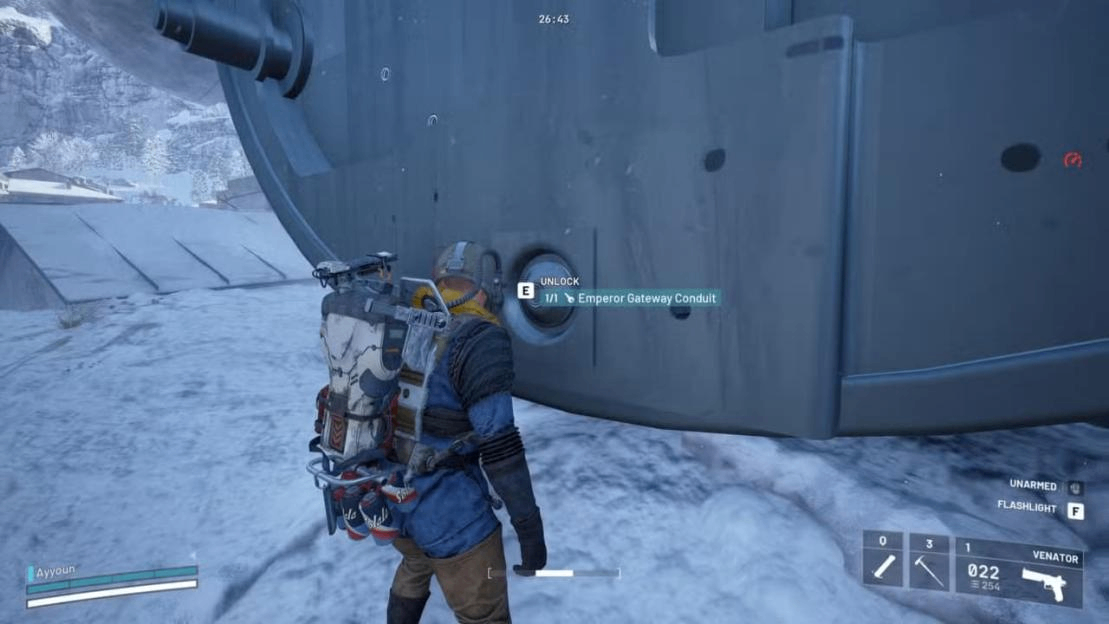
To farm an Emperor Modulator in ARC Raiders, open the Fallen Emperor on Pendola Pass with an Emperor Gateway Conduit, search its internal pods and canisters, and extract with the material for Gunsmith IV.
The Modulator can appear before the final room. If you find one early, you can use an accessible return route without completing every remaining puzzle.
Rooms appear in different configurations and orders. Learn the landmarks and mechanisms instead of memorizing one continuous speedrun. No container guarantees a Modulator, and a first clear can take substantially longer than experienced players' reported 7 to 15 minutes.
Quick Start for Key Holders
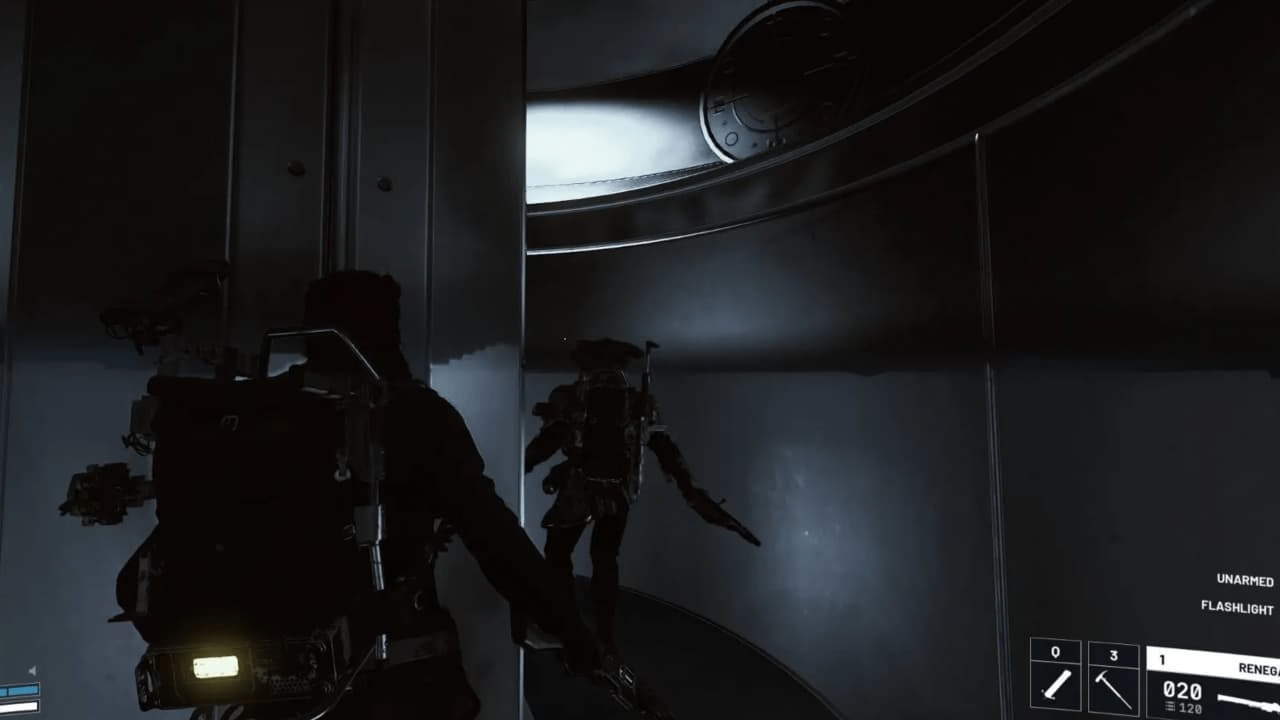
Already have the key? Open the hatch at the Emperor's base, then follow this ARC Raiders dungeon loop:
1. Pass the first Hydra, destroy the opening room's eight yellow targets, and ride the lift onward.
2. Identify each room using the table below. White-lit doors continue the trials; yellow-lit doors lead toward a return or exit route.
3. Search pods beside safe landings. If a Modulator drops, use the early-retreat plan below.
4. In the final hangar, take cover and destroy the six wall nodes in stages. Recheck ARC activity after the roof opens before looting.
5. Leave the wreck, then reach a map extraction. The dungeon exit itself does not extract your loot.
Need a key first? Use the Gateway Conduit section at the end before attempting this loop.
Solo Survival Tips
Grappling Hook or Snap Hook
For an ARC Raiders player repeatedly dying to missed landings, start with a repaired Grappling Hook. Its tethered climbing gives you more control over the approach. A Snap Hook suits familiar gaps where you already know the launch angle and landing.
Tool | Best Use | Tradeoff |
Grappling Hook | Learning shafts and approaching raised ledges deliberately | Requires a usable attachment and controlled climb |
Snap Hook | Crossing a known gap or skipping a platform wait | A bad launch can carry you into electricity or open space |
Both | Learning with a backup if one tool breaks | More equipment and inventory space committed |
When preparing ARC Raiders Items for a learning run, prioritize movement-tool durability, healing and usable ammunition. Bring a firearm for nodes and small ARC.
A Hullcracker provides a fallback when a Hydra blocks your crossing; experienced players who reliably bypass it can leave the extra weapon behind.
Heal between Hazards
Recover health on stable ground after a fall or electrical hit, before attempting the next exposed crossing.
Restore shields behind cover after enemy fire. In the laser room, reach solid beam cover before healing; full health does not make an active beam safe.
Treat orange or red pods as explosive containers. Breaching starts their short detonation window: take the priority item and back away when beeping begins. Skip these pods during a rushed retreat. Do not remain in the search interface to empty them.
Random-Room Quick Reference
Match the room in front of you to its mechanism. These ARC Raiders rooms are not guaranteed to appear in this order.
Room and Landmark | Mechanism Location | Operation | Main Danger | Way Onward |
Opening lift and Hydra | Yellow targets on the central mechanism and walls | Destroy eight targets; board the lowered step | Electrified surfaces and crushing gap | White-lit lift stop |
Gas room with closing walls | Central floor dip where present | Wait below the moving walls, then cross when open | Stamina loss and crushing | Raised ledges or ladder beyond the walls |
Compactor corridor | Moving wall sections along the passage | Wait for retraction; move behind the closing sections | Entering a closing wall's path | Door beyond the compactor |
Pillars or moving platforms | Yellow nodes or lowered boarding surface | Activate the lift where needed; ride one stage | Crushing at the top | Raised white-lit doorway |
Partitioned maze | Four yellow nodes, or one unlocked door | Solve the visible variant | Backtracking into the entrance; small ARC | Newly opened or unlocked door |
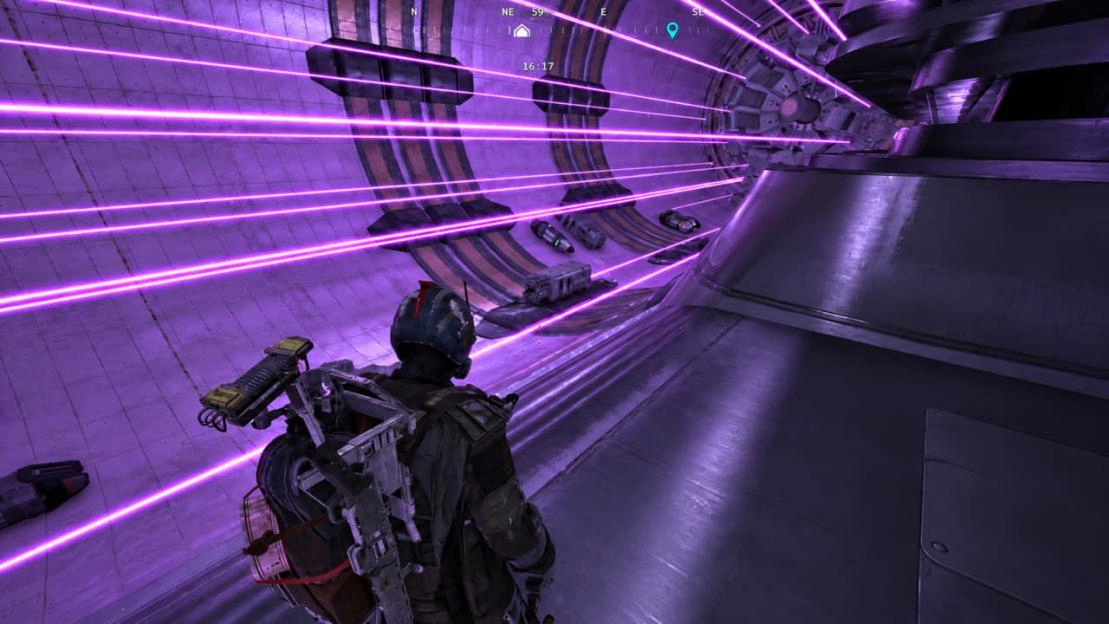
Spinning laser tunnel | Central drum | Crouch behind it between crossings | Rotating beams | Far tunnel opening |
Moving-container shaft | Rising container and side ledges | Board, transfer to a ledge, take the ladder | Missed jump or long fall | Lower passage toward the hangar |
Hydra: Cover, Then a Landing
At the first Hydra, use the large metal crate on the left of the approach to break its firing line. From cover, identify the platform you intend to reach. Bypass the turret with your movement tool only after checking that landing for blue electrical surfaces.
If the launch misses, recover behind the crate before trying again. If enemy fire repeatedly prevents aiming, clear the Hydra from cover with your anti-ARC weapon. Fighting one blocking turret is preferable to repeating an exposed jump that has already failed.
Later Hydra rooms can be entered from above or below. Locate the white-lit exit before descending or climbing onto the container track. Keep the route short and clear only enemies that prevent that crossing; killing every Hydra is not an unlock requirement.
Gas and Crushers: Find the Refuge
In the gas variant with a recessed center, drop into that floor depression and let the walls pass above. Move out once they retract, then climb toward the far ledges. Do not substitute an arbitrary corner for the visible depression.
For the compactor corridor approached from the pillar lift, wait for retraction, run toward the end without a door, then turn left. As the walls press inward again, cross the space behind them toward the onward doorway. Use this direction only when the room matches that approach.
If a side recess is available, confirm it lies outside the moving wall's sweep before using it to wait. A hook can shorten the climb above the machinery, but only after you identify the upper ledge and far door. Skip recessed loot while learning the timing.
Platforms and Maze Recovery
Board a piston or lift when its raised step is at the bottom. Ride upward and step off at the white-lit doorway before reaching the crushing ceiling. If you miss boarding, wait for its return. On ladder sections, turn around at the landing to locate the next container before jumping.
Where the next landing is an electrified box, shoot it to discharge it before stepping onto it; cross during that short safe window. This does not make every blue electrical surface safe to touch.
In the four-node maze, destroy the full set and check the newly opened route. In the door-search variant, sweep the outer partitions until you find the unlocked door. The correct corner varies. Returning up the entry ladders repeats the previous section; resume at the last unchecked branch instead.
Lasers: Use the Central Drum
In the spinning-laser tunnel, crouch behind the central drum so it blocks the beams. Watch a rotation from there. Leave cover after a beam passes your intended crossing, move to the next solid obstruction, and stop before another exposed segment.
If the gap closes, remain behind the obstruction for another cycle. Do not stand up to heal while a beam is crossing the drum. A hook shortcut is optional; for repeated laser deaths, use the visible cover and walking intervals first. Other laser arrangements require their own cover checks.
Afterward, wait for the moving container to reach boarding height, transfer to the side ledge, and descend by the ladder. Use intermediate platforms through shafts; one long drop can kill you even after the lasers are behind you
Final Vault without a Vaporizer Fight
Take Cover before Shooting
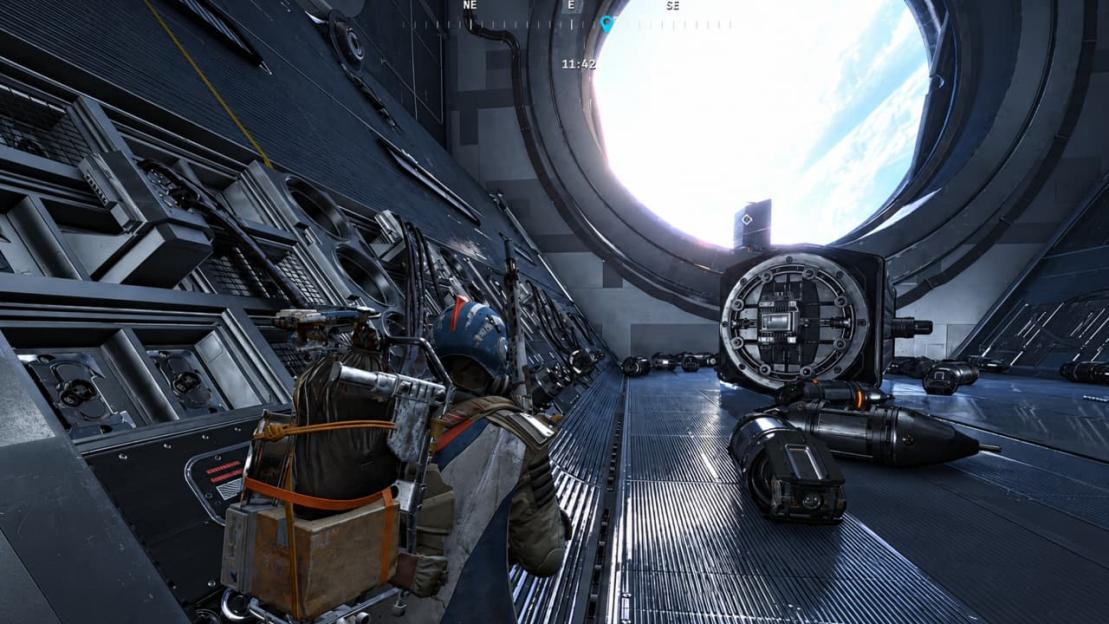
On entering the final ARC Raiders hangar, locate the collapsed container and get beneath its solid structure. Check for existing ARC and keep the container between you and incoming fire.
If enemies are already targeting you, stop shooting and wait behind cover. Start the node sequence when you can aim without sustained incoming fire. A quiet room before activation does not mean it will stay safe afterward.
Open the Loot in Stages
From cover, locate three yellow wall nodes on each side, six in total. Destroy them in stages, returning behind the container whenever incoming fire interrupts your aim.
Destroy the full set to expose the wall loot containers and open the roof, which can let in flying ARC, including a Vaporizer.
After the roof opens, return to cover and reassess enemy movement. Wait for incoming attacks to stop and the route to the containers to clear before looting, even if ARC had lost interest earlier. An elapsed timer alone does not make the crossing safe.
Clear small ARC that enter your cover. If the Vaporizer keeps targeting you, remain protected. If supplies or time force a retreat, use a still-accessible route only when the crossing is clear.
Plan your ARC Raiders Coins budget with replacement equipment and key materials in mind. Bank useful Amplification Modules and ARC Data Modules even if the Modulator does not appear; restart after repairs and resupply.
If loot remains locked, check both walls for a missed node. Search one side systematically, then the other. Recheck raised ledges and the area around your entry platform for containers above floor level.
Hook up only after identifying a stable landing; otherwise leave that container and preserve the run.
Found a Modulator Early
You do not need a full clear solely to keep a Modulator already collected inside the Emperor. Secure it in an available Safe Pocket if your augment permits, then stop optional searches.
In ARC Raiders, useful modules can still make the final hangar tempting, but reaching it adds more hazards after your main objective is complete.
Look for an accessible yellow-lit return door in your current area. Follow that route toward the base elevator or exterior, then descend the exit ladder where provided. If no return door is accessible, check the last safely reversible junction. Do not jump backward into a shaft or assume a locked door will open because you found the item.
Continue toward the next usable return route only when reversing would require a dangerous climb or drop. The final hangar's side exits depend on its node sequence; they are not a universal early escape. Once outside, choose an available extraction on the map and keep healing for that journey.
Loot Priorities and Gunsmith IV
The final room has many searchable containers, but it does not guarantee an Emperor Modulator. No reliable percentage establishes a best individual pod. Along the route, search convenient internal containers and skip detours that require another hazardous crossing.
Sort valuable ARC Raiders Items behind cover before leaving. Keep enough ammunition and healing for extraction; surplus common loot is the first thing to drop when space is tight. After securing your first Modulator, reserve these materials to upgrade an existing Gunsmith III:
Gunsmith IV Material | Required Amount |
Emperor Modulator | 1 |
Radial Press | 3 |
Magnetic Accelerator | 3 |
The upgrade also requires Outpost Level 4. Unlocking the Outpost alone is insufficient; reach Level 4 before using the materials to upgrade your Gunsmith. Weapon-amplification research is separate from this bench upgrade.
Gateway Conduit and Dungeon Entry
To prepare a key, queue Pendola Pass during Redirection. Search an active Damaged Emperor Relay for an Emperor Beacon, deploy it beneath open sky, and move away until the falling debris stops.
Search the main Harvester Payload for the blueprint and Couplers; the blueprint is not guaranteed.
Extract, learn the blueprint in Speranza, and craft at Workbench Level 1 using one ARC Conductive Coupler, one ARC Insulated Coupler, and one ARC Plated Coupler. Opening the Emperor's base hatch consumes the Conduit. A regular Pendola Pass raid can host the dungeon run; Redirection is for gathering key materials.
This ARC Raiders guide assumes standard PvPvE. Redirection is unavailable during the October 13 to 20 PvE beta.
Use the intended entrance: October 13's 2.1.0 fixed certain Emperor door interactions, while October 16's 2.1.1 addressed locked-room access and duplication more broadly. Neither notice supplies a complete list of every possible shortcut.