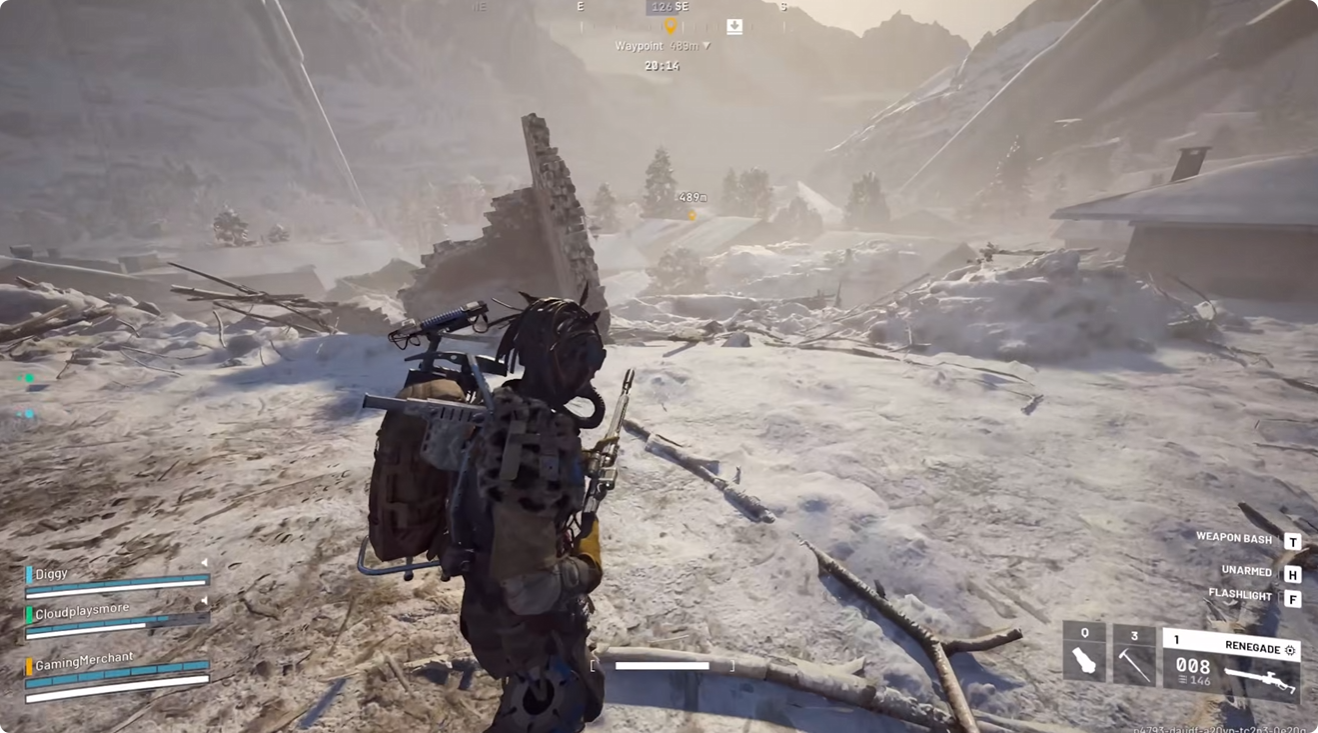
For high damage arc scores with heavy ammo, focus on reliable farming, not flashy targets. Stella Montis night raids are strong because Shredders spawn often and give steady points, letting me reach 11,799. Managing ARC Raiders Coins effectively can also help players prepare the right equipment and resources for these high-efficiency runs. If the lobby is crowded, Bird City in Buried City is a solid backup. It can match Stella's score, and in an empty lobby it may even do better.

Pick targets by efficiency
When you plan a scoring route, don't focus only on the biggest enemies. Ask yourself:
Can I realistically get the kill myself?
Can I get full damage and full trial points before someone interferes?
Can I kill multiple small enemies faster than one big target?
Large ARC enemies can give huge points, but they are hard to fully solo, especially with slow heavy ammo weapons. That's why I focused on enemies that spawn often and can be cleared quickly.
For example:
Hornet / Firefly: 140 points each
Rocketeer / Leaper: 770 points
If you can kill five Hornets or Fireflies faster than one Rocketeer, the smaller enemies are better value. Time-to-kill matters more than the score number.
Recommended loadout
I used the same core setup for both routes:
Lots of heavy ammo
Adrenaline shots
Healing and shielding items
Photoelectric Cloak
Snap Hook
Zip lines
Bring enough ammo to let your weapons go from full durability to broken by the end of the match. That keeps every slot useful.
Stella Montis route: farm Shredders
On Stella Montis, go straight for the areas with the highest Shredder density:
Robotic Sandbox Lobby
Cultural Archives
Atrium
Medical Research
Atrium can spawn two to three Shredders, and that kind of spawn can carry a run.

How to kill Shredders efficiently
Don't shoot the armored side panels first. That just wastes damage. Instead:
Aim for the thrusters
Try to destroy two of the three thrusters
Once mobility drops, the Shredder is much easier to finish
Ammo use looks like this:
Patina: about 24 shots
Anvil: about 8 to 9 shots if you hit the thrusters well
If one weapon breaks early, swap to the other and keep going.
Handle small disruptors
You'll also see:
Ticks
Fireballs
Pops
They don't give much score:
Ticks = 7 points
Pops / Fireballs = 14 points
Still, it's worth clearing them if they get in your way.
Best Stella loop
My preferred route was:
Cultural Archives → Robotic Sandboxes → Metro → Lobby → Atrium → back to Cultural Archives
Check:
Robotic Sandbox A
The control room above it
Robotic Sandbox B
Keep moving through high-value rooms and return only after enemies have respawned. If a room is empty, don't wait—push forward and backtrack later.
Extract early
Night raid gives better spawn density, but the end of the match gets dangerous fast. Start thinking about extraction with 5 minutes left, or even 10 minutes if your route is awkward.
If the extraction is far away, adjust your loop early so you don't waste points on a long escape.
Bird City alternative: easier small ARC farming
If Stella is too crowded, go to Oldtown in Bird City. That area is packed with small ARC spawns:
Fireflies
Hornets
Wasps
Snitches
This route is simpler: rooftop movement, steady farming, and less pressure.
How to run Bird City
Take a rooftop with a safe drop to an attic or lower path
Keep moving across rooftops
Avoid getting trapped by Hornets or Fireflies
Use your escape route if needed
Flyer scoring tip
Try to kill flyers before they hit the ground. If they crash and keep spinning, you may lose damage efficiency and miss full trial points.
For that reason, I recommend:
Shooting center mass
Using Anvil or Patina for fast kills
For small flyers, Anvil is especially efficient. It can usually kill a Wasp in about 3 shots, while Patina may take 7 to 10.
Extra Bird City bonus
If another player is already fighting a Rocketeer or Bombardier, add some damage. That is free points with less risk. Having enough resources through options like buy ARC Raiders Coins can also help players prepare better gear and improve their chances during these encounters.
Also, Bird City lets you use a Raider Hat, but bring a Hatch Key. The hatch near Oldtown is close and easy to reach, especially with zip lines.

Final advice
Use the route that fits your lobby:
Stella Montis for Shredder density and strong solo scoring
Bird City for a cleaner small-ARC farm
The key is to keep moving, choose efficient targets, and plan extraction early. Do that, and both routes can produce strong scores.