Summary
A new ARC Raiders solo damage run has pushed the Hullcracker setup to an impressive 38.9K damage score on Spaceport Night Raid. The run also earned more than 104K ARC damage XP, proving that a carefully planned route, efficient zipline placement, and the right Hullcracker loadout can make a huge difference. Players looking to prepare the necessary gear can also check out ARC Raiders Items. The key change is a new route that uses fewer ziplines while reducing wasted movement and dependence on Bombader spawn RNG.
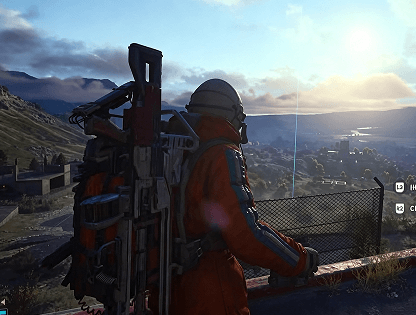
1. The New Hullcracker Strategy Reaches 38.9K
The biggest improvement comes from changing the way the run approaches large ARC enemies.
Instead of building an extensive central zipline network and preparing separate routes for multiple Bombader locations, the new strategy uses three fewer ziplines. This saves setup time and gives the player another stack of Hullcracker ammunition.
The run finished at 38.9K damage, just short of 39K. More importantly, the setup still had roughly a stack and a half of Hullcracker ammo remaining, showing that the full 15-stack ammunition setup is not always required if most shots land accurately.
The run also passed 150K total trial score, making the route particularly useful for players trying to push their Spaceport damage numbers higher.
2. Why the New Zipline Route Works
The main problem with the older route was its dependence on Bombader spawns.
If a Bombader failed to appear at the expected location, the player could lose valuable time setting up ziplines that were no longer useful. The new route avoids much of that downtime.
The recommended setup uses:
15 purple ziplines for the main route
3 pink extract ziplines
Up to 6 total stacks
One spare zipline for unexpected situations or route mistakes
The exact extract setup changes depending on the final extraction location. If the extraction is at the control tower, use the corresponding three extract ziplines. For the central elevator extraction, two are generally used, leaving another available for flexibility.
The route should also account for the player's spawn. Ideally, the final extraction should be on the opposite side of the map. This creates a useful return path and allows the player to continue dealing damage while moving toward extraction.
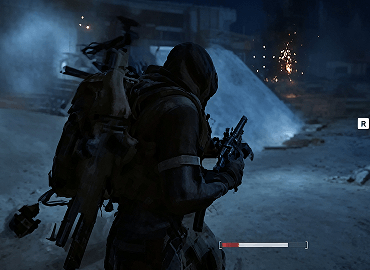
3. Bombader Spawn Timing Can Be Unreliable
One important warning from the run is that Bombader spawns may not always happen at the expected time.
The Bombader near the hatch previously appeared around the expected seven-minute mark, but during this run it spawned much later. Another early Bombader also failed to appear until the player moved closer.
Because of this, don't stand around waiting for a single ARC enemy.
If a Bombader is late, use the time to attack Rocketeers, Vaporizers, Leapers, or other available ARC enemies. The goal is to keep dealing damage instead of losing valuable seconds.
This also makes the new route less dependent on perfect RNG.
4. Best Hullcracker Loadout for Solo Damage
The core of the build is double Hullcracker.
Before engaging a large ARC enemy, reload both weapons so they are ready with five shots each. This gives you 10 immediate shots without needing to reload during the engagement.
Approximate ammunition requirements are:
Bombader: around 10–11 Hullcracker shots
Bastion: around 10–11 shots when targeting its weak point
Rocketeer: roughly 7 shots depending on hit placement
The rest of the loadout focuses on mobility and survival.
Survivor is used as the augment, while the Anvil provides 60 rounds for smaller targets, PvP situations, ticks, fireballs, and other enemies that aren't worth wasting Hullcracker ammunition on.
Two stacks of Adrenaline help maintain stamina while dodging Bombader missiles and other ARC attacks. Basic shields and Vita Spray provide efficient healing, while Photo Cloak offers an emergency escape option.
For mobility, Snap Hook is essential. Combined with the zipline route, it allows the player to move quickly between damage targets without wasting too much time.
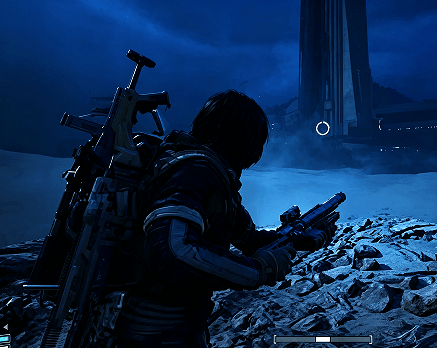
5. How to Push the Score Even Higher
The 38.9K run still lost some potential damage because other players accidentally damaged several large ARC enemies.
That means the route itself may have room for an even higher score.
The most important rule is simple: prepare your Hullcrackers before every major engagement, keep moving between targets, and never waste time waiting for a potentially delayed spawn.
With accurate Hullcracker shots, efficient zipline placement, and a favorable extraction, this Spaceport Night Raid strategy provides a strong foundation for players chasing higher ARC Raiders damage scores. If you need to prepare your gear before attempting the run, you can also check out ARC Raiders Items for sale.