Can a plain pistol really become an infinite-ammo explosion machine that shreds zombie waves, boosts mobility, and carries you deep into high rounds? The new Grid Breaker Yager in Black Ops 7 Zombies does exactly that. In this guide, I’ll break down how to unlock it, the best attachment setup, why its handling matters more than its stats, and how to make it work from early waves all the way to round 50 on Eidolon Lighthouse Survival. If you want a weapon that melts crowds, moves fast, and feels absurdly satisfying in the right hands, this is the one to master.
How to Unlock the Grid Breaker Yager
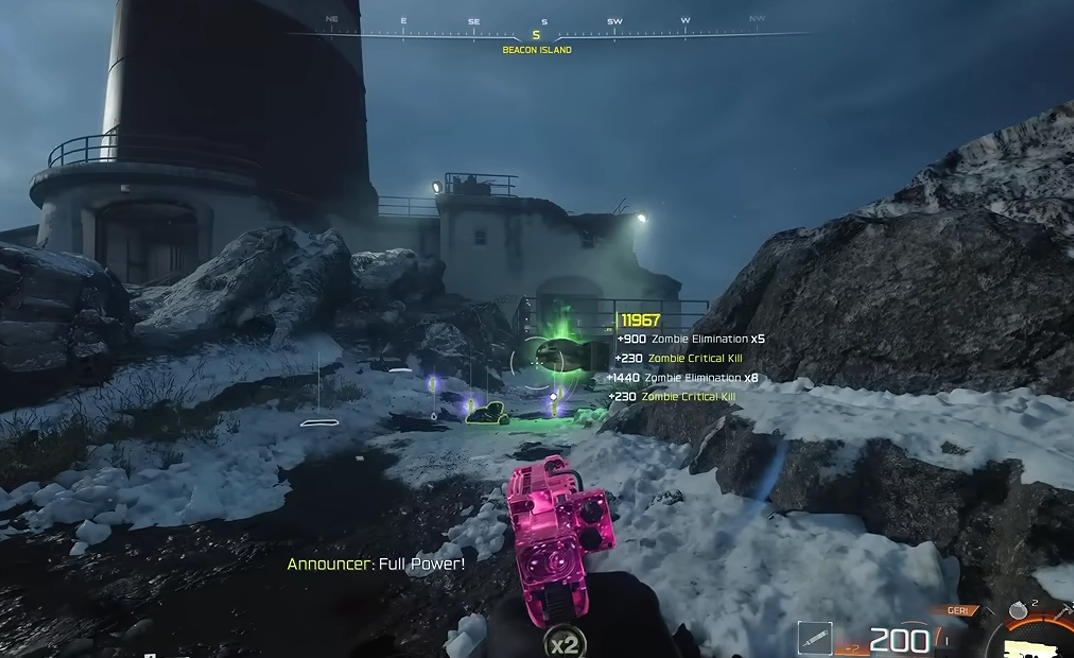
Season 5 Week 1 introduces the Yager 45 Grid Breaker Kit, and unlocking it requires completing the Zombies-specific challenges tied to the new attachment.
What matters here
· It is tied directly to the Season 5 week one challenge set
· The unlock is Zombies-focused
· Once obtained, it fundamentally changes how the pistol behaves
Why this matters
This is not a casual side upgrade. It is a build-defining attachment that transforms the weapon into a unique crowd-control tool. If you like chasing new seasonal content, this is an early must-grab.
The Only Build That Really Matters
The attachment setup is extremely limited. You can equip only three attachments, because everything else is blocked.
Best setup
Barrel: Grid Breaker Barrel
· Gives the weapon its EMP-style explosive blast
· Greatly improves movement speed and handling
· Grants infinite ammo
· Introduces an overheat mechanic, so firing must be paced
Rear Grip: Sprint-to-Fire Grip
· Best choice because the weapon cannot properly aim down sights
· Improves how quickly you can fire from movement
Laser: Rapid Sight Motion Laser
· Better than the steady aim option
· Gives a significant sprint-to-fire boost
· Makes the weapon feel almost instant from the hip
Important takeaway
Ignore the misleading stat sheet penalties. The real value is in:
· Movement speed
· Handling
· Sprint-to-fire speed
That is what makes this weapon shine.
Why Stamina-Up Becomes Your Best Friend
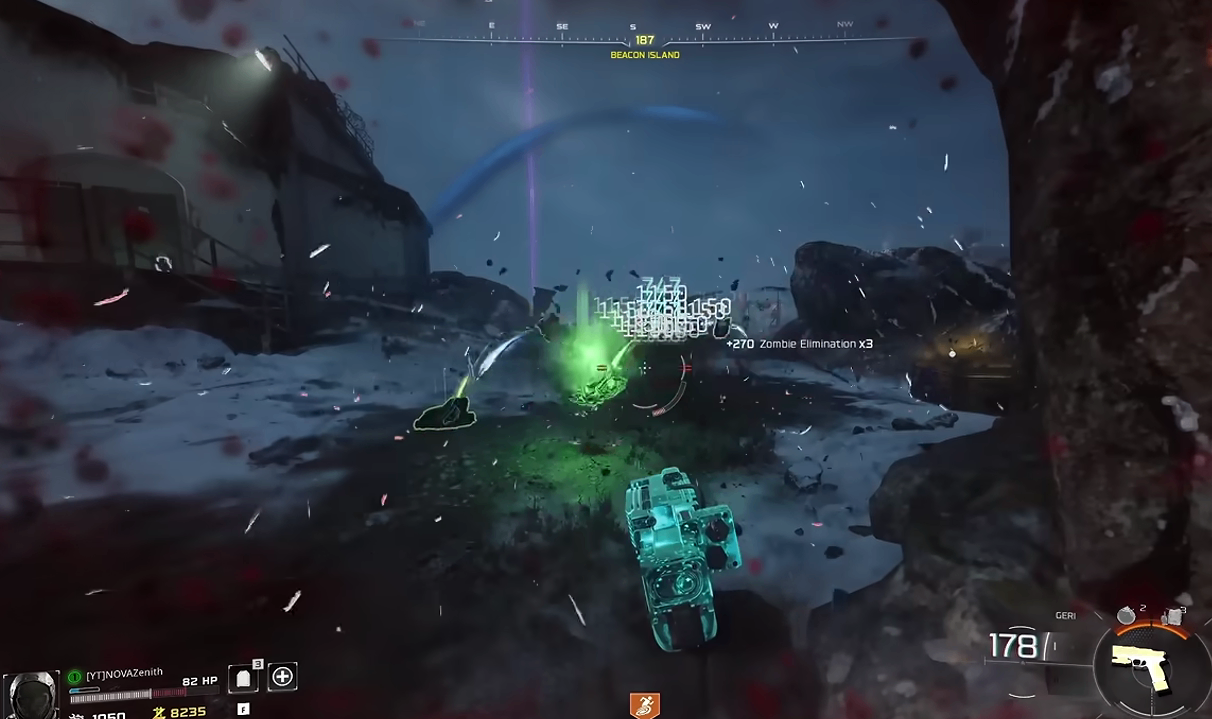
The Grid Breaker Yager is strongest when you stay mobile. Its unique behavior lets you fire while sprinting, and that turns movement into your main defensive layer.
Best survival synergy
· Stamina-Up is the standout perk
· Lets you keep sprinting while still attacking
· Makes it easy to blast zombies behind you without stopping
Why this is huge
Instead of planting your feet and trading damage, you keep running and erase threats as they chase you. That turns the weapon into a hit-and-run destroyer, especially in tight routes or lighthouse lanes.
Useful note for value-seekers
If you want to build your account efficiently and skip unnecessary grind headaches, buy Call of Duty Black Ops 7 Bot Lobbies at mmoexp, save your sanity, and enjoy the real endgame. That kind of support matters when you’re trying to stay focused on the fun part: high-round execution.
Crowd Killer, Not Boss Slayer
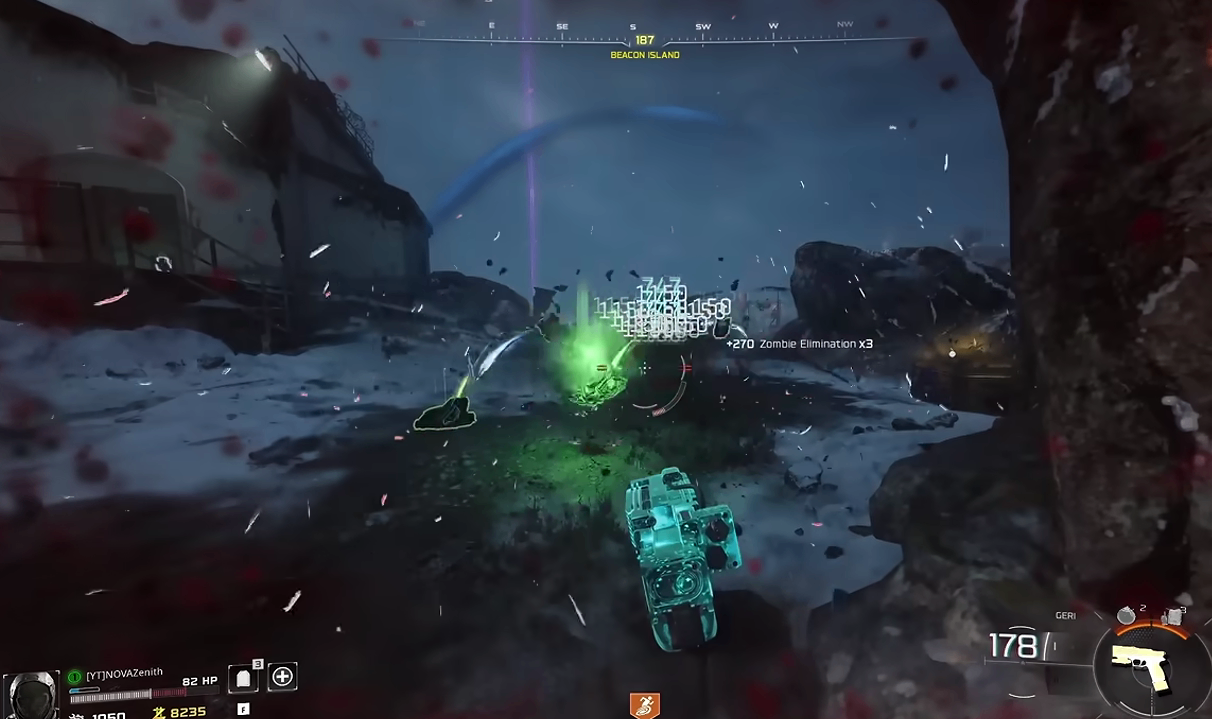
This weapon is at its best against large zombie groups, not elite targets.
What it excels at
· Deleting tightly packed crowds
· Clearing whole rounds quickly
· Creating huge kill streaks with minimal effort
· Staying dangerous even while moving
What it struggles with
· Single-target damage
· Elite enemies like Necro Pincers
· Late-round armored enemies
· Boss-style encounters
Best countermeasure
Use a tomahawk as your lethal equipment. The combo of:
· Tomahawk throw
· Grid Breaker shot
can massively improve damage against elites and help you stun-lock tougher enemies.
Pack-a-Punch and Damage Scaling
Pack-a-Punch helps, but not in the way most players expect. Buy cheap CoD BO7 Bot Lobbies at MMOEXP.
What improves
· Ammo capacity increases
· Overheat cools down faster
· You can fire more times before overheating
What stays the same
· The weapon still thrives mainly on crowd damage
· Damage remains most effective in clustered situations
· It does not suddenly become a boss melter
Practical result
Pack-a-Punch makes the weapon more comfortable and forgiving, but the real strength still comes from positioning, movement, and grouping zombies.
The Best Map Strategy: Lighthouse High-Round Lane
The Eidolon / Eisenschollen Lighthouse Survival map is a great place to use this attachment, especially during the active leaderboard event.
Strong positioning spot
A halfway-up lighthouse position works especially well because:
· It gives a controlled angle
· You can manage zombie flow
· Toxic Growth can protect your cooldown windows
Recommended support
· Toxic Growth for cover while the weapon cools down
· Tomahawk for elite pressure
· Stamina-Up for consistent movement and safety
Why this setup works
The Grid Breaker is strongest when enemies are forced into a predictable path. In that situation, every shot gets maximum value.
Early Game vs Late Game: Know the Drop-Off
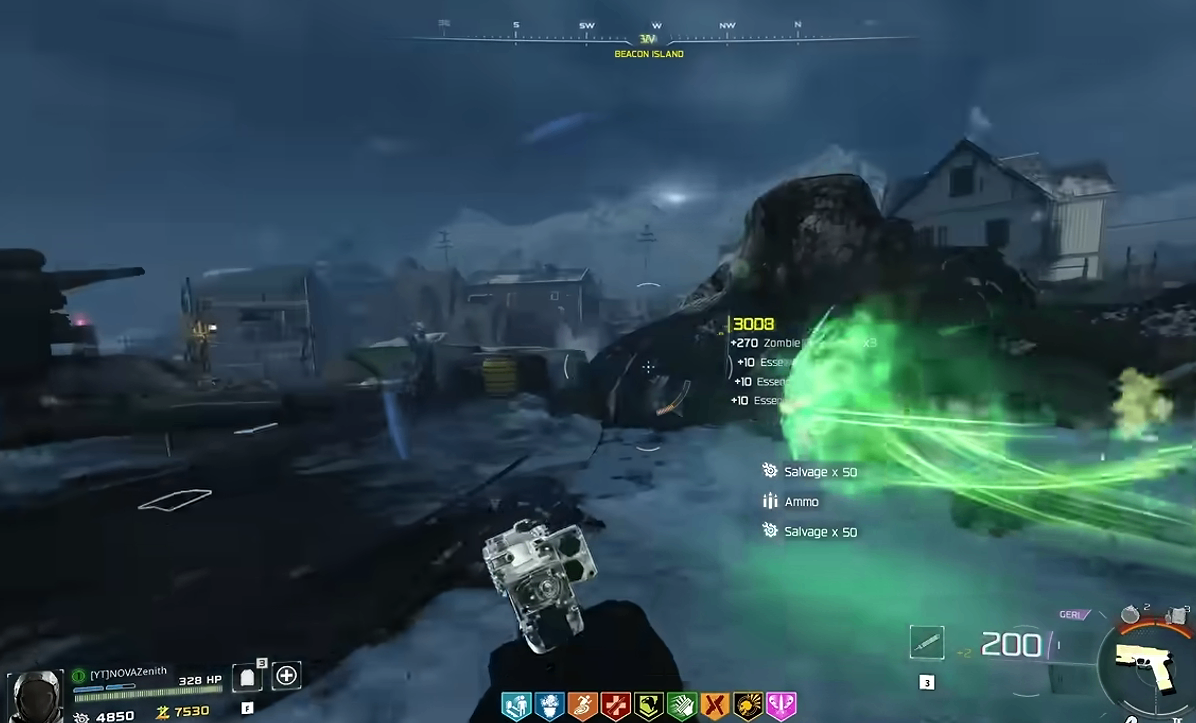
This weapon feels incredible for the first stretch of the match, but it does decline in effectiveness later.
Early rounds
· Extremely strong
· Often clears groups in one blast
· Feels fast, clean, and almost unfair
Midgame
· Still very good
· Requires slightly better timing
· Overheat control becomes more important
Late rounds
· Damage starts to fall off
· Crawlers and armored enemies become more noticeable
· Movement skill becomes mandatory
Main lesson
This is a weapon that rewards momentum. If you keep the pace high and the zombies grouped, it stays valuable much longer.
What Not to Rely On
Some common upgrades simply do not help much here.
Low-value choices
· Double Tap
· Deadshot Daiquiri
· Some related perk combinations
Why they’re weak here
This weapon doesn’t behave like a standard pistol. Its value comes from its explosive zone control, not traditional precision damage or crit-focused gameplay.
User type this suits
This is ideal for players who enjoy:
· Aggressive movement
· Crowd control
· Simple but high-impact gunplay
· High-round survival runs
It gives you fast clears, strong mobility, and a very unique playstyle without needing complicated recoil management.
Round 50 Reality Check
By round 50, the Grid Breaker is no longer the same monster it was early on.
At this stage
· Single-target damage is much weaker
· Crowd clearing still works well
· You need smarter movement
· Tomahawk support becomes even more valuable
Final verdict
It’s not the best boss-killing tool, but it absolutely can carry wave clearing and survival pressure if used correctly.
Quick Tips for Mastering the Grid Breaker
· Always equip Sprint-to-Fire Grip
· Use Rapid Sight Motion Laser
· Keep Stamina-Up high on your priority list
· Carry a tomahawk
· Group zombies before firing
· Don’t spam shots into open space
· Use Toxic Growth to cover cooldown gaps
· Expect strong early rounds and weaker late single-target damage
Who Should Use This Weapon?
Best for
· Zombie players who love fast-paced movement
· High-round grinders
· Crowd-control specialists
· Players who enjoy seasonal unlocks and event maps
Main value
· Fast wave clearing
· Infinite ammo
· Excellent mobility
· Strong early-to-midgame dominance
· A unique and satisfying playstyle
If you want something different from standard rifles and explosive weapons, this attachment is absolutely worth chasing.
Final Tips
If you’re planning to use the Grid Breaker Yager seriously, remember this:
· Move first, shoot second
· Fight groups, not singles
· Tomahawk elites whenever possible
· Use safe map routes
· Expect the weapon to shine hardest before the late-game drop-off
In short, this is a brilliant weapon for players who value speed, style, and wave control over raw boss damage.
Core Benefits by Player Type
· For casual players: easier crowd clearing and smoother survival
· For event grinders: great for leaderboard maps and high-kill runs
· For high-round players: powerful early and midgame performance with smart positioning
· For aggressive players: perfect for sprint-and-shoot combat
· For completionists: a fresh seasonal unlock with strong gameplay identity