Are you getting overwhelmed before your setup is even complete? Do your random teammates keep ruining promising runs? Or are you wondering why Ashes of the Damned feels so much harder than every other Zombies map in Black Ops 7?
The truth is that this map isn't just about landing headshots or surviving endless waves. Success comes from smart routing, efficient resource management, and strong team coordination. Once you understand how Old Tessie, Pack-a-Punch timing, progression order, and Easter Egg objectives fit together, every run becomes smoother and far more consistent. Whether you're chasing your first clear or aiming for flawless high-round games, these strategies will help you spend less time recovering from mistakes and more time dominating the undead.Buy Black Ops 7 Bot Lobbies at MMOexp to level up faster and stay ahead.
Don't Rush Into the Hardest Map
Ashes of the Damned is designed to test experienced squads, so there's no shame in building your fundamentals elsewhere first. Van Dorm Farm is perfect for learning survival pacing, while Deadpops Arcade offers a more relaxed experience if you simply want to have fun. Save Cursed for when you're ready for an extra challenge.
Ashes of the Damned features a massive layout, complex objectives, and long travel routes that punish mistakes. It's much better suited for organized teams than random matchmaking.
Best for: Beginners, returning players, casual grinders
You'll gain: Faster learning, fewer frustrating wipes, and better preparation before tackling the game's toughest Zombies map.
Old Tessie Is the Real MVP
Many players treat Old Tessie like simple transportation. That's a huge mistake.
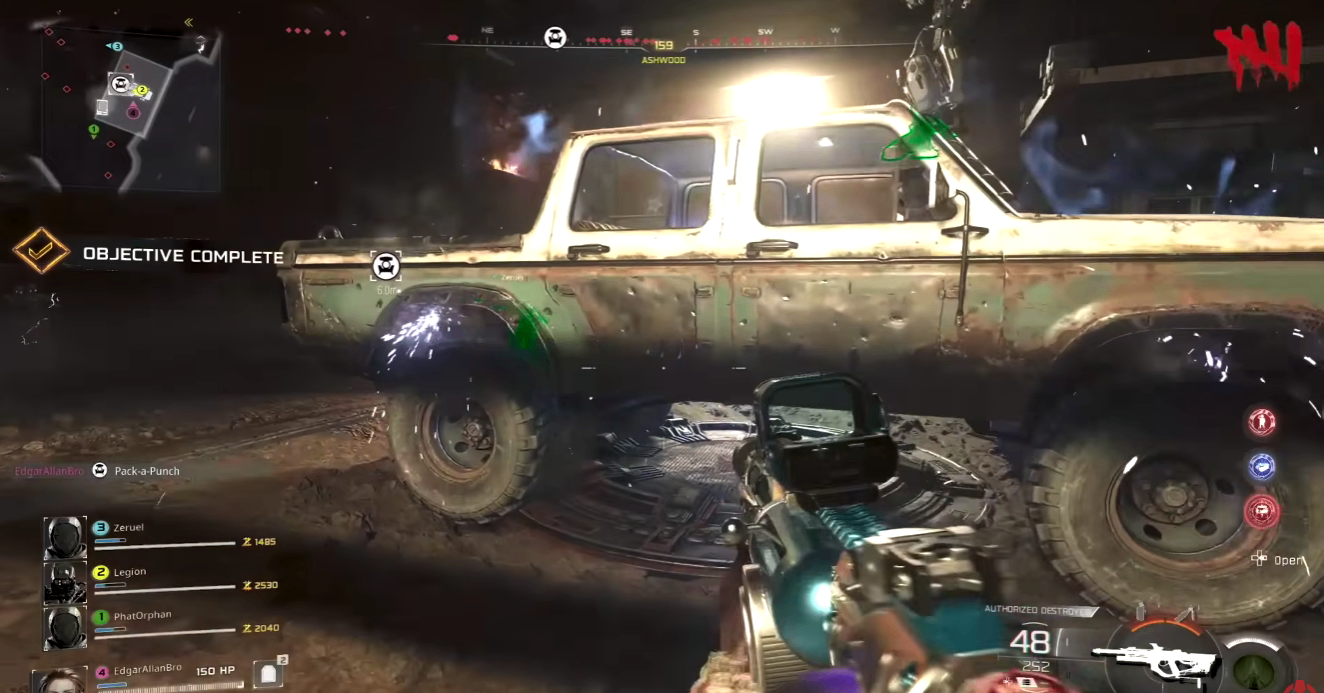
Old Tessie serves as your central hub, early Pack-a-Punch station, and mobility tool throughout the match. Since Ashes of the Damned follows a giant figure-eight layout, where you park Tessie directly affects how efficiently your squad upgrades weapons, rotates between objectives, and escapes dangerous situations.
Later in the match, combining launch pads with Old Tessie's positioning dramatically reduces unnecessary travel time, allowing your team to stay focused on objectives instead of constantly running across the map.
Best for: Objective-focused players, Easter Egg hunters, squad leaders
You'll gain: Faster rotations, smoother upgrades, and significantly less downtime during long matches.
Build Your Power Spike Before Chasing Objectives
One of the biggest mistakes players make is trying to complete objectives before establishing a strong loadout.
Your ideal progression is simple: secure reliable weapons, upgrade them quickly, and then begin side objectives. The Mystery Box can reward you with the iconic Ray Gun, but relying entirely on luck often destroys your momentum. Treat it as a bonus rather than your main strategy.
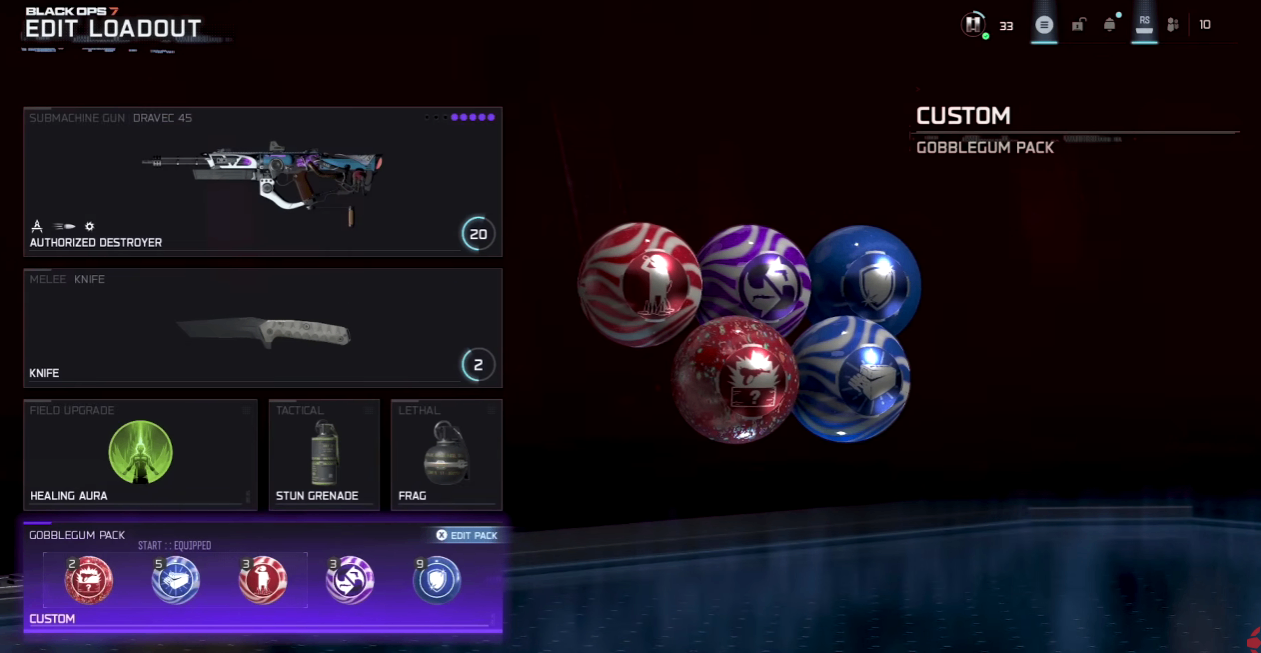
Gobble Gum can make critical rounds much safer, but remember that it's also a limited resource. Wasting valuable Gobble Gum during failed attempts can set back future runs.
If you want a smoother early-game progression, Buy coins at mmoexp to level up faster and stay ahead. Smart resource planning is just as important as mechanical skill.
Best for: Solo players, efficient grinders, progression-focused gamers
You'll gain: Better upgrades, stronger early-game power, and fewer wasted resources.
Speed Wins the Easter Egg Race
The longer you wait, the harder every objective becomes.
The Ashes of the Damned Easter Egg includes multiple sequential objectives, including awakening Klouse, triggering scans, and holding defensive positions. Delaying these tasks means facing increasingly dangerous zombie waves while trying to complete complicated mechanics.
Whenever possible, leave one zombie alive between objectives. This gives your squad time to recover, restore armor, purchase upgrades, and communicate before starting the next challenge.
If you're looking to unlock stronger builds more efficiently, buy CoD BO7 Bot Lobbies at MMOexp to level up faster and stay ahead.
Best for: Easter Egg runners, completionists, coordinated squads
You'll gain: Safer objective execution, fewer failed attempts, and a much smoother progression path.
Teamwork Beats Raw Aim Every Time
Ashes of the Damned isn't difficult because the zombies are unbeatable. It's difficult because poor coordination snowballs into disaster.
The most reliable setup is a three- or four-player squad where everyone has a defined responsibility. One player handles navigation, another defends objectives, another manages resources, while another focuses on map mechanics and mission progression.
Random matchmaking often leads to players splitting up, wasting resources, or triggering objectives at the wrong time. On this map, communication, planning, and execution consistently outper form individual mechanical skill.
Best for: Team players, high-round squads, competitive groups
You'll gain: Better coordination, more successful clears, and fewer avoidable mistakes.
Final Thoughts: Master the Map Before You Master the Zombies
Ashes of the Damned isn't unfair—it simply demands patience and planning. Learn the map layout before rushing objectives. Build your economy before gambling everything on the Mystery Box. Position Old Tessie wisely, coordinate every major objective with your team, and avoid wasting valuable resources on unnecessary risks.
Once these systems start working together, you'll discover why many experienced players consider Ashes of the Damned one of Black Ops 7's most rewarding Zombies experiences. Every successful run feels earned, and every improvement makes future matches dramatically easier.
Pro Tips
Keep one zombie alive before every major objective.
Upgrade weapons before chasing Easter Egg steps.
Park Old Tessie near your next objective.
Never depend entirely on Mystery Box luck.
Assign clear team roles before the match begins.