Weekend Drop -















Start your solo DMZ kit with a recovered Han 86, a looted SMG, Armor Plates, an Ammo Box, and a Medkit. After expensive losses, keep the rifle unmodified.
Once Gunsmith opens at DMZ level 10, add FSS IS300 for a quieter mission build, or prioritize the 60 Round Drum if running empty during AI fights is your recurring problem.
If Multiplayer has worn you down, this setup suits a change of pace: completing orders, fighting AI, and getting useful loot home. A strong weapon is only worth taking if losing it leaves you able to equip your next run. The best MW4 DMZ solo loadouts should leave room in your budget for another attempt.
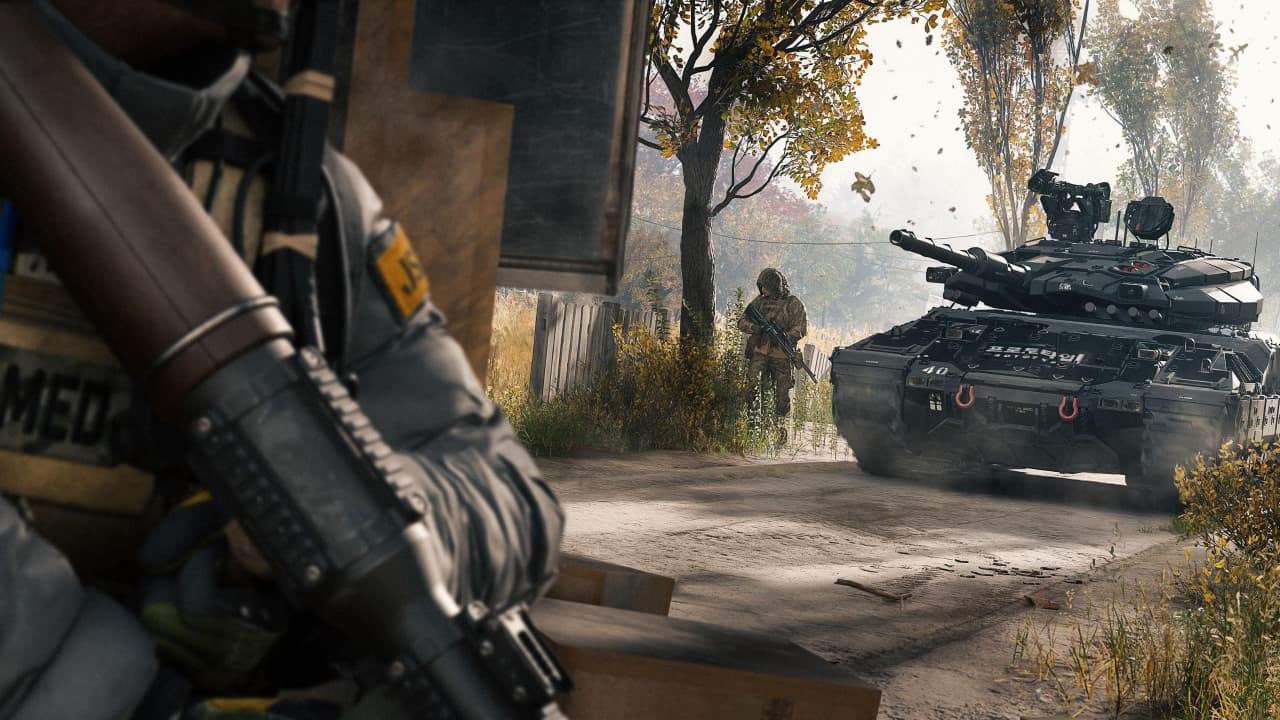
Your First Solo DMZ Loadout
Part | Start With | Condition or Fallback |
Primary | Recovered Han 86 | Use a Free Loadout until you have one |
First upgrade | FSS IS300 or 60 Round Drum | DMZ 10 for Gunsmith; listed weapon levels 6 and 10; choose one by need |
Backup | Looted, usable SMG | Keep its existing setup; no second custom build needed |
Supplies | Armor Plates, Ammo Box, Medkit | Assemble from your stash and available crafting options |
Loot protection | Backpack with Secure Slots | Confirm a valuable eligible item occupies a protected slot |
Run objective | Complete an order and extract useful loot | Prioritize a new Weapon Manual over optional PvP |
If either attachment is locked or unaffordable, keep the recovered weapon as it is. The reported suppressor-and-drum example costs 36,000 Cash before a base gun; it is an upgrade target, not the entry price for solo DMZ.
Best MW4 DMZ Guns and Attachments
These standard builds exclude Apex conversions, which can block listed slots. Attachment levels below are database-reported weapon levels, separate from DMZ player level. Inspect existing Blueprints and the final Gunsmith cart before modifying them.
Han 86 for Budget Solo Runs
Choose the Han 86 when you need one recovered rifle for AI tasks and outdoor approaches without funding a second custom gun. Keep it stock after losses; its budget value comes from using a recovered copy and limiting upgrades, not from the full build being inexpensive.
Slot | Attachment | Listed Weapon Level |
Muzzle | FSS IS300 | 6 |
Magazine | 60 Round Drum | 10 |
Optic | IOTA-D | 43 |
Laser | Schlager VISIV-5 | 46 |
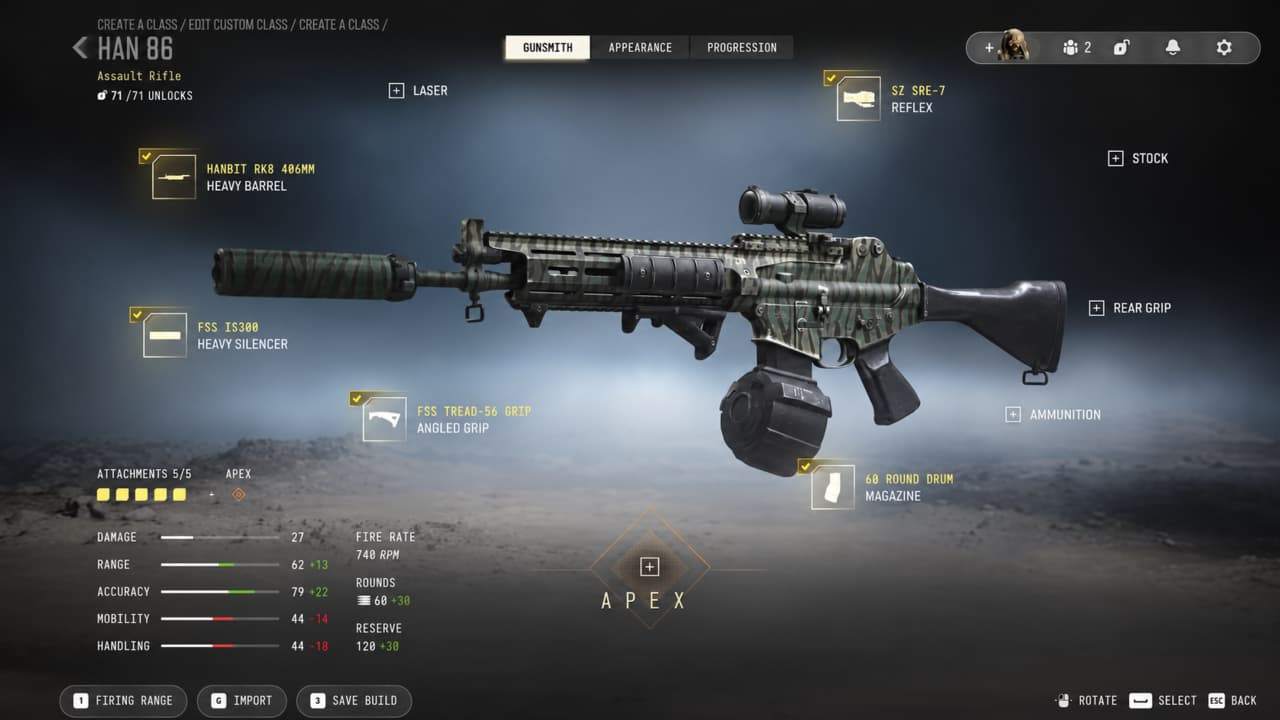
Choose your first upgrade around the encounter that keeps ending your runs:
Han Setup | Reported or Calculated Example Cost | Use It When |
Recovered gun unchanged | No modification spend | Funds must cover supplies and another attempt |
FSS IS300 only | 16,000 Cash, calculated from listed fees | You want sound suppression for task-focused routes |
60 Round Drum only | 16,000 Cash, calculated from listed fees | Reload interruptions repeatedly expose you during AI fights |
Both attachments | 36,000 Cash, reported example | You need both benefits and can still fund supplies and a replacement kit |
The reported DMZ cart lists these two attachments at 15,000 Cash each, with 1,000 for the first slot and 5,000 for the second. Single-part totals above are calculated using that first-slot fee. These example totals exclude the base weapon.
Other parts, account discounts, and existing slots can change the bill; inspect your actual gun's final cart before confirming.
For a quiet looting route, make the suppressor the default first upgrade if your current magazine is adequate. It does not make you invisible. If you keep running dry while several AI are pressuring your cover, prioritize the drum instead. More rounds reduce reload interruptions, but do not replace reserve ammunition or better positioning.
Do not spend 36,000 just because both parts are unlocked. Set aside your deployment supplies and the next usable kit first. If the remaining balance cannot cover the upgrades, keep the recovered Han.
A larger magazine is poor value when the actual failure is crossing exposed ground or missing most of your shots.
Keep iron sights until target visibility causes missed shots. The optic and laser in the four-slot table are later options. Use the rifle from cover across an approach, then reload or reposition before moving indoors.
ISO Nightshade for Close-Range PvP
Choose the ISO Nightshade when indoor encounters are ending your runs and you want an SMG that can also cover shorter outdoor approaches. A launch DMZ damage analysis supports its close and medium-range potential; keep a looted copy before funding the five-part version.
Slot | Attachment | Listed Weapon Level |
Muzzle | XRK Herder 40 | 17 |
Magazine | 50 Round Drum Mag | 53 |
Barrel | ZLR Carbon-900 | 41 |
Rear Grip | Bruen Mod3 | 35 |
Laser | Schlager VISIV-5 | 43 |
Against a three-plate Operator, use the ISO for a close angle where you can maintain hits and return to cover. The developed build's 50-round drum gives more room before a reload than the official 30-round base reference, but does not guarantee a down. No verified three-plate advantage over PPSh or VEL is established here.
The drum is listed at weapon level 53; the featured barrel, grip, and laser need levels 35 to 43. If these are locked, use the current gun and reload between encounters. Choose PPSh instead when its earlier attachment access and familiar handling give you a more usable weapon now.
If you already know the ISO Nightshade from MW4 Bot Lobbies, compare it with other available SMGs at the same close and farther FOB targets, using equal-length bursts. Keep the gun that stays on target more consistently. Against Operators, break sight if the opening exchange goes badly; a handling check does not establish armored TTK.
M4 for Familiar Handling
Keep the M4 when you land more shots with it than the Han or already have a usable copy. There is no established performance gain here that justifies funding a new M4 build over a comfortable recovered Han.
Slot | Attachment | Listed Weapon Level |
Muzzle | FSS IS300 | 4 |
Magazine | 60 Round Mag | Not specified |
Optic | IOTA-D | 66 |
Underbarrel | FSS Fireline Grip | 38 |
Laser | SA LAZ-500 | 24 |
Prioritize the magazine for repeated reload problems, then the suppressor when affordable. Add an optic or control attachment only to solve missed shots. The full setup is a later target, with IOTA-D listed at weapon level 66.
Cover outdoor approaches with the rifle, then ready your SMG before entering confined spaces. Break sight to reload during an unexpected PvP encounter.
Compare the complete M4 cart with your recovered Han. Familiarity can justify keeping an M4; its name alone does not justify extra spending.
PPSh-41 as an Alternative SMG
Choose PPSh-41 over a developed ISO when you already control its rapid fire and lack the ISO drum or later attachments. Its listed muzzle, barrel, and laser unlock by weapon level 15, giving it a clearer early-progression role rather than a proven damage advantage.
Slot | Attachment | Listed Weapon Level |
Muzzle | FTAC Silent Recon | 12 |
Magazine | Keep the currently fitted magazine | No paid swap recommended |
Barrel | Hanbit RDR-Tiger 50-XL | 15 |
Laser | Schlager VISIV-5 | 4 |
Start with the suppressor if available and affordable; add barrel or laser only for a handling need. Pair it with a rifle for outdoor approaches.
Keep your current working magazine. Do not spend Cash on a replacement until its listed benefits solve a problem in your DMZ build.
Reload from cover before another angle. Earlier attachment access and familiar handling justify this choice; a universal TTK advantage is unproven.
Use Your Multiplayer Progression in DMZ
Your Multiplayer weapon levels and compatible attachment unlocks carry into DMZ. Once Gunsmith opens at DMZ level 10, inspect the weapons you already leveled before starting another from scratch.
A weapon you already feel comfortable using in MW4 Bot Lobbies is a sensible starting point, but fitting unlocked attachments still costs DMZ Cash.
Extracting a Weapon Manual is a documented route to repeat base-weapon access; the later official arsenal guide also describes access through cross-mode unlocks. Check your weapon entry before assuming you need a new manual or can obtain every Multiplayer gun.
Check owned Blueprints in DMZ Gunsmith. Official rules give an acquired Blueprint one free use, followed by discounted reconstruction compared with normal assembly. Losing it grants no new free copy. Check availability and full displayed price before confirming, and save a valuable free instance for a route you understand.
Budget Loadouts by DMZ Level
Prioritize useful FOB upgrades over filling every Gunsmith slot. Match spending to your unlocked stations and replacement options.
Levels 1 to 4: Build a Stash
Select Free Loadout on the Ready Up screen. Neither Vendor nor Gunsmith is available yet. Learn an objective route, extract usable weapons, and keep a spare. After a loss, return to the free kit.
Levels 5 to 9: Check the Vendor
Vendor unlocks at DMZ player level 5 with daily rotating stock. Select gear that fills a missing combat role; keep extracted equipment when stock offers little improvement. Reserve cash for supplies.
Level 10 Onward: Upgrade Selectively
Gunsmith unlocks at DMZ player level 10. Attachment access follows weapon progression, which is shared with Multiplayer. Extracting a gun gives you that instance to use and modify.
Extracting its Weapon Manual unlocks repeat access to that base weapon; check the displayed requirement for any access through existing cross-mode unlocks.
Slots and attachments have separate costs, and successive slot unlocks become more expensive. Start with the change that fixes your main failure: capacity for repeated reloads, a clearer optic for losing targets, or control when shots drift off target.
Match Your Kit to the Mission
For mixed exploration in MW4 DMZ, pair Han 86 or your familiar M4 with a looted SMG. Before an indoor objective, ready the SMG while you still have cover; use the rifle to watch the outdoor approach. Only invest in a custom secondary when repeated close-range deaths justify the expense.
For sustained AI objectives, prioritize ammunition and a usable reload position over another handling attachment. For a short recovery run, take a Free Loadout and stop after securing useful replacements.
A planned PvP run can justify a developed ISO or PPSh, but carrying one does not oblige you to chase Operators during a loot-focused deployment. If you are accustomed to MW4 Bot Lobbies, focus on choosing fights that support your extraction plan rather than engaging every enemy you encounter.
Solo Survival before Extraction
Pack the Ammo Box, Armor Plates, and Medkit before leaving the DMZ FOB. A Medkit repairs wounds; bandages restore maximum health temporarily. With a suitable backpack, assign a valuable eligible item to a Secure Slot and confirm it is protected. Ordinary backpack storage does not protect loot after a failed extraction.
Manual Found, Ammunition Running Low
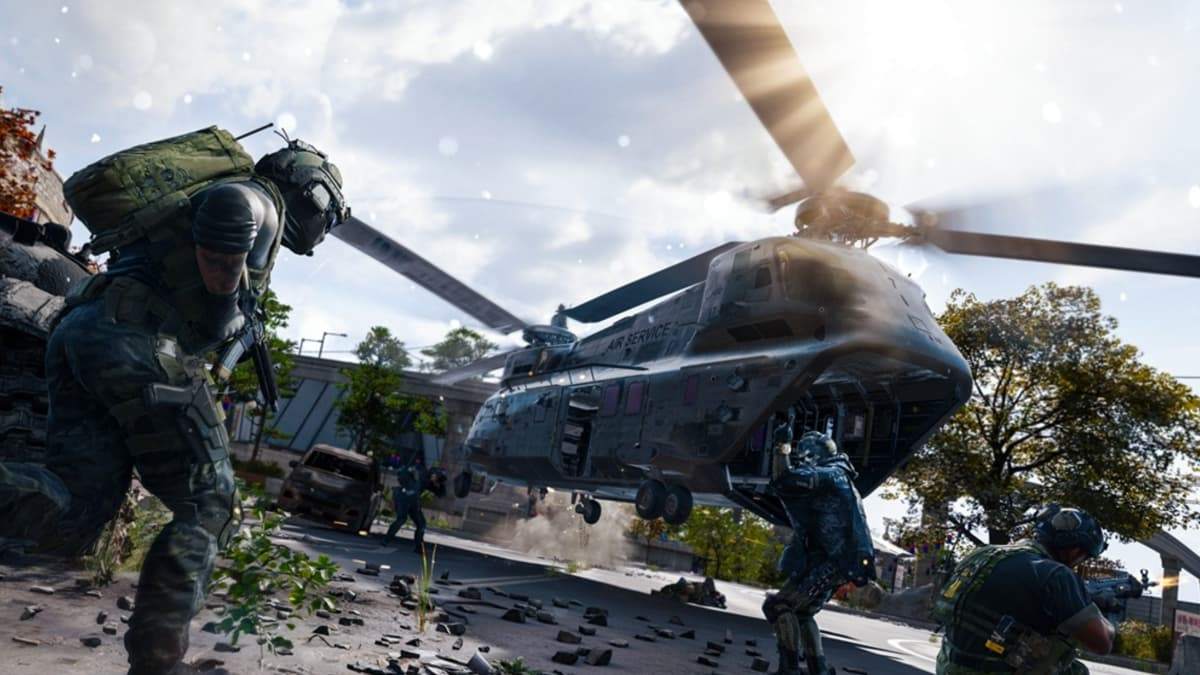
You have a new Weapon Manual, one optional task left, and insufficient ammunition for another prolonged fight. Once you have the Weapon Manual, prioritize extraction over another optional objective. Skip the task: the weapon-access gain is already in your bag, while its next reward still requires another encounter.
If the route itself needs resupply, assess an accessible Ammo and Armor Cache. These can replenish supplies but have a cooldown and are often inside defended compounds. Do not turn a supply detour into clearing an entire compound with an almost-empty weapon.
An Operator Controls the Exfil Approach
You spot an Operator overlooking the route before you expose yourself. Stay behind cover, check another approach, and assess an alternative available exfil against your supplies and remaining time. Do not cross the watched lane merely to reach the marked point faster.
If a nearby UAV Tower is safely accessible, its pulse can help locate Operators and AI. Reaching a defended tower may cost more than the information is worth. If the situation stays unclear, preserve your position rather than starting a fight whose only purpose is defending your original route choice.
A Fight Ends before Your Mission Does
You survive an encounter but have a partly empty magazine, damaged protection, and valuable loot. Reload from cover, assess health and supplies, and decide whether the next objective is still affordable.
If it would leave too little ammunition to defend extraction, leave now. Avoid walking onto a body or through an exposed doorway for optional loot while another opponent may still be watching.
MW4 DMZ Loadout FAQ
What Is the Best Overall Gun?
Use a recovered Han 86 as the default primary. Add the suppressor for a quieter route, or the drum for repeated reload problems. Keep a familiar M4 when switching would add cost without helping your aim.
Can Multiplayer Builds Transfer to DMZ?
Weapon progression is shared, but DMZ has its own damage tuning. Use DMZ-specific recommendations and assess them against your equipment and opponents. Multiplayer TTK rankings cannot establish performance against DMZ plate carriers.
Do Solo Players Need Five Attachments?
No. A two-attachment rifle can cover early needs while preserving cash. Expand it when a specific weakness affects your fights and the total cost leaves room to recover from a loss.
Does Extraction Permanently Unlock a Gun?
You retain that weapon instance. Extracting its Weapon Manual unlocks repeat access to the base weapon. Existing cross-mode unlocks are also described in later official guidance, so inspect the weapon entry for its current access requirement.