If you treat Delta Force: Aftershock like a normal battlefield, you are already behind. Buildings can collapse, sightlines can disappear, and an entire squad can be forced to rotate within seconds.
The key to winning Aftershock is simple: stop fighting the map and start using it and buy Delta Force Items. Learn the earthquake warning signs, identify safer zones, and turn the chaos into free kills when everyone else is scrambling.
What Makes the Aftershock Map Different?
Aftershock's biggest gimmick is also its biggest threat: the environment is constantly changing.
Major earthquakes occur roughly every 8-12 minutes. Each event follows a predictable sequence, giving alert squads a chance to prepare before the map starts falling apart.
The 60-Second Warning
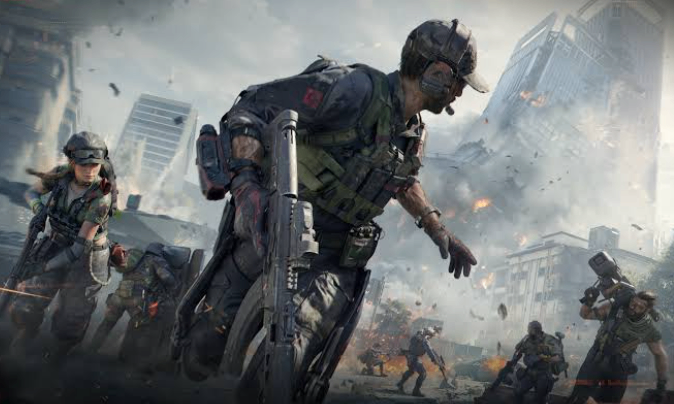
Before a major quake begins, you get a one-minute warning. Don't just stare at the HUD.
Watch for:
Dust rising from cracks in the ground
Fractures spreading across walls
Deep rumbling sounds
Buildings showing visible structural damage
A damaged structure near a fault line can become extremely dangerous during the quake. If your building starts cracking, don't wait around to see what happens.
Move first. Loot later.
The Active Earthquake
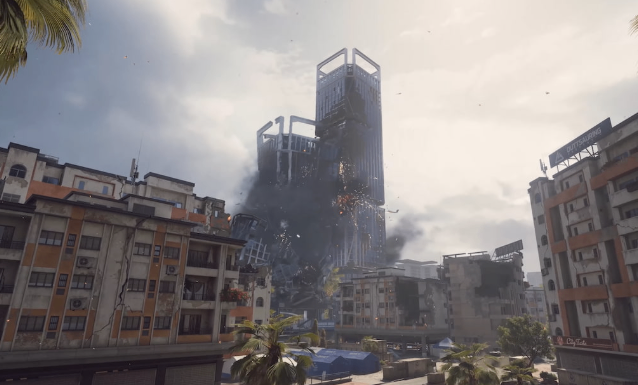
The main quake can last around 25-40 seconds, during which buildings and structures may collapse depending on their location and construction.
Location / Structure Collapse Risk Best Approach
Wooden buildings near fault lines High Leave immediately
Reinforced industrial buildings Moderate Temporary cover
Structures far from fault lines Lower Preferred fallback
Central CBD skyscrapers Extreme Avoid during major quakes
The most important rule is to identify your escape route before the earthquake starts.
The 3-Step Aftershock Survival Plan
1. Scan and Call Out
The moment the warning appears, communicate with your squad.
Tell teammates where you are, check nearby structures, and identify the safest route toward open ground or a more reliable building.
Don't get trapped in a pointless gunfight while the entire building is preparing to become rubble.
2. Rotate Before the Collapse
Use the warning window to relocate.
Open terrain can be safer than a building that looks like excellent cover but sits directly on a fault line. If you're forced to cross dangerous ground, smoke grenades can help conceal the rotation.
Once you've reached a safer position, hold your angle and watch for other squads doing the same thing.
Panic creates openings.
3. Exploit the Post-Quake Chaos
The earthquake isn't only a survival mechanic. It's an opportunity.
After the shaking stops, dust and debris can temporarily reduce visibility and make long-range fights much harder. This gives aggressive squads a chance to:
Push newly exposed loot areas
Flank enemies while they're repositioning
Cross open ground
Attack teams caught outside their original cover
Secure valuable resources from collapsed structures
Think of the aftermath as a temporary free-for-all reset.
How to Counter Rooftop Campers
Aftershock's vertical design makes rooftop camping tempting, but destructible buildings give you another option: don't always attack the player directly.
If an enemy squad is sitting on a vulnerable structure, explosives can create new entry points or destroy their defensive position.
C4 and grenade launchers are particularly useful for opening fortified positions and forcing enemies away from predictable angles.
You can also use the earthquake itself.
When the map begins shaking, rooftop campers have to worry about the same structural problems as everyone else. Use the distraction to rotate through neighboring buildings, approach from an unexpected direction, or close distance under reduced visibility.
Best Loadout Priorities for Aftershock
Mobility and utility are more valuable here than simply stacking raw firepower.
Weapons
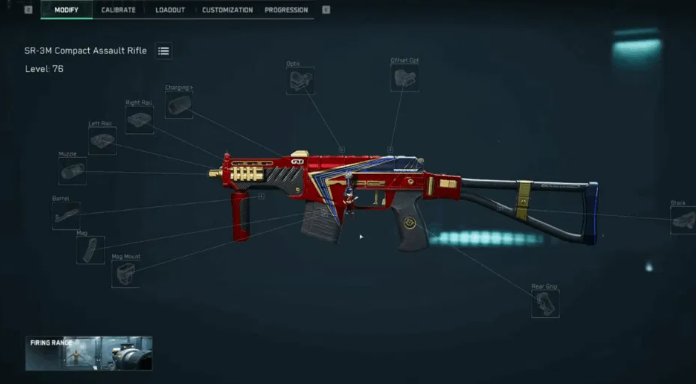
Lightweight SMGs and assault rifles are strong choices because you may need to sprint across the map with little warning.
Heavy weapons can still work, but their mobility penalty becomes more noticeable when an earthquake forces an emergency rotation.
Equipment
C4 is one of the most useful tools on Aftershock. It can help destroy cover, create new sightlines, breach defensive positions, or punish enemies hiding inside vulnerable structures.
Smoke grenades are equally important. They give your squad a safer way to rotate when the terrain becomes unpredictable.
Operator Choice
Vlinder is particularly valuable for teams that want extra insurance against environmental disasters.
Her Butterfly Rescue Drone can revive teammates from a safer position, which becomes extremely useful when a collapse downs multiple squad members at once.
The drone can also provide information around dangerous buildings and elevated positions without forcing your entire squad to expose themselves.
Positioning and Rotation Tips
Your biggest advantage is knowing where the dangerous areas are before the earthquake begins.
Whenever possible, avoid spending too much time directly along fault lines. Rotate across dangerous areas rather than unnecessarily traveling parallel to them.
As the match progresses, consider moving toward the outskirts of the central CBD. This gives your squad more escape options if another quake hits.
And when the final zone appears, don't sacrifice a safe position just because another team owns the highest floor.
High ground is useless if the building comes down around you.
Common Aftershock Mistakes to Avoid
Staying Inside Cracked Buildings
If you see major structural damage, leave. Don't assume the building will survive because it survived the last tremor.
Fighting During the Warning
The warning period is your preparation window. If you spend it chasing one elimination, you may lose the entire fight when the terrain changes.
Ignoring Fault Lines
Memorizing the map's safer areas will make your rotations much more consistent.
Carrying Too Much Heavy Gear
Aftershock rewards players who can relocate quickly. Don't sacrifice mobility without a good reason.
Looting Immediately After Every Quake
The post-quake period is dangerous because everyone knows valuable areas may have been exposed. Check your surroundings before sprinting toward the nearest loot pile.
Final Tips for Mastering Aftershock
The fastest way to learn Aftershock is to stop treating earthquakes as random disasters.
Learn the warning signs. Memorize safer areas. Keep smoke available. Communicate with your squad before the ground starts shaking.
Most importantly, understand that the earthquake is a weapon.
A squad that reacts faster can force enemies out of cover, steal valuable loot, buy Delta Force Tekniq Alloy, create unexpected rotations, and turn a chaotic event into an advantage.
Aftershock punishes players who rely on the same plan every match. Stay mobile, watch the environment, and be ready to abandon a perfect position when the map tells you it's time to move.
Because on Aftershock, the safest building in the lobby is sometimes the one you just left.