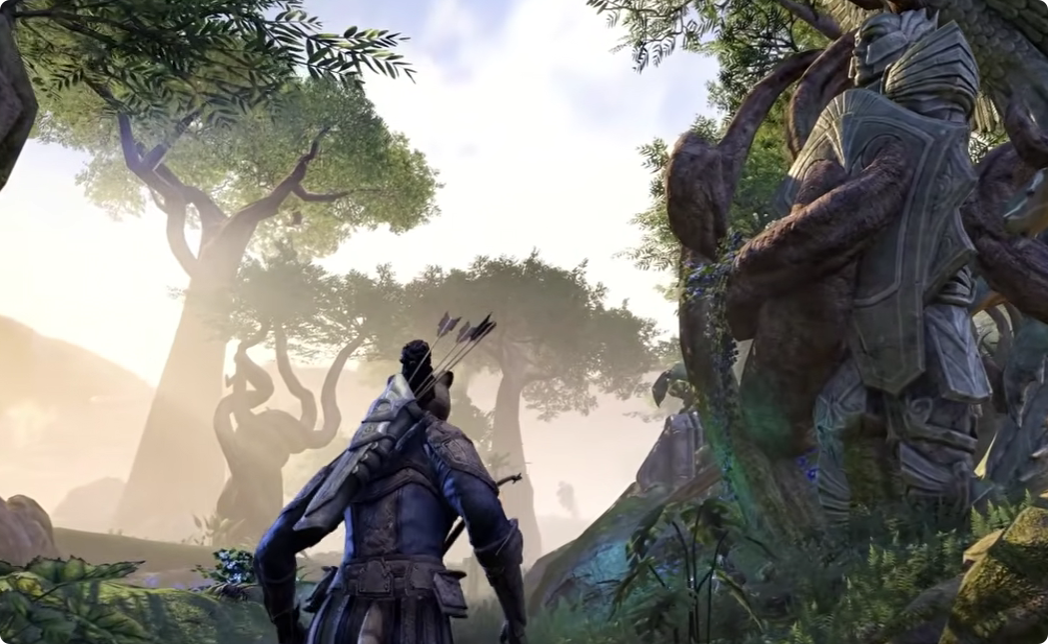
In short: Winning defensive rounds in Delta Force isn't just about winning gunfights. The real advantage comes from controlling entrances, watching rotation routes, disrupting enemy pushes and reacting immediately when the bomb is planted. A strong defense usually follows four steps: hold the perimeter, gather information, stop the plant, and execute the retake. Use smoke to create safe rotations, Drill Charges to clear defensive positions, and Magnetic Bombs to force enemies out of strong spots. When the round reaches a 1v1, patience becomes even more important.
1. Start With the Perimeter, Not the Push
The biggest defensive mistake is rushing into enemy territory without enough information.
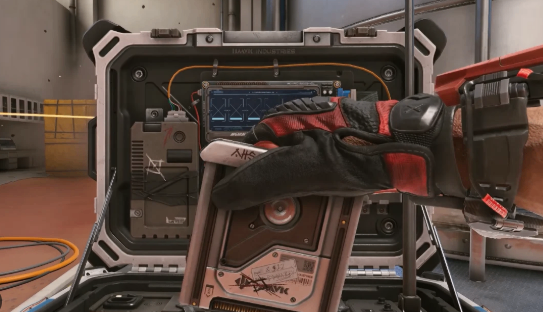
At the beginning of the round, establish control around the objective first. Watch major entrances, side routes and likely rotation paths. If you hear enemies approaching, fall back toward the objective instead of chasing kills across the map.
The key priorities are:
Watch the perimeter
Protect the main objective entrances
Keep an eye on flanking routes
Communicate enemy positions
Fall back when teammates are eliminated
Once your squad loses players, don't continue playing as if you still have the numbers advantage. A controlled defensive position can force attackers into predictable approaches and give your remaining players more opportunities to trade kills.
The goal isn't to get the first kill. The goal is to make the enemy's push uncomfortable.
2. Use Smoke, Drill Charges and Magnetic Bombs Correctly
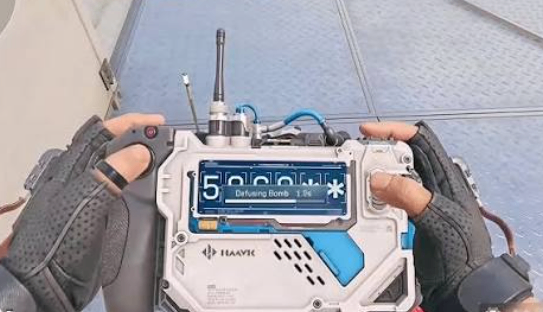
Equipment can completely change the pace of a defensive round.
Smoke: Create Time and Space
Smoke is especially valuable when you need to recover the bomb, rotate between positions or survive an exposed crossing.
Don't throw smoke randomly at the start of a round. Save it for moments when it can actually deny enemy vision or create a safe path.
Drill Charge: Clear Defensive Positions
A Drill Charge is useful for forcing enemies away from cover.
If you suspect an opponent is holding a corner or room, don't blindly swing into the angle. Use equipment first, force the enemy to move, and then take the gunfight on better terms.
Magnetic Bomb: Break the Stalemate
The Magnetic Bomb can be particularly useful when a round becomes locked around an objective.
Instead of immediately rushing after deploying it, use the pressure it creates to force opponents away from their preferred positions. Once an enemy moves, your squad can take space and regain control.
Think of equipment as a tool for creating openings, not simply something to throw whenever it comes off cooldown.
Players looking to speed up their overall progression can also explore MMOexp buy Delta Force Tekniq Alloy and cheap Delta Force Items to spend less time grinding and get their preferred loadouts and progression online faster.
3. How to Handle Bomb Plants and Retakes
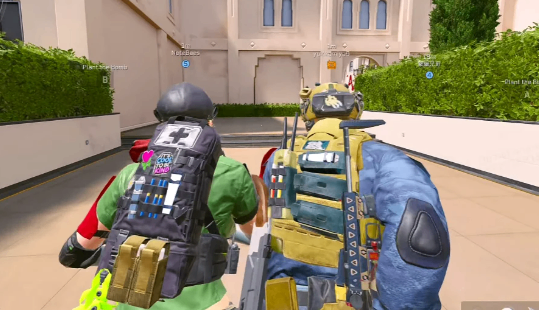
The moment you see the “Enemy bomb planted” notification, the round changes.
You are no longer simply defending an area. You now have a limited window to recover control.
Follow this sequence:
Locate → Isolate → Clear → Recover → Secure
First, identify where the enemy is holding. Don't immediately sprint toward the objective.
Next, isolate the defenders by using different angles and equipment. Smoke can block one sightline while another teammate approaches from a different direction.
Once the immediate threats are cleared, recover the objective and reset your defensive formation.
The worst retake is a series of disconnected 1v1 fights. The best retake makes the enemy deal with multiple threats at the same time.
4. Clutching the Final Enemy
Late-round situations often come down to one player.
When you see notifications such as “One enemy remaining” or “Match point,” don't let the pressure force you into a bad fight.
Instead:
Reload before making the final push.
Confirm the enemy's approximate location.
Use smoke or equipment to deny vision.
Avoid exposing yourself to multiple angles.
Force the final opponent to move before committing.
If you're the last player alive, patience is your biggest weapon.
A common mistake is chasing the final opponent immediately after getting information. Sometimes the better play is to hold an angle, wait for footsteps, and make the enemy reveal themselves first.
The final fight doesn't need to look impressive. It just needs to be won.
5. The Golden Rule: Control the Pace
The strongest Delta Force defensive players don't constantly look for fights. They control space, information and time.
If the enemy is pushing, make them fight through your setup. If they plant the bomb, slow the retake down and gather information before committing. If you're down players, change your positioning instead of repeating the same fight.
Remember this simple defensive loop:
Hold the perimeter → Gather information → Deny the push → Retake together → Secure the round
Once this rhythm becomes automatic, defensive rounds become much easier to manage.
TL;DR
Delta Force bomb-site defense is about more than aim. Control the perimeter, save smoke for important rotations, use Drill Charges to clear cover, and use Magnetic Bombs to disrupt enemy positions. When the bomb is planted or you're in a final-player situation, slow down and force the enemy to make the first mistake.
What's your biggest problem when defending objectives in Delta Force: stopping the initial push, retaking after a bomb plant, or winning the final 1v1?