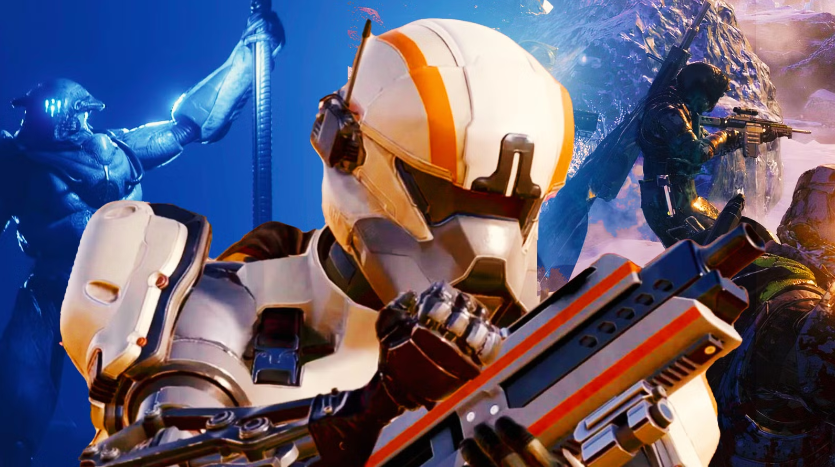
Have you ever entered an Operations match, made one bad decision, and suddenly watched expensive gear disappear? Do you sometimes lose track of where enemies are, overextend during fights, or struggle to coordinate with teammates? Hot Zone offers an excellent solution.
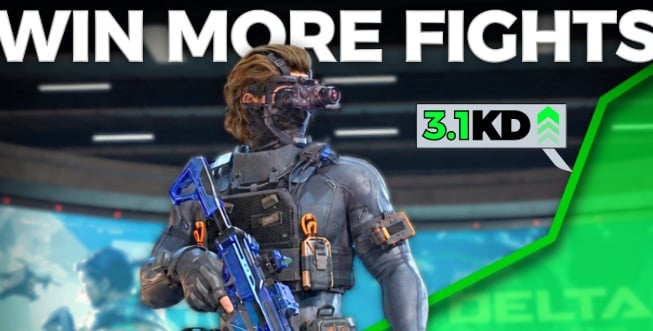
Instead of waiting several minutes for another serious engagement, you can experience dozens of fights in a single hour, creating much faster feedback on your aim, positioning, utility usage, and decision-making. For players looking to sharpen their skills without risking valuable equipment, Hot Zone is an ideal training ground, while Delta Force Boosting can also help players accelerate progression; those looking to buy Delta Force Items can find additional options at MMOexp to level up their game.
Why Hot Zone Is a Perfect Training Ground
The biggest advantage of Hot Zone is its fight frequency. An hour of Operations might produce only a handful of meaningful engagements, while Hot Zone can put you into 20 to 30 fights.
That repetition makes mistakes easier to identify. Did you peek from the wrong angle? Did you reload at the wrong time? Did you push without enough information? Each round provides another opportunity to correct the problem.
For newer players, Hot Zone also removes much of the fear surrounding expensive gear. You can experiment with different weapons, operator abilities, healing items, and equipment without worrying about losing an expensive Operations kit.
Key takeaway: More fights mean more feedback, making Hot Zone an efficient environment for improving fundamentals.
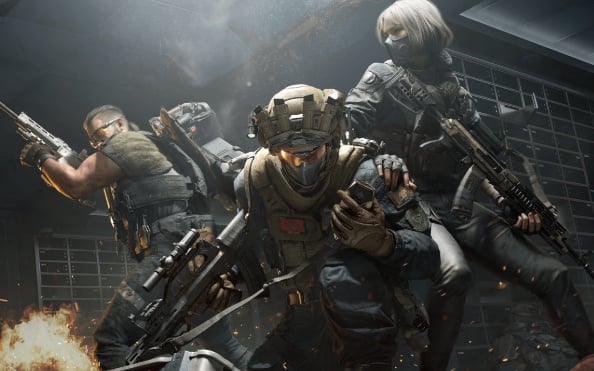
Positioning Matters More Than Constant Aggression
One of the most important lessons from these matches is that aggressive movement only works when supported by good positioning.
Holding a corner, using cover, or taking a strong angle can force opponents into uncomfortable situations. In Barracks and Space City, for example, defensive positions can become extremely powerful when enemies are reluctant to push.
However, sitting still forever creates another problem. When teams bunker down, using objectives or utility to force movement becomes valuable. Rather than blindly rushing an office or hallway, create pressure and make opponents choose between giving up space or taking a risky fight.
Key takeaway: Don't W-key every encounter. Take advantageous space, force reactions, and attack when the situation favors you.
Reset, Repair, and Reposition
Another recurring lesson is the importance of fully resetting after a fight. Players often heal quickly and immediately re-enter combat, but repairing armor and helmets, swapping equipment, reloading, and restoring resources can dramatically improve the next engagement.
Armor and helmet swaps are particularly useful when fighting as a solo player. Even when your teammates are eliminated, recovering enemy equipment can give you another chance to survive a difficult 1v2 or 1v3.
Stamina boosters and painkillers should also be used proactively rather than saved indefinitely. Having stamina available can determine whether you escape, reposition, or successfully chase an injured enemy.
Key takeaway: Winning a fight isn't enough. Reset your resources before starting the next one.
Communication Can Win Unwinnable Fights
Solo practice can improve mechanics, but coordinated communication remains critical in team matches. Clear information such as "one knocked left," "sniper on the vent," or "I'm pushing after the Tempest" gives teammates a concrete plan.
The difference between communicating before a push and explaining what happened afterward can be enormous. Even strong individual players can struggle when everyone makes separate decisions.
Key takeaway: Give information before making a play, not after the fight has already gone wrong.
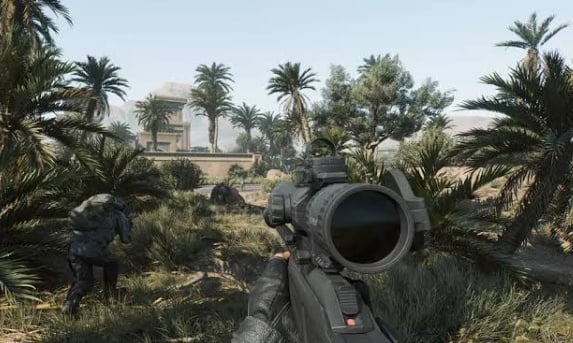
Practical Tips for Faster Improvement
·Play Hot Zone when you need concentrated combat practice.
·Experiment with multiple weapons instead of relying on one loadout.
·Use cover and strong angles before committing to a push.
·Reset armor, helmets, healing, and ammunition after major fights.
·Watch enemy positioning before revealing your own location.
·Use utility to force campers out of strong defensive positions.
·Communicate your intended push before committing.
·When outnumbered, let enemy teams fight whenever possible.
·Treat every death as feedback rather than simply a lost round.
Final Takeaway
Hot Zone is more than a fast-paced mode-it can function as a combat laboratory for Delta Force players. Frequent engagements expose weaknesses quickly, while repeated practice improves positioning, aim, utility management, and decision-making. If you want to progress more efficiently, Delta Force Boosting can complement your gameplay goals, and players interested in purchasing Delta Force Items can use MMOexp to level up their game and spend more time focusing on mastering the fights.