Summary:
Freezing Shards is emerging as a powerful PoE 2 spell build thanks to its shotgun-style projectile damage, strong Spirit Walker synergies, and excellent scaling. With Primal Bounty, Mana Tempest, returning projectiles, and critical strikes, POE2 Currency, this setup can clear T16 maps quickly and deliver huge boss bursts.
Why Freezing Shards Is So Powerful in PoE 2
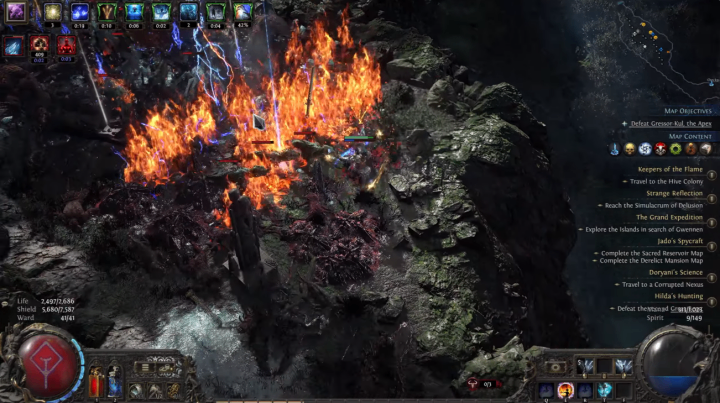
Freezing Shards is a spell available through the Gelled Staff, and its base skill fires six projectiles. The important mechanic is that multiple projectiles can hit the same enemy, creating a powerful shotgun effect against bosses.
By increasing the number of projectiles and improving projectile behavior, the build can stack enormous damage into a single target. With the right setup, Freezing Shards can clear high-tier maps efficiently while also delivering enough burst damage to threaten pinnacle bosses.
Another major advantage is its accessibility. The Gelled Staff can be obtained extremely early, making Freezing Shards useful from the campaign all the way into the endgame. This makes the build particularly attractive as a league starter.
Primal Bounty Is the Core Damage Mechanic
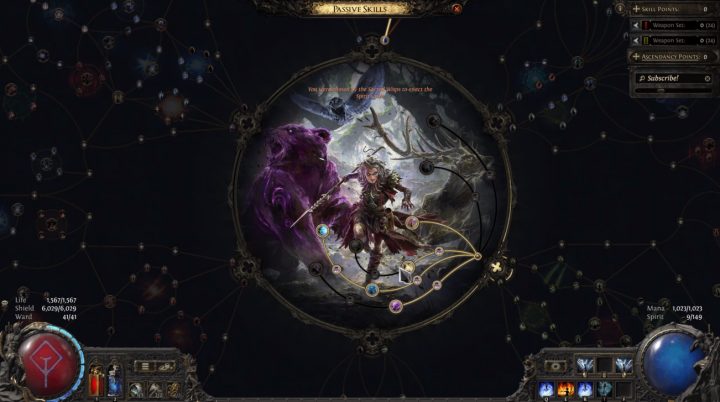
The most important part of the build is the Spirit Walker ascendancy's Primal Bounty. Over six seconds, the character gains three Owl Feather stacks. After dodge rolling, these stacks are consumed to empower the next ability.
The empowered skill gains six additional projectiles along with a large amount of projectile speed. The Maka's Gift ascendancy node further improves this empowerment, making Primal Bounty the centerpiece of the build's boss-killing rotation.
If you have enough currency for it, Oloth's Conviction can provide another major upgrade by allowing the next empowered skill to be used two additional times.
Freezing Shards Projectile Bugs to Know
There is an important limitation with this build. Some projectile modifiers currently appear not to function correctly with Freezing Shards.
For example, modifiers that provide a chance to fire additional projectiles do not appear to work properly. The same applies to modifiers that give spells a chance to fire two additional projectiles.
Whether this behavior is intentional or a bug remains unclear, but it represents a significant loss of potential damage. Fortunately, several other mechanics still provide additional projectiles and dramatically improve the skill.
Primal Bounty is the main source, while Mana Tempest and projectile-return mechanics provide additional ways to increase effective damage.
Mana Tempest and Returning Projectiles
Mana Tempest is another major component of the build. Besides providing additional lightning damage, it causes projectiles to split toward additional targets. Depending on the situation, this can create several more effective projectiles.
The build also uses Breach Lord's Amalgam Lineage to make projectiles return to the player. This is particularly powerful against bosses because returning projectiles can create another instance of damage.
However, there is an important requirement: the projectile needs to pierce the boss first so that the returning projectile can hit it again.
Solving the Boss Hitbox Problem
One of the biggest weaknesses of Freezing Shards is inconsistent boss hitboxes. Even when standing extremely close to a boss, not every projectile will necessarily connect.
The build solves this problem with Ghost March boots. Their dodge-roll phasing allows the player to move through enemies and position directly inside a boss's hitbox.
After phasing into the boss, casting Freezing Shards at point-blank range makes it much easier for every projectile to connect. This technique requires practice, but it is one of the most reliable ways to maximize the build's single-target damage.
Freezing Shards Skill Gem Setup
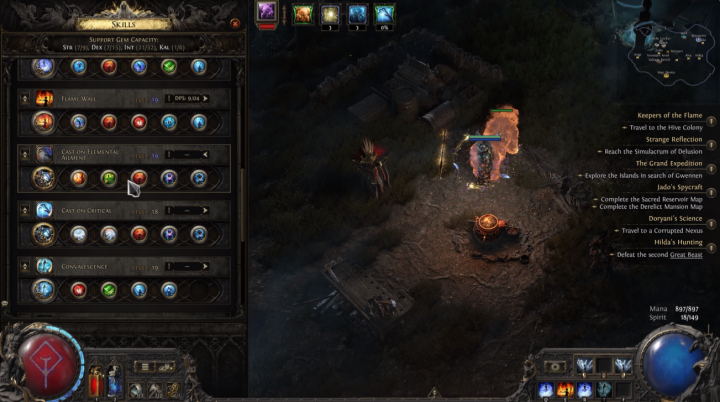
For the main boss-killing Freezing Shards setup, the build focuses heavily on projectile damage, critical strikes, and returning projectiles.
Key supports include:
Breach Lord's Amalgam Lineage
Zerok's Revolt
Pinpoint Critical
Projectile Acceleration III
Rachata's Flow
Zerok's Revolt is especially important because the build uses its cooldown interaction to create a powerful burst window. Rachata's Flow is another major damage option, although players without it can use alternatives such as Blasphemy with Elemental Weakness and Frost Bomb.
For mapping, a second Freezing Shards setup focuses more on consistent clear speed. Cold Mastery, Projectile Acceleration III, Rapid Casting, Pierce III, and Ice Bite provide a strong combination of damage, speed, and utility.