





Summary: Finding the absolute strongest weapons in Elden Ring and its Shadow of the Erdtree expansion has become a completely different game. FromSoftware's recent major balancing passes have officially crushed older visual glitches and broken setups-such as the infamous rolling sparks perfume bottle exploit.
In the current live meta, the weapon tier list has completely stabilized around two foundational principles: maximum poise breaking (stance breaking) and un-nerfable status accumulation (Bleed/Frost).
Whether you are struggling against Malenia or hitting a brick wall against Promised Consort Radahn, loading these T0 masterworks into your equipment slot will completely trivialise the game's toughest boss encounters. Here are the absolute best T0 meta weapons and how to build them right now. Having enough Elden Ring Runes can also help you meet the demanding attribute requirements of these high-end setups more efficiently.

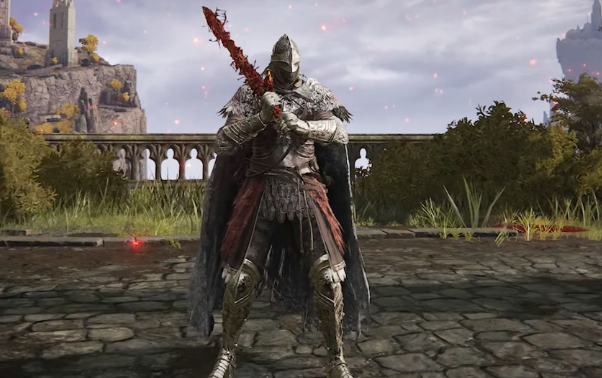
1. The Undisputed King: Blood Fiend's Arm (Arcane/Strength)
Despite receiving incremental balance tweaks in recent updates, the Blood Fiend's Arm remains the undisputed heavy weapon king for PvE content. This Colossal Weapon possesses a hidden, unique heavy charged attack mechanic that makes it an absolute monster.
Weapon Class: Colossal Weapon
Optimal Affinity: Blood
Where to Find: Dropped by the Bloodfiend enemies patrolling the Prospect Town ruins located in the western section of the Gravesite Plain (DLC area).
The T0 Setup:
Ash of War: Cragblade
Core Attributes: 60+ Arcane (for massive bleed scaling) and 28+ Strength (minimum requirement).
Talismans: Lord of Blood's Exultation (buffs attack power upon bleed triggers), Axe Talisman (massively boosts charged attacks), Two-Handed Sword Talisman, and Shard of Alexander.
Why it's T0: When infused with Blood, its heavy charged attack applies a flat, multi-hitting physical splash on the ground. This splash inherits your Arcane scaling, meaning a single fully-charged heavy attack triggers an absurd 200+ blood loss accumulation. It literally pops boss blood-loss meters and breaks their posture in just 2 to 3 hits. The Curved Sword Talisman is omitted here, as this build relies entirely on spamming charged heavy inputs rather than Guard Counters.
2. The Mid-Range Shredder: Milady with Wing Stance (Quality/Dexterity)
For players who dislike slow, heavy colossal clubs, Milady is the absolute pinnacle of fluid melee combat. It introduces a high-speed, graceful slashing playstyle that completely safe-checks boss tracking animations.
Weapon Class: Light Greatsword
Optimal Affinity: Quality or Cold
Where to Find: Found in a chest at the top of a stone watchtower inside Castle Ensis. Climb the wooden ladder located on the left-hand path of the main courtyard.
The T0 Setup:
Ash of War: Wing Stance - Crucial, found on a corpse in the eastern battlements of Castle Ensis.
Core Attributes: High Dexterity and Strength.
Talismans: Rellana's Cameo, Shard of Alexander, Rotten Winged Sword Insignia.
Crucial Stance Mechanic: To get the S-Tier value out of Rellana's Cameo, you must hold the Wing Stance for a brief moment (~1 second) until your weapon glows before releasing the attack. Simply tapping the skill and immediately hitting the attack button will result in zero damage buff. The heavy follow-up out of this held stance triggers a rapid, forward-lunging three-hit jump attack that covers massive ground, possesses clean i-frames, and deals immense poise damage.
3. The Unstoppable Bleed Laser: Spear of the Impaler (Dexterity/Faith)
For pure athletic tracking and clearing out mobs across tight legacy dungeon corridors, the flagship weapon of the expansion reigns supreme.
Weapon Class: Great Spear
Where to Find: Acquired by trading the Remembrance of the Impaler with Enia at the Roundtable Hold after defeating Messmer the Impaler.
The T0 Setup:
Unique Skill: Messmer's Pursuit
Core Attributes: 60+ Dexterity and 50+ Faith.
Talismans: Shard of Alexander (buffs weapon art), Fire Scorpion Charm (boosts Messmer Flame scaling), Rotten Winged Sword Insignia (stacks damage on multi-hit skill chains).
Why it's T0: Its unique skill is a long-chain, high-momentum combo that blankets the battlefield in explosive piercing damage and physical fire trails. Furthermore, its heavy strong attack allows you to literally throw the spear like a projectile at zero FP cost. The spear automatically explodes upon impact, giving you high-tier ranged safety combined with standard melee scaling. Note: The Talisman of the Dread is completely excluded from this setup, as it only benefits Magma damage and provides zero buffs to Messmer's unique flame properties.
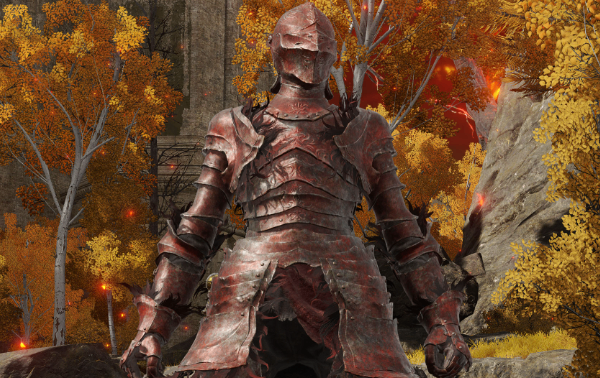
4. The Brainless Safety Net: Dueling Shield (Thrusting Shield Meta)
If you are tired of getting rolled by complex boss combos and just want a safe, zero-stress path to the credit roll, the Thrusting Shield category is your ultimate answer.
Weapon Class: Thrusting Shield
Optimal Affinity: Bleed or Cold
Where to Find: Found on a corpse in the lower levels of the Shadow Keep Storehouse, past the burning boat platform rows.
The T0 Setup:
Ash of War: Shield Strike or Barricade Shield
Core Attributes: High Strength and Endurance.
Talismans: Greatshield Talisman (reduces stamina consumption while blocking), Spear Talisman (buffs counter-thrusts), Green Turtle Talisman.
Why it's T0: This weapon archetype allows you to attack and block at the exact same time. By holding down your block button and initiating light attacks (Shield Poking), you maintain a 100% stable defensive guard profile while dealing consistent damage. Avoid equipping offensive movement arts like Giant Hunt, as using them completely removes your active blocking frames, leaving you exposed. Stick to Shield Strike or Barricade Shield to safely melt boss health bars down through passive counter-poke chip damage. Players looking to complete these builds efficiently can also consider options to buy Elden Ring Items when preparing their overall equipment setup.