Weekend Drop -













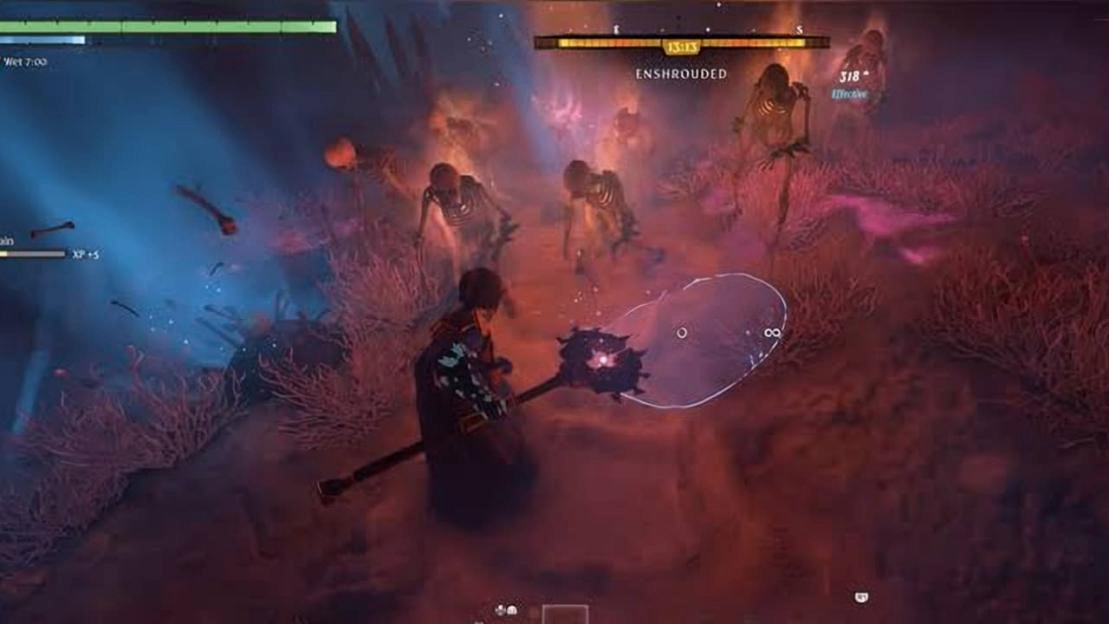
Battle Mage is the starting recommendation for solo players who want reliable damage without constant ammunition crafting. Archer suits ranged boss fights; Summoner offers skeletons and elemental totems backed by wand attacks.
The best Enshrouded builds balance damage with survival and resources. Three setups include equipment targets, allocations and combat loops.
Returning players should reassign their refunded points before leaving base: 1.0 resets existing skill allocations.
Best Enshrouded 1.0 Builds Ranked
Start Battle Mage for solo convenience, Archer when ammunition preparation feels manageable, or Summoner once spells and mana support repeated summons.
Rank | Build | Best For | Main Limitation | Difficulty |
1 | Battle Mage | Solo exploration, accessible magic | Shorter reach than bows and staves | Easy |
2 | Archer / Ranger | Prepared boss fights, ranged damage | Ammunition and stamina management | Medium |
3 | Barbarian | Two-handed melee, clearing groups | Flying enemies and unsafe attack windows | Medium |
4 | Summoner | Summon support, controlled engagements | Setup time and mana demand | Medium |
5 | Wizard | Elemental burst and area damage | Cast times and pressure while casting | Hard |
6 | Assassin | Daggers, flanking, stealth openings | Unreliable opportunities for sneak attacks | Hard |
7 | Warrior | Familiar sword-and-shield combat | Limited reach and offensive flexibility | Easy |
This editorial ranking prioritizes solo convenience, resource costs and ease of play. These are subjective recommendations, not measured damage rankings.
You can mix skill branches and reset at a Flame Altar; an early weapon choice does not lock your character into a class.
Best Builds for Each Playstyle
1. Battle Mage for Solo Play
Basic wand shots require neither charges nor mana. With a shield, Battle Mage is the Enshrouded best solo build recommendation for low-maintenance combat.
Quick Build | Recommended Setup |
Attributes | Intelligence first; health and Constitution for safety. Keep Spirit modest until staff casting becomes regular. |
Weapons | Fire and ice wands plus shield; bow for distant targets; optional staff with Fireball. |
First Three Unlock Goals | Wand Specialization, Blink, Water Aura. Add Wand Mastery and Aerial Wand Attack afterward. |
Gear Priorities | Wand or magic damage, then critical chance; health and protection when survival is inconsistent. |
Obtainable Targets | Alchemist Apprentice pieces after rescuing the Alchemist; later Hailcaster Chest and Flaming Gauntlets. |
Open with wand shots and check elemental resistance. Heavy attacks pierce lined-up targets and interrupt weaker enemies; spend Focus against groups. Use aerial attacks with a safe landing and Blink before being surrounded.
Blast and Cast adds 50% base damage to your next staff attack within 10 seconds of a wand critical hit. Switch to Fireball during a safe opening, then return to the wand. Postpone this hybrid if critical hits are infrequent or casting leaves you exposed.
Craft Hailcaster Chest at the Alchemist after obtaining Mauveine. Find Flaming Gauntlets at Gateway Outpost "Endflame", following the Forging A Flaming Gauntlet lore note near the repair station. Until then, use available magic gloves; critical gear is optional for the basic wand setup.
2. Archer for Ranged Boss Fights
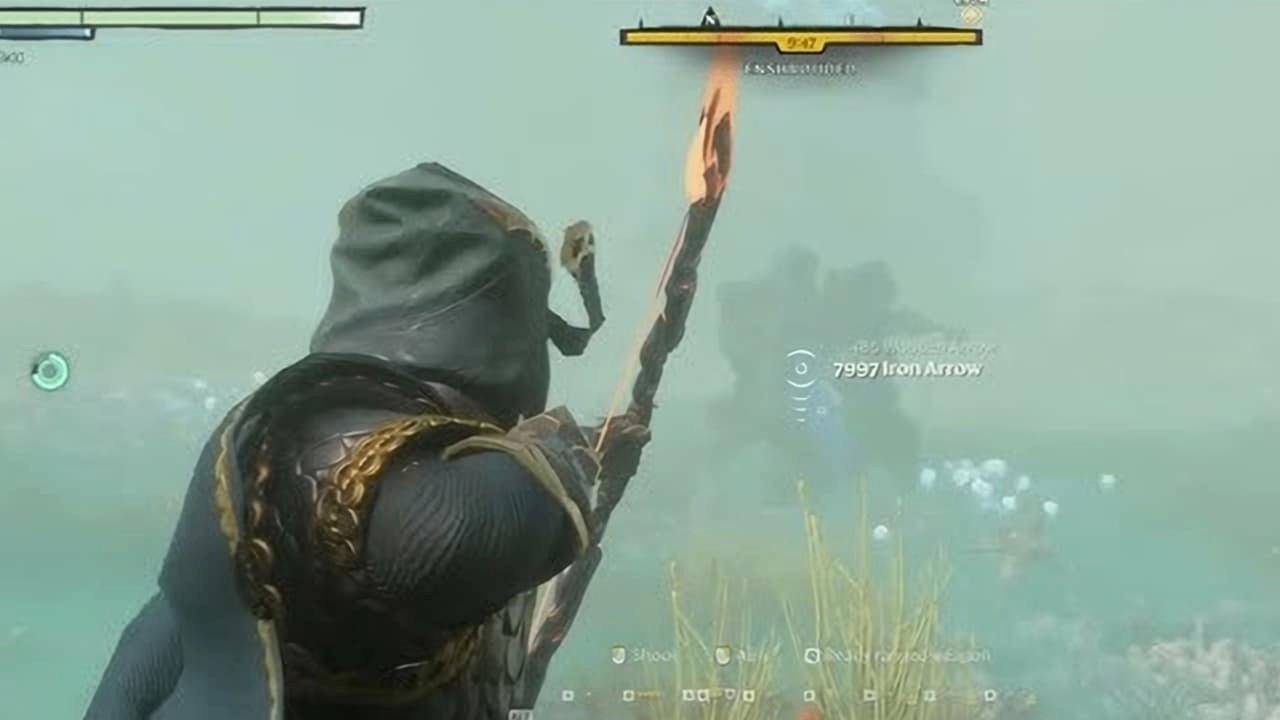
Choose Archer for aimed boss damage beyond melee reach. Start with ordinary arrows before investing in explosive ammunition.
Quick Build | Recommended Setup |
Attributes | Dexterity first; Endurance for stamina, Constitution when individual hits are dangerous. |
Weapons | Bow with ordinary arrows; daggers or a melee weapon as backup; utility arrows separately. |
First Three Unlock Goals | Marksman, Skill Shot, Bow Specialization. |
Gear Priorities | Bow/ranged damage, aimed-shot bonuses, stamina and stamina recovery. |
Obtainable Targets | Scout pieces from the rescued Hunter; Ranger pieces after accepting The Hunter's Hand Spindle. |
Take Puncture for ranged piercing damage; do not assume it boosts elemental or explosive components. Barrage can restore bow durability on hits, helping long excursions without restoring arrows or stamina. Survival Instinct's Shroud-time benefit has lower priority outside the Shroud.
For Enshrouded Items in an archer loadout, prioritize the bow, damage gloves and ammunition. Firefeather Bow is an option, but use an available bow while progressing through Scout and Ranger gear.
Aim at exposed weak points, reposition before enemies close and preserve escape stamina. If cornered, stop drawing and move; carry a melee backup for cramped rooms.
Add Multi-Shot for applicable ammunition or explosive support when supplies permit. Eternal elemental arrows reduce replenishment, but they do not make explosive arrows unlimited. Explosive control does not guarantee permanent boss stuns.
3. Barbarian for Two-Handed Melee
Build around Barbarian's Path, Two-Handed Specialization, Crash Down Attack, Crash Down Force and Whirlwind Crescendo. Prioritize melee damage, health and stamina; keep cutting and blunt options for resistant targets.
Jump into a safe landing, then sweep through grounded groups. Against bosses, attack after their sequence ends and withdraw before the next. Battle Heal and health-leech equipment support aggression only while their conditions are met; carry healing for forced downtime.
Choose this for aggressive melee. Keep a bow for airborne or unreachable enemies, and reconsider a melee-only setup when those targets repeatedly prevent damage.
4. Summoner for Skeletons and Totems
An Enshrouded summoner build needs summon spells before capacity investment. Use a staff to deploy them and a wand between casts.
Quick Build | Recommended Setup |
Attributes | Intelligence for magic offense; Spirit for the deployment budget; Constitution when enemies break through. |
Weapons and Spells | Staff, elemental wand and shield; Summon Hollow Skeleton plus one usable elemental totem spell. |
First Three Summon Goals | Quick Charge, Totem Mastery, Advanced Necromancy; establish the wand foundation first. |
Gear Priorities | Maximum mana, mana regeneration and shorter regeneration delay; retain health on defensive slots. |
Obtainable Targets | Alchemist Apprentice chest, trousers and boots early; later Thaumaturge Chest from the Alchemist after obtaining Obsidian. |
Get skeleton charges, sometimes named Hollow Wretch, from Alden Crowley, the Collector rescued in the Springlands Hollow Halls. Balthazar, the Alchemist, crafts fire, ice and shock totems; early versions require his Alchemy Station. Check each tier's unlock materials.
Advanced Necromancy increases spell-summoned Hollow capacity; Totem Mastery increases totems. Necromancer's chance-based skull companions do not replace the skeleton spell. Casting beyond the applicable limit replaces the oldest creature.
Cast a skeleton, place a totem, then attack with the wand once summons engage. Change elements against resistance. Summons can draw attacks without guaranteeing safety: move away before replacing losses.
For Enshrouded Items supporting summons, prioritize the staff, charges and mana equipment. Add defenses if enemies kill you before repositioning.
Let S and T be the displayed costs of one skeleton and one totem. Opening with both needs S + T mana; S + T + max(S, T) reserves one replacement cast without regeneration. This is an editorial planning target, not a requirement.
If short, deploy fewer summons and recover mana while using the wand. Increase capacity only after testing consecutive fights.
5. Wizard for Elemental Burst
This Enshrouded mage build trades easy sustained attacks for staff burst. Start with a wand, then add Mana Currents, Quick Charge, Spellslinger, Mage Apprentice and bonuses for your main element. Favor staff damage, magic critical chance and mana support.
Use Entangle against susceptible enemies before Fireball, or Blizzard for area control. Cast from separation, then use the wand while recovering mana. Escape if enemies close before the spell finishes.
All spells have Eternal versions, many unlocked late. They remove charge consumption, while mana costs and casting time remain relevant. Choose Wizard for burst windows; use the wand foundation longer if interruptions dominate.
6. Assassin for Daggers and Flanking
Prioritize Dagger Specialization, Sneak Attack and Backstab Mastery; add Venomous Blades and Venom Mastery for poison. Favor dagger/backstab bonuses and health leech; match piercing bonuses to your weapon's damage.
Sneak up on isolated, unaware enemies. After detection, use dagger attacks and reposition rather than repeatedly trying to regain the opener. Teammates holding attention make flanking easier.
Choose Assassin for positioning-heavy melee. If bosses or groups deny back access, rely on direct combat or switch to a less positional damage source.
7. Warrior for Sword and Shield
Use a one-handed weapon and shield. Prioritize One-Handed Specialization; Evasion Attack closes gaps, Crash Down Attack adds a jumping option and Merciless Attack rewards filling the stun bar.
Block or evade, counter during the opening and spend Focus when available. Preserve enough stamina to disengage. Favor one-handed damage, health and shield performance; carry a bow for distant targets.
Choose Warrior if blocking feels natural. Move toward two-handed melee or magic when damage or reach repeatedly limits progress; sword and shield remains usable.
Choose a Build for Your Situation
If a ranged backup solves the encounter, use it before resetting your Enshrouded build.
Current Problem | Adjustment |
Ammunition crafting interrupts exploration | Battle Mage with wand and shield |
Boss stays beyond melee reach | Archer or a ranged backup |
Grounded groups overwhelm single-target attacks | Barbarian or magic area attacks |
Enemies interrupt opening casts | Establish summons or use Blink to create space |
Teammate reliably holds enemy attention | Wizard or flanking Assassin |
Dungeon leaves no retreat space | Add defense and a close-range weapon |
Early-Game and Endgame Progression
Early Game: Establish One Weapon
These cumulative allocations include connecting nodes. Skills start at rank one unless specified. Paths have been checked against 1.0 skill data, but have not been tested in game.
Build | Starting Allocation | Next Checkpoint |
Battle Mage | Intelligence (1), Eternal Spark (1), second Intelligence (1), Unity (1), Wand Specialization (3): 7 points | Blink (4), Healer (1), Spirit (1), Water Aura (1): 14 total; Wand Mastery (1): 15 total |
Archer | Dexterity (1), Marksman (1), Counter Battery (1), Skill Shot (1), Bow Specialization (3): 7 points | Raise Marksman and Skill Shot to rank three (+4): 11 total; Puncture (2): 13; Barrage (1): 14 |
Summoner | Same 7-point wand start; separate Spirit (1), Mana Currents (1), next Spirit (1), Quick Charge (1): 11 total | Separate Spirit (1), Mage Apprentice (1), Intelligence (1), Arsonist (2), Totem Mastery (2): 18 total |
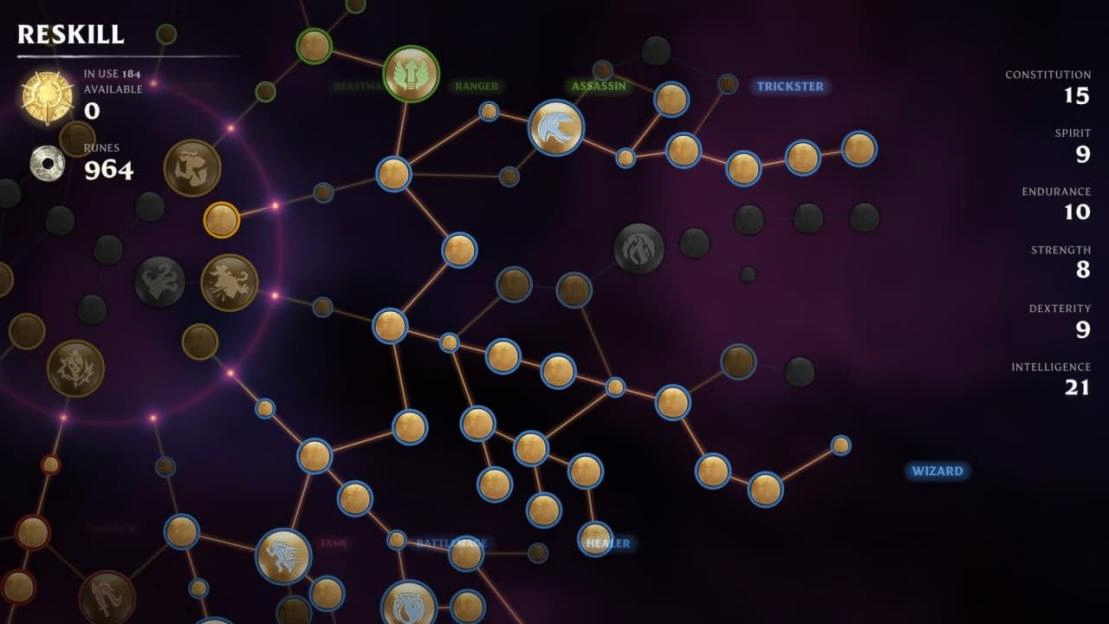
For Battle Mage, take the Intelligence node directly between Eternal Spark and Unity. Arcane Deflection is a different path choice.
At 15 points, Battle Mage finishes healing before aerial damage. Archer can stop at 11 for damage or 14 with Puncture and Barrage. Summoner uses baseline summons at 11; spells must be obtained separately.
Midgame: Fix the Weakest Link
Battle Mage adds Aerial Wand Attack for 18 cumulative points. For the hybrid, a separate Spirit, Mana Currents, another Spirit and Blast and Cast add six more, reaching 24. Add Double Jump separately if wanted; it costs two additional points.
Archer should next address stamina or health if escaping is unreliable. Add higher Puncture ranks for piercing damage; postpone explosive specialization until ammunition supplies are dependable. Barrage ranks improve durability support, not burst damage.
From the Summoner's 18-point checkpoint, Bone to Ash (1), Necromancer (1) and Advanced Necromancy (2) reach 22. Blink plus the Healer, Spirit and Water Aura path adds seven, reaching 29. Stop at rank one on capacity skills until you can fund replacements. Later cast-time and mana-recovery ranks take priority when deployment stalls.
Endgame: Upgrade the Working Setup
Enshrouded 1.0 raises the character cap to 50, with equipment reaching level 55 when fully upgraded. Character level alone does not determine your available skill budget, because Shroud Roots also provide points.
When comparing Enshrouded Items for endgame upgrades, prioritize the main weapon and relevant offensive gloves and headgear. Strengthen defensive slots if survival remains inconsistent. Keep useful bonuses when comparing higher-level replacements.
Returning players should rebuild these core packages first, then restore optional damage, mobility and gathering investments. Fund Blast and Cast only if using the staff window; fund summon capacity only if filling it. Eternal spells and arrows can be upgraded through the relevant crafting survivors.
Enshrouded 1.0 Build Changes
Rebuild old allocations around the current tree: dagger skills moved to Assassin, wands gained heavy attacks, and Wand Evasion Attack adds another active option. Enemy susceptibilities changed too, so test your element in each new area rather than trusting old matchups. Restore the core combat loop before optional hybrids.
Final Build Recommendations
Match your Enshrouded build to the constraint you can manage.
Build | Suits Players Who Prefer | Depends On | Reconsider When |
Battle Mage | Simple solo combat | Element choice, positioning | Range limits openings |
Archer | Aimed boss damage | Ammunition, stamina | Resupply becomes tedious |
Barbarian | Aggressive melee | Safe openings, recovery | Targets stay unreachable |
Summoner | Prepared engagements | Spells, replacement mana | Ambushes prevent setup |
Wizard | Burst casting | Mana, casting windows | Casts repeatedly fail |
Assassin | Daggers and flanking | Positioning, direct-combat fallback | Back access stays unreliable |
Warrior | Blocking and counters | Shield, stamina | Reach or damage stalls |