Weekend Drop -













Summary:
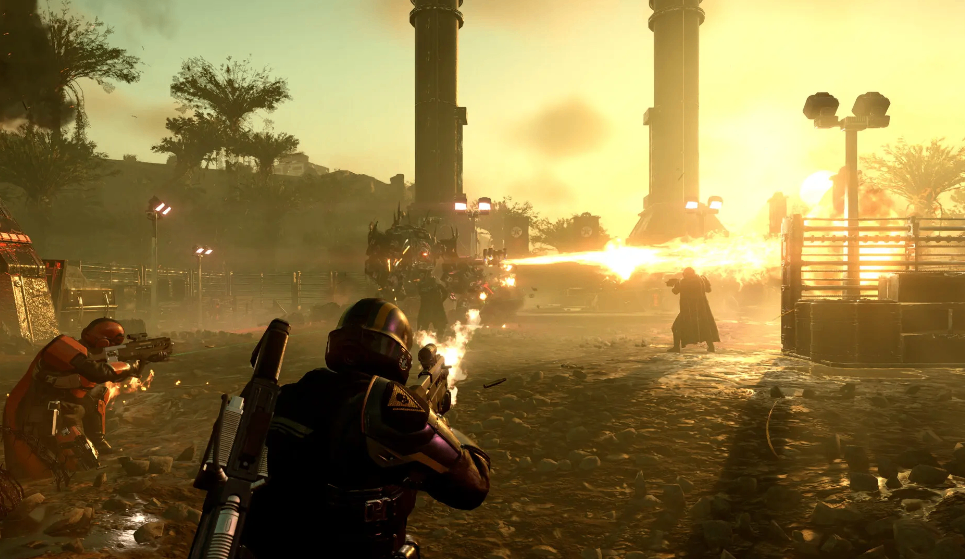
In Helldivers 2 Items, Red Stratagems deliver massive aerial firepower, destroying bases, clearing enemy waves, and dealing with high-value targets. But with so many Orbital and Eagle options, which ones are truly worth using in high-difficulty missions? This guide ranks the strongest Red Stratagems, explains their best uses, and provides recommended loadouts for different situations to help you survive tougher battles and complete missions efficiently.

1. S-Tier Stratagems:The Best Choices for Any Mission
Orbital 120mm HE Barrage is one of the most reliable Red Stratagems.
It offers strong damage, accurate coverage, and better control than the larger 380mm barrage, making it safer for both objectives and team fights.
Best uses:
Destroying enemy structures
Clearing medium bases
Eliminating enemy groups
Orbital Laser is a powerful emergency tool.
Its automatic targeting can quickly turn around difficult situations, but limited uses mean it should be saved for important moments.
Orbital Napalm Barrage focuses on area control. The burning zone blocks enemy movement and is excellent for defending key positions.
Eagle 500kg Bomb provides explosive burst damage. A precise drop can eliminate large enemies and destroy important targets.
Best for:Players who want reliable performance in high-level missions.
Main benefit:More stable clears and fewer failed runs.
2. A-Tier Stratagems:Powerful and Versatile Options
Orbital 380mm HE Barrage delivers massive area damage, making it great against large bases and dense enemy groups, although it requires better timing.
Orbital Gatling Barrage is a balanced choice with:
Short cooldown
Strong coverage
Good overall damage
Orbital Gas Strike combines damage and crowd control, making it effective against large enemy waves.
Eagle Airstrike remains one of the safest choices because it can destroy structures, clear enemies, and handle many mission types.
3. B-Tier Stratagems:Situational Tools With Unique Value
Some Red Stratagems are not universal damage machines, but they can be extremely useful in the right situations.
Examples:
Orbital Airburst Strike
Excellent against small enemy groups
Weak against heavy targets
Orbital Precision Strike
Strong single-target damage
Requires accurate timing
Orbital EMS Strike
Provides crowd control
Better for slowing enemies than killing them
Eagle Cluster Bomb
Extremely effective against swarms
Requires careful placement to avoid team damage
Smoke Stratagems
Useful for stealth, escapes, and special objectives
Less valuable if your goal is maximum damage output
Best for:Experienced players who understand mission-specific strategies.
Main benefit:Adds tactical options beyond raw damage.
4. Best Red Stratagem Builds
Fast Clear Build
Orbital 120mm HE Barrage
Eagle Airstrike
Eagle 500kg Bomb
Orbital Laser
Great for fast progression and objective clearing.
Defensive Control Build
Orbital Napalm Barrage
Orbital Gas Strike
Orbital Gatling Barrage
Eagle Cluster Bomb
Ideal for holding areas against enemy waves.
Heavy Target Build
Orbital Railcannon Strike
Eagle 500kg Bomb
Orbital 380mm HE Barrage
Orbital Laser
Designed for powerful enemies and high difficulties.
5. Final Verdict:Choose Strategy Over Raw Damage
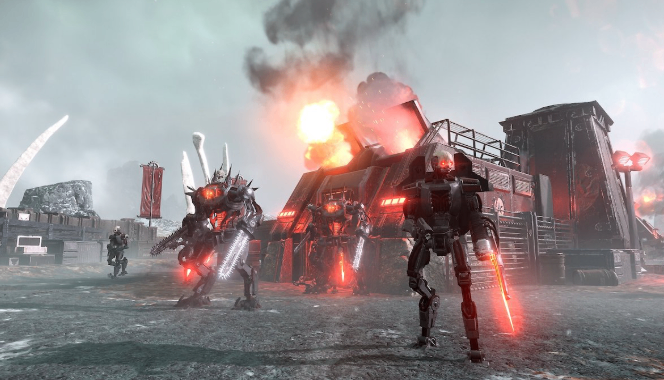
The strongest Red Stratagem is not always the one with the biggest explosion. Cooldown, accuracy, enemy type, and mission goals are equally important.
Player benefits:
New players:Learn missions faster with reliable options.
High-difficulty players:Build stronger D9/D10 setups.
Team players:Create better role-based loadouts.
Smart Stratagem choices win battles. The right Orbital Strike or Eagle Airstrike at the right time, combined with sensible use of cheap HD2 Items, can completely change the mission outcome.
6. Quick Tips
Do not judge Stratagems only by damage numbers.
Prioritize reliable tools for high-difficulty missions.
Assign team roles:crowd control, anti-armor, and objective damage.
Control abilities like smoke and EMS can be valuable in specific missions.
Learn enemy types before changing your loadout.