




Summary
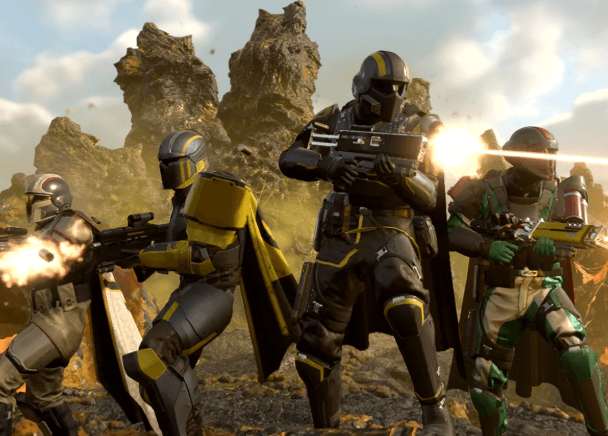
If you think Helldivers 2 Level 2 missions are too easy, this setup can completely change the experience. With Helldivers 2 Items ready for your arsenal, you can combine Minefields, the Airburst Rocket Launcher, heavy firepower, and smart positioning to create a deadly kill zone. The result is nonstop explosions, massive enemy waves, and a chaotic farming setup that can deliver thousands of kills with a coordinated squad.
1. The Core of the Helldivers 2 Kill Farm Build
The idea behind this strategy is simple: instead of chasing enemies around the map, you create a dangerous area where enemies are forced to fight through your defenses.
The most important tools are:
Anti-Personnel Minefield – Creates a large area of explosive traps.
Airburst Rocket Launcher – Excellent for clearing groups of enemies packed together.
HMG or another heavy weapon – Gives the team reliable sustained firepower.
Reinforcement Stratagems – Useful because friendly fire and explosions are almost guaranteed.
Resupply – Essential when the Airburst Launcher starts burning through ammunition.
The combination works especially well when enemies continuously approach from predictable directions.
2. Why the Airburst Rocket Launcher Is So Strong
The Airburst Rocket Launcher becomes the star of this setup when multiple enemies are grouped together.
Instead of carefully targeting individual enemies, you can fire into a dense group and let the explosion handle multiple targets at once. In the run described above, one player claimed to kill 100 enemies with just two shots, showing how powerful the weapon can become when enemy density is high.
However, there is a major drawback: friendly fire.
With teammates fighting around mines and Airburst explosions, positioning is everything. A badly timed shot can eliminate your own squad just as quickly as it destroys the enemy.
3. Turn the Battlefield Into a Death Zone
Positioning is the other major part of the strategy.
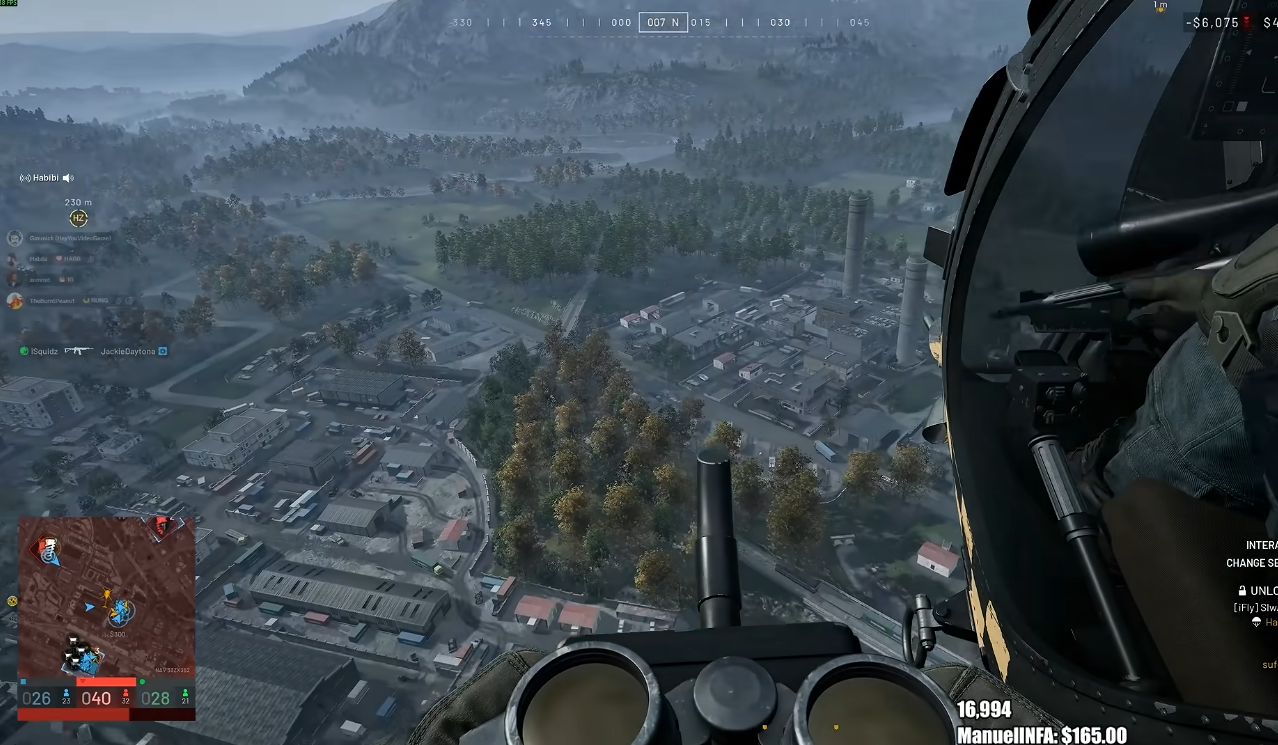
The squad created a large minefield around a defensive position and used elevated terrain to watch incoming enemies. This gave them a clear view of approaching enemies while forcing ground units to move through the explosive area.
Think of the setup like a temporary tower defense game.
Mines deal with enemies entering the area, while the Airburst Launcher handles groups that survive or move around the traps. Heavy weapons can then clean up anything that gets too close.
High ground is particularly useful because it improves visibility and gives you more time to react before enemies reach the team.
4. Calling Extraction Can Increase the Chaos
One interesting trick from the run was calling in extraction before the mission was finished.
Extraction can create a much more intense combat situation, giving the squad additional enemies to fight during the final minutes. If your goal is simply to maximize kills rather than complete the mission as safely as possible, this can turn an already busy battlefield into complete chaos.
Just make sure you have enough reinforcements available.
5. Expect Friendly Fire
This build is absolutely not designed for careful, low-risk missions.
Players were repeatedly killed by mines, Airburst explosions, and other team members. Even experienced players can get caught when moving through an area filled with explosives.
Communication is therefore extremely important.
Before firing the Airburst Launcher, check where your teammates are standing. When using Minefields, clearly establish which areas are safe and which areas should be avoided.
6. How Many Kills Can You Get?
The squad eventually reached roughly 4,000 combined kills, with one player recording 1,044 kills during the mission.
That number shows how effective the setup can become when enemy density is high and the team works together.
Of course, this is not necessarily the fastest way to complete a normal mission. The real appeal is turning a low-level operation into a ridiculous Helldivers 2 kill farm and testing how much destruction your squad can create.
Final Thoughts
The biggest lesson from this setup is that Helldivers 2's weaker or less popular Stratagems can become extremely powerful in the right situation. Minefields control the battlefield, the Airburst Rocket Launcher destroys clustered enemies, and high-ground positioning keeps the squad supplied with targets.
If your squad wants something different from a standard mission, try building your own explosive kill zone with cheap Helldivers 2 Items. Just remember: in Helldivers 2, the biggest threat may still be the four Helldivers standing next to you.