Summary
The build functions effectively on lower budgets. The Prism of Belief diamond for Glacial Lance remains inexpensive due to the skill's low play rate. As the build gains popularity, these prices will likely increase, making now an optimal time to invest. Similarly, in Diablo IV, keeping an eye on market trends for key Diablo IV Items can save you significant currency while allowing you to gear up efficiently before demand drives prices higher.
Why Heartseeker in Season 14?
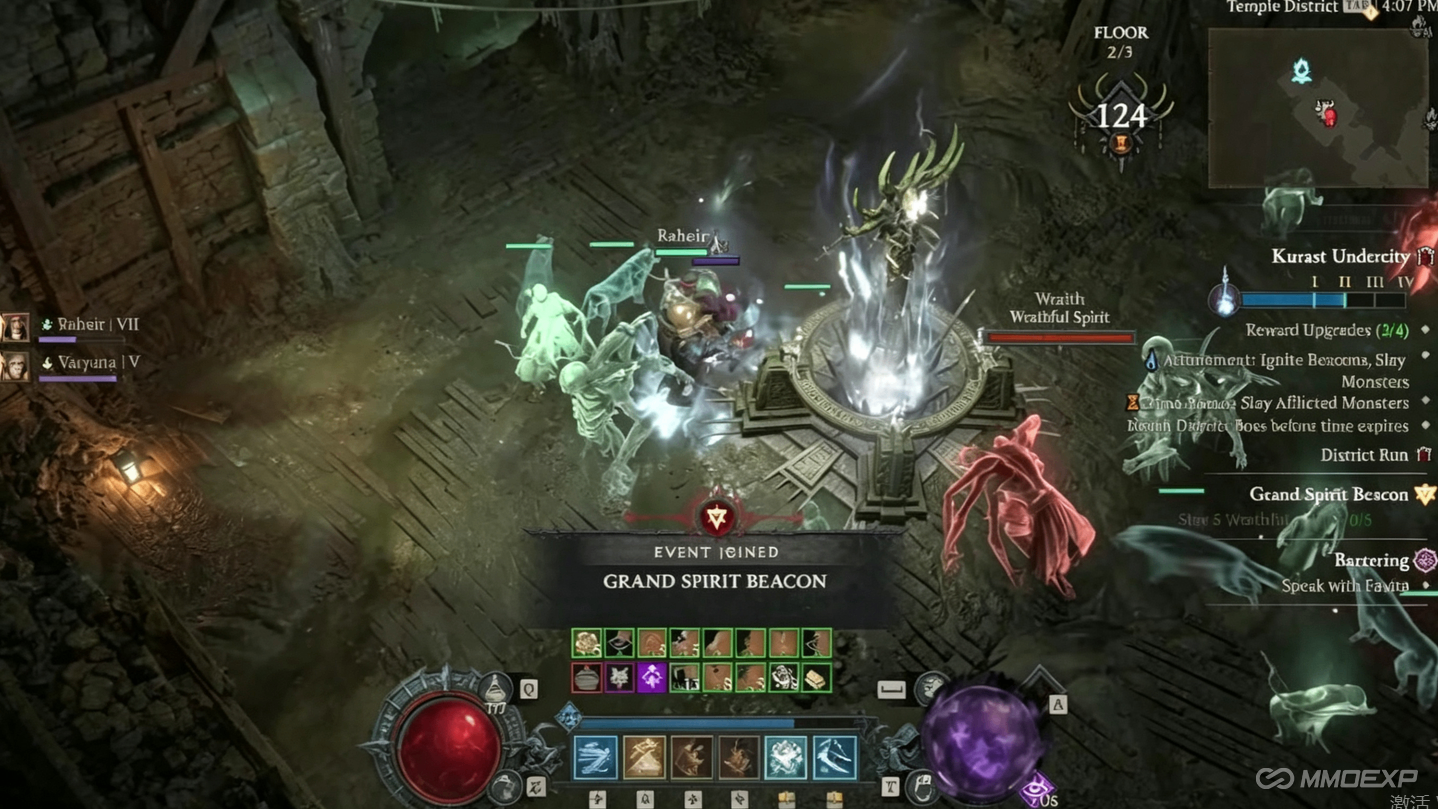
The biggest quality-of-life change this season is the Narrow's Eye set rework. In previous seasons, players had to hover over enemies with their mouse cursor for the five-piece bonus to take effect—a mechanic many players found clunky and refused to engage with. This is no longer required, making the build much smoother and more accessible.
Heartseeker is a Basic Skill that auto-aims at enemies, meaning you can stand at a distance and fire without complicated targeting. Despite being a Cold-based build, it performs exceptionally well against Torment 12 bosses with the right bossing setup.
Skill Tree Breakdown
Heartseeker is your primary attack. Take Procession as your upgrade—this grants free stacks of Overpower and performs better than the Devouring Arrow version in extensive testing. Heartseeker deals massive single-target damage; Paingorger's Gauntlets echo that damage to multiple enemies for AoE clear.
Shadow Step — Take for mobility and the Artifice upgrade. This does not require a target, making it excellent for quick repositioning.
Dash — Extremely important. You want 10 ranks of Dash. This is your method for building Ferocity stacks quickly. At the start of any engagement, Dash three times to get to about 10 Ferocity stacks, making it much easier to reach the full 13. Without this breakpoint, building Ferocity takes far too long.
Dark Shroud — You do not need this on your skill bar. It is granted for free by the Narrow's Eye set.
Concealment — Max this out and take Calculation. Each rank boosts your Critical Strike Chance, which is hard to come by, so this is very valuable.
Smoke Grenade — Provides additional Critical Strike Chance and Stealth.
Cold Imbuement — Much of your damage comes from this. Max it out and take Frozen Heart for maximum duration.
Shadow Clone — Your Ultimate. Provides a massive damage boost and is a core part of the endgame version.
Caltrops — Used for movement and damage setup.
Essential Uniques
Paingorger's Gauntlets are absolutely mandatory. They mark enemies hit by non-Basic skills, and your Heartseeker projectiles then echo damage to all marked targets. This is the primary mechanism that lets Heartseeker clear packs efficiently.
Shard of Verathiel provides a massive 150%+ damage boost to Basic Skills and adds ranks to Heartseeker, but causes it to cost 25 Primary Resource per cast. Solving this Energy drain requires careful gearing with Maximum Energy and resource regeneration.
Ring of Starless Skies synergizes perfectly with Shard of Verathiel by reducing Heartseeker's cost and providing a damage multiplier. The version you want can be crafted with Sparks.
Shroud of False Death provides the highest damage increase in the chest slot due to +1 Ranks to All Passives.
Tibault's Will provides a damage multiplier and Maximum Resource to scale Aspect of Adaptability.
Crown of Lucion provides an additional damage multiplier for Heartseeker once Shard of Verathiel is equipped.
Key Aspects
Aspect of Adaptability on your amulet provides a huge damage multiplier based on your Maximum Resource. Basic Skills deal increased damage for each point of Primary Resource you have.
Coldclip Aspect on a dual-wield weapon means your Basic Skills are always Cold Imbued at 50% potency. This is why Cold Imbuement is not on your skill bar.
Aspect of the Moonrise on your ranged weapon is your Basic Skill damage and Attack Speed engine. Damaging an enemy with a Basic Skill grants stacking Attack Speed, and at max stacks you gain significant Basic Skill damage.
Frostbitten Aspect makes it so enemies hit by your Grenade Skills have a chance to be Frozen, and you deal increased Critical Strike Damage to Frozen or Stunned enemies.
Rapid Aspect grants Basic Skills increased Attack Speed.
Gear Affix Priorities
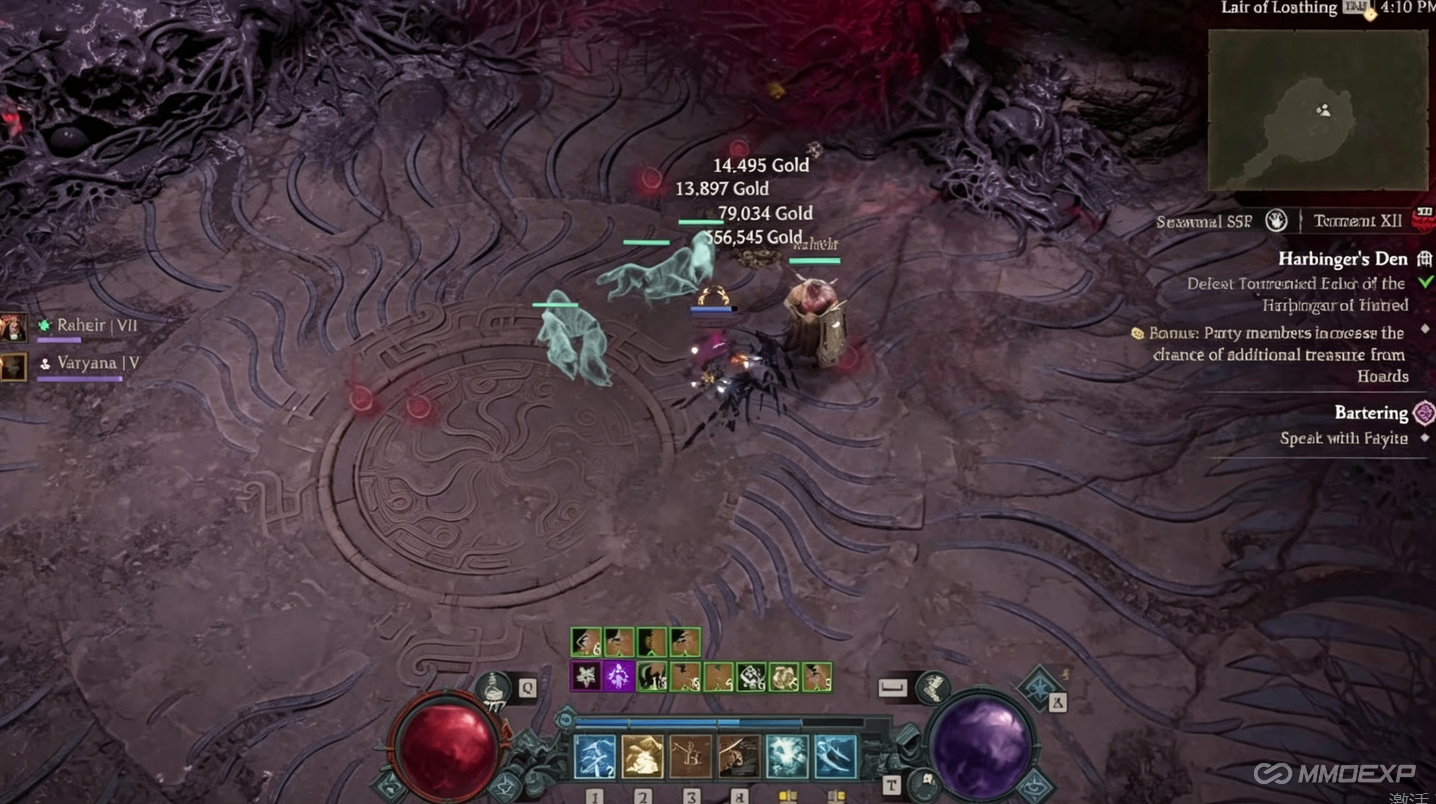
Critical Strike Chance is your most important stat. It is hard to come by, so prioritize it on every piece that can roll it.
Ranged Weapon — Prioritize Resource Cost Reduction, Dexterity, Maximum Life, and Vulnerable Damage or Critical Strike Damage. Temper for Chance for Shadow Clone to Deal Double Damage.
Dual-Wield Weapons — Prioritize Lucky Hit Chance to Restore Primary Resource, Dexterity, and Maximum Life. Temper for Chance for Heartseeker Projectiles to Cast Twice.
Helm — Prioritize Cooldown Reduction and Lucky Hit Chance. Temper for Barrier Generation.
Chest — Prioritize Ranks to Dark Shroud. Temper for Barrier Generation.
Gloves — Prioritize Critical Strike Chance and Attack Speed. Temper for Damage per Dark Shroud.
Pants — Prioritize Ranks to Heartseeker. Temper for Barrier Generation.
Boots — Prioritize Movement Speed and Ranks to Dash. Temper for Movement Speed.
Amulet — Prioritize Ranks to Frigid Finesse, Malice, and Exploit. Temper for Damage per Dark Shroud.
Rings — Prioritize Critical Strike Chance and Attack Speed. Temper for Damage per Dark Shroud.
Charms and Set
The Narrow's Eye five-piece set is the best set for this build. Make sure you use the Cold set.
For your Talisman slot, look for a six-charm slot piece. Prioritize Critical Strike Chance or Critical Strike Damage.
Try to get Marksman Skills ranks on your charms wherever possible. Secondary resistances are also valuable—this build can be somewhat squishy, so getting additional resistances helps significantly.
Rune Choice
Ceh (Wolves) is extremely important. The wolves proc the Paingorger's Gauntlets mark. Without the wolves, you will notice a significant decrease in your damage output and clear speed.
Poc or Guard provides Critical Strike Chance. If you feel squishy, consider using K instead for Barrier.
For the endgame version, Paingorger's Gauntlets and Shard of Verathiel are core.
Bossing Setup
Frozen Memories does not work on anything that is Unstoppable. Bosses are Unstoppable until they are staggered, so Frozen Memories does nothing until they stagger—and waiting for stagger takes too long.
Solution: Have a second weapon with High Velocity rolled on it. High Velocity works against unstaggered bosses, giving you a chunk of damage without waiting. With good gear, this allows you to kill all Torment 12 bosses before they are staggered.
Ferocity Stacks
Ferocity stacks provide significant damage and Attack Speed boosts. The challenge is building them quickly.
Why 10 ranks of Dash? At the start of each fight, Dash three times. This will get you to about 10 Ferocity stacks immediately, making it easy to reach the full 13.
Scoundrel's Kiss ring helps build Ferocity stacks, but only when you are not close to anything. The moment you get close, Ferocity stacks start to drop.
Rotation and Playstyle
This is a very simple build to play. There is no complex rotation:
Keep Cold Imbuement and Concealment active as much as possible.
At the start of each engagement, Dash three times to build Ferocity stacks.
Use Shadow Step and Dash for mobility.
Hold down Heartseeker—that is your primary damage button.
Pop Smoke Grenade for additional Critical Strike Chance.
Stay at range—there is no reason to be close to enemies.
The build can be played with one hand for most content.
Paragon Boards
Work through these boards in order:
Starter Board — Devious glyph. Prioritize increasing Magic Nodes for Dexterity.
Board 2 — Turf glyph. Focus on the Legendary Node and surrounding Magic Nodes. Prioritize the +Damage to Close Enemies nodes.
Board 3 — Control glyph. Prioritize the Legendary Node and Magic Nodes for Damage to Crowd Controlled enemies.
Board 4 — Headhunter glyph. Prioritize the Legendary Node and Magic Nodes for Damage to Elites.
Board 5 — Closer glyph. Prioritize the Legendary Node and Magic Nodes for Critical Strike Damage.
Prioritize leveling these glyphs to at least Level 15, and push them to Level 46 for full power.
Gems
Armor — Strength for Skill Damage and Armor.
Weapons — Sapphire for Critical Strike Damage.
Jewelry — Diamonds for All Resistances.
Endgame Variant
The endgame version of this build uses Shard of Verathiel to transform Heartseeker into an Energy-consuming skill. This requires strict gearing to solve the Energy drain:
300+ Maximum Energy
Ultimate restores Primary Resource (Tempering affix)
20-second Shadow Clone cooldown
Ring of Starless Skies
This is the version that deals trillions of damage and speed-farms Pit 100+.
Final Tips
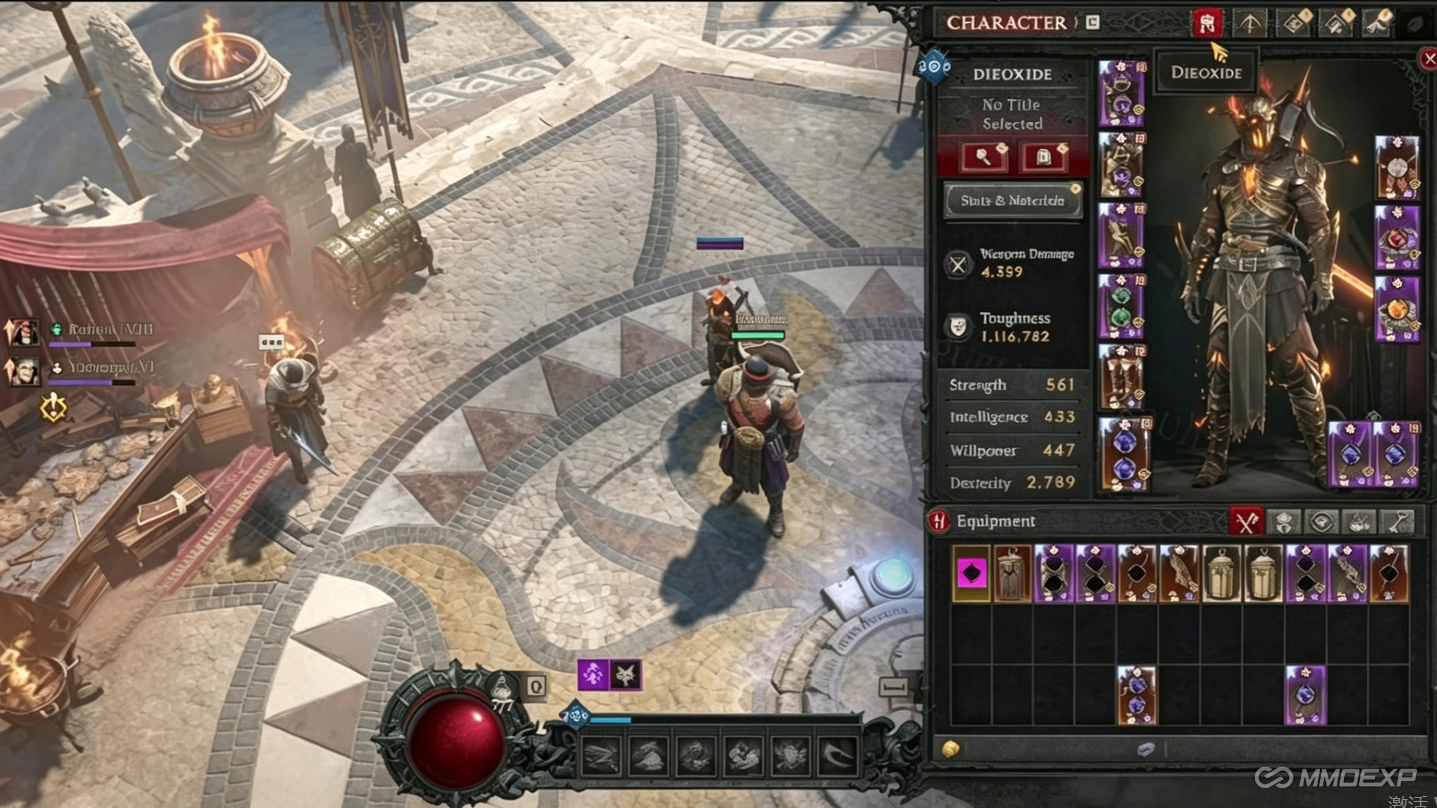
The Narrow's Eye set change is a huge quality-of-life improvement this season. Heartseeker is one of the easiest Rogue builds to play—no complicated rotations. Paingorger's Gauntlets are essential for AoE clear. Dash is your Ferocity builder—Dash three times at the start of each fight. The gear requirement is high for the top-end version, but the build works well with basic gear too, making it easy to get started with cheap Diablo IV Items. The build excels at both farming and bossing. MMOEXP offers a wide selection of affordable items to help you gear up quickly.