




Summary
The Curse of the Allflame league mechanic revolves around three main pieces of content: in-map encounters, charts (miniature exploration missions), and voyages (mega zones created from nine completed charts). While charts provide quick currency through lantern-guided looting, voyages are where the real money lies. This guide covers how to efficiently complete charts, set up voyages, use lanterns effectively, and maximize your profits through strongbox strategies, golden lantern stacking, rare monster scaling, and dead man's sulfur farming. To get started, buy POE currency and fund your voyages without delays.
The Three Core Pieces of Content
In-Map Encounters
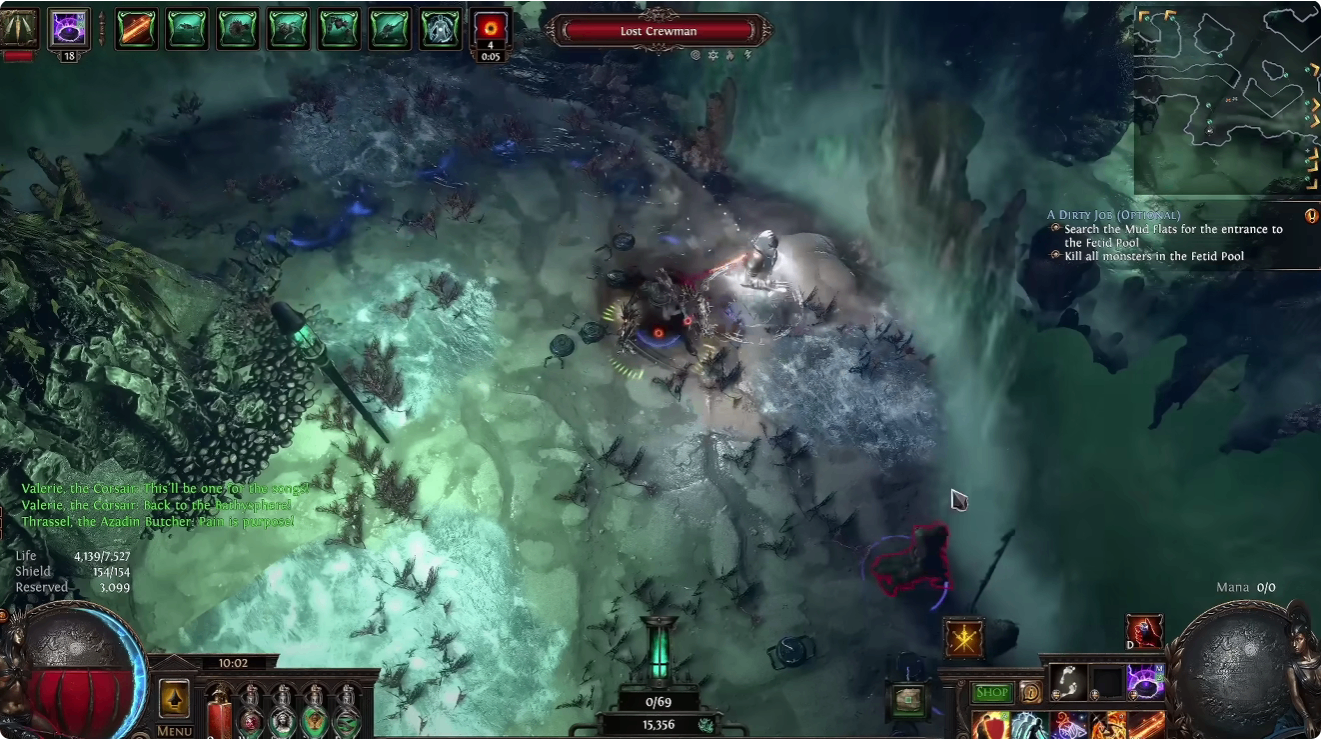
In-map encounters are quick and rewarding. Even if you are not fully engaging with the league mechanic, complete these because they drop good loot, provide map-long buffs, spawn monsters, and are fast to do. These are also where you obtain your charts.
Charts
Charts are miniature exploration missions that function like maps. They come in tradable and craftable item form. After completing a chart, it becomes a non-tradable revealed chart that lives in the voyage menu.
Voyages
Voyages use nine completed charts to create a mega zone. This is where you will get most of your payoffs for the league mechanic.
Chart Farming: Efficiency and Survival
Batch Processing
Do charts in batches. Complete 10 or 20 maps, then come back and fill out your charts. Use auto sorting with the storage affinity option to automatically send charts to your chart storage when you control-click items into your stash.
Auto Placement of Lanterns
Enable auto placement of lanterns at Valerie after your first chart. It triggers when you move outside of a bubble. Be careful with movement skills like Flame Dash, Frost Blink, and Lightning Warp—if you go too far outside the bubble, it can fail to place a lantern. Instead, teleport closer to the edge of the bubble, walk outside it, or use movement skills that don't teleport like Shield Charge.
Extraction Process
The extraction process begins the moment you place your final lantern. Bubbles start collapsing with the last lantern placed, working backward to the first. To escape, simply run back to the bathysphere and get in. Any loot dropped during extraction gets vacuumed up and spit out at the ship at the end, so focus on killing and escaping.
Avoiding Drownings
The most common cause of drownings is creating a long and confusing trail with difficult pathing. Use several lanterns, looking for green arrows for loot, then use the last few lanterns to loop back to the bathysphere. Alternatively, put the last lantern right next to the bathysphere for an easy escape.
Quick ID and Sell
Valerie has an ID all option—hold Alt + Control and left-click her to identify everything. While the bathysphere is powering up for the next chart, ID and sell your loot.
Crafting Charts
Currency Crafting
You can craft charts with currency just like maps. The modifiers you put on charts grant bonuses to quantity, rarity, gold find, or dead man's sulfur.
Telesia's Ducat
Use Telesia's Ducat to reroll the shape of the chart and, more importantly, the room type. This can turn normal charts into unique ones like Lost Pillars, Clamshelf, or Brine King's Domain, which can be far more rewarding and valuable.
Important Note
You cannot craft charts after they have been revealed. Make sure you craft them before you actually go charting, rather than when you set up your voyage.
Voyage Setup and Mechanics
How to Set Up Voyages
Click and drop charts into the slots, or click on the empty slots and select them from the pop-up list. Adjacent bonuses apply to horizontal and vertical adjacency and do not have to be connected by a path. Border modifiers apply to adjacent chart slots without needing to be connected.
Extracting in Voyages
Inside voyages, you do not need to use all your lanterns to complete the voyage, but you will want to in order to get loot. Bubbles do not start collapsing when you place your last lantern.
To extract loot as you clear the voyage, dump it in a capsule and use the button to send it up to the ship. This frees inventory space and ensures you will not lose loot if you die. Anything extracted is safe.
Final Extraction
To finish the voyage, use a capsule to call the bathysphere down to retrieve you. Since the bathysphere arrives at the same location where you called extraction, you can simply wait in the area and extract easily.
Securing Extraction
When you have five to ten lanterns remaining, check your map for the next closest capsule and secure it with a lantern so you do not have to backtrack. Then use your last remaining lanterns in the area to explore and get extra loot before extracting easily.
Voyage Lantern Strategies
Reading Lantern Arrows
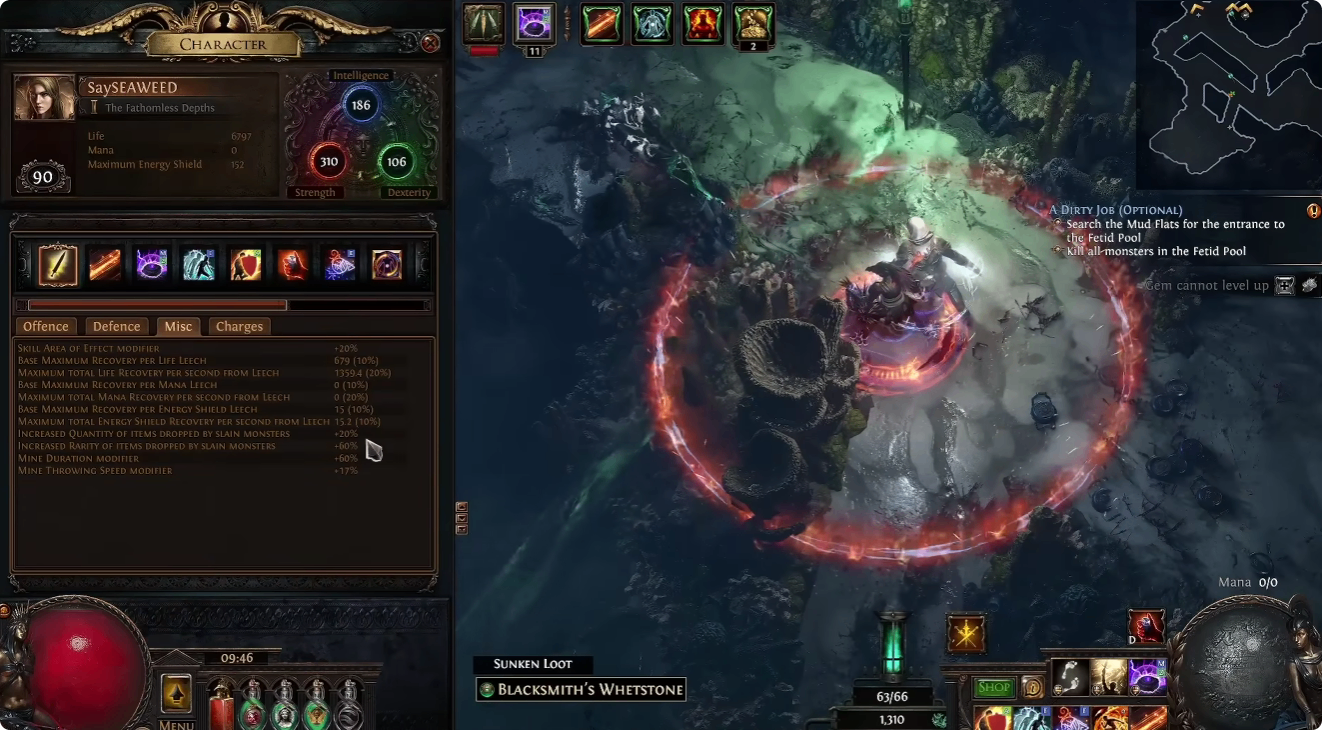
The arrows on lanterns point to important loot or monsters nearby. They update when you collect things, so they are worth rechecking. If there is no arrow on a lantern, a small unexplored area nearby is not going to have any loot, so you can choose a different direction and be more efficient with your total lantern count.
Zigzag Through Areas
Poke mostly through the middle areas of charts and catch nearly all the loot, as the arrows will point them out for you, especially if you zigzag a little.
What Lanterns Point To
Lanterns often point to golden lanterns (picked up automatically when you walk over them) or special monsters like rare monsters that climb out of graves, which drop guaranteed coins and allflames.
Voyage Farming Strategies
Strongbox Strategy
Voyages can end up with a ton of Arcanist, Diviner's, and Operative Scarab Strongboxes—all very good sources of profits. Search your chart pile by typing "Strongbox" or specific types like "Operatives" and place your best ones to maximize the number of adjacent areas. Place more valuable ones in the middle to get four adjacent zones. In adjacent slots where strongboxes will spawn, put high-quantity charts to boost drops further.
Crafting Strongboxes:
Use alchs on good strongboxes (Arcanist, Operatives, Diviners)
Craft them with modifiers that add extra item drops
Exalts are cheap now—use them to add additional modifiers. The suffixes on strongboxes contain things like "contain additional scarabs" or "contains 3-8 additional items." If a strongbox has three prefixes and only two suffixes, exalting it could give you something good. Conversely, do not exalt a strongbox that only has two prefixes.
Golden Lantern Strategy
Golden lanterns were buffed to give stacking quantity bonuses in addition to rarity bonuses. These buffs improve the amount of currency, divination cards, and scarabs that drop from monsters.
Best Approach: Focus on stacking golden lanterns on your starting location (indicated by the little boat in the bottom left). You always start there. Collect as many golden lanterns as possible before beginning to clear the rest of the voyage, maximizing the time you have those buffs.
Payoff: The payoff typically comes from adding extra rare monsters to the map through specific rare scaling modifiers or unique golden text modifiers like "Pillars" (adds rare starfish to the zone).
Rare Monster Strategy
Stack and scale rare monsters using bottom modifiers like "rare monsters drop dead man's sulfur" or "rare monsters drop an additional scarab." Use charts in those spots that have a bunch of extra rares (like the unique Pillars room). Even rare monsters spawned by strongboxes in those areas gain those extra added drops.
Dead Man's Sulfur Strategy
People are using crafting like crazy, and dead man's sulfur is worth good currency. The main thing for sulfur is explicit modifiers that give a bonus to sulfur. Chaos craft for 90-120% bonus dead man's sulfur, or buy charts that already have these modifiers. Exalts are cheap, so use them to add more modifiers to a chart that already has 60-90% added sulfur.
Place your highest sulfur-boosting charts into slots with bottom modifiers like "adjacent charts have 60% increased explicit modifier magnitudes." A mod like that takes a 120% sulfur chart to 192%.
Run Good Stuff
Some charts and modifiers are just valuable regardless of your strategy:
Clam-infested Shelf: Worth 40+ chaos due to a ton of gold and clam shells that can drop all-resistance amulets
Anchor Field: Unique room type worth 50+ chaos because it has clusters of reward chests
Bottom modifier adding two additional treasure anchors: Clustered with extra chests around them
Final Tips
Reroll Bottom Modifiers
Given the importance of bottom modifiers, do not be afraid to reroll them at least once if there are no good ones. The price increases rapidly, but one or two rerolls could be worth it if you are planning to use valuable charts.
Board Orientation
The voyage map turns 45°to the right to make a diamond shape. The top-left of the planner is the top point of the diamond, while the top-right is the right point.
Sell Dead Man's Sulfur
Sulfur is easy to sell on the exchange. With everyone using crafting, it is consistently valuable.
Final Thoughts
The Curse of the Allflame league mechanic offers multiple ways to generate currency, from quick chart runs to highly profitable voyages. Strongbox strategies provide consistent returns, golden lantern stacking boosts overall drops, and dead man's sulfur farming capitalizes on high demand. Mix and match these strategies based on the charts you have and the board modifiers available. With some POE currency, you can pivot between strategies and stock up on scarabs and maps easily.