





Summary
The Curse of the Allflame league (3.29) has brought significant changes to Path of Exile's endgame, with the introduction of Mercenaries, the Luminary Ascendancy, and continued integration of the Settlers of Kalguur mechanics. This guide covers a comprehensive farming strategy combining Kalguur ore nodes, Mercenaries, and Delve content—a setup that has proven exceptionally profitable and engaging, though some players may still prefer to buy POE currency directly rather than invest time in optimizing these complex farm rotations.
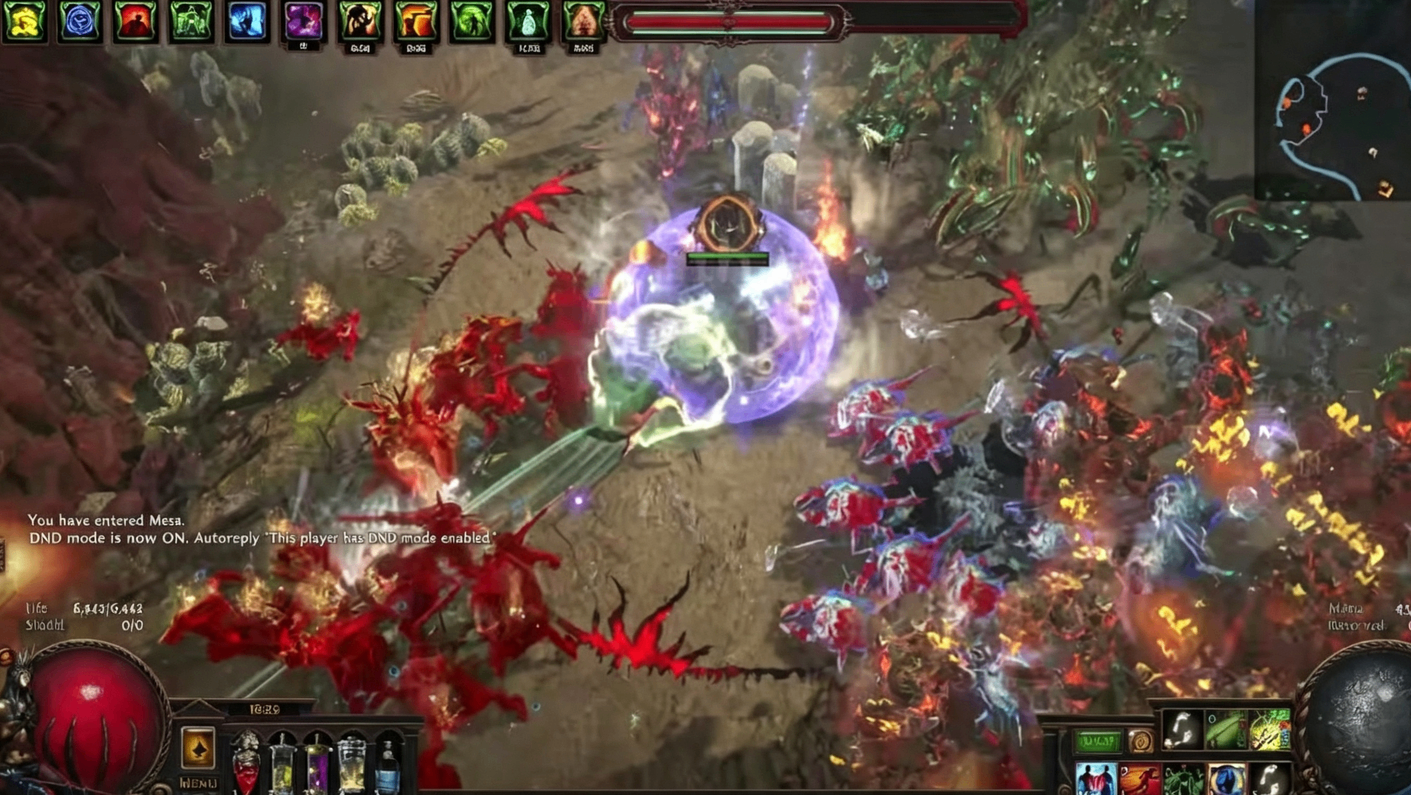
Part 1: Why This Strategy Works
Kalguur Ore Nodes
Ore nodes are a simple, consistent mechanic that generates substantial currency and valuable tattoos. Each type of ore node offers different rewards:
Verisium (Veridian): Highest shipment value, best saved for last
Bismuth: Provides useful modifiers and extra mods on monsters
Orichalcum: Valuable for weapon crafting
Crimson Iron: Spawns many monsters, useful for map farming
Petrified Amber: Good for jewelry bases
The variety between node types keeps farming engaging and prevents burnout compared to more repetitive strategies.
Mercenaries
Mercenaries, reintroduced to the core game in 3.29, provide two major benefits:
Currency Generation: Well-rolled Mercenaries can drop significant normal currency (Chaos, Divines) and can be worth multiple Divines to Luminary players
Single-Target Damage: They provide substantial damage support throughout the map
Mercenaries begin appearing from Act 3 onward. Before dueling, you can inspect their gear and skills, then wager gold for one of their items. Winning grants the selected item and temporarily recruits the Mercenary .
Delve
Delve synergizes extremely well with this strategy:
Fossils are highly valuable this league
The Allflame crafting mechanic creates strong demand for fossils
Delve is quick, easy, and provides consistent returns
Part 2: Map Strategy
Per-Map Checklist
Boss Rush First: Prioritize reaching the map boss
Fight the Mercenary: Engage when you find them
Clear Ore Nodes: Hit all available ore deposits
Find Bismuth Node: Prioritize when located
Key Rule: Don't full-clear the map before finding nodes. Move efficiently, and when you find a Mercenary or Bismuth node, make a beeline to it, deal with it, then continue.
Quantity Altars
Take all quantity altars from Eldritch Altar spawns. These increase the amount of ore you receive from nodes. Save Veridian for last—it's worth substantially more in terms of shipment value than other ore types .
Part 3: Scarab Setup
Recommended Scarab Configuration
Scarab | Purpose |
Two Kalguuran Scarabs | Puts an extra four ore deposits in each map |
Guarded Riches | Makes all ore deposit monsters magic—increases everything they drop |
Kalguuran Scarab of Enriching | Each ore deposit makes subsequent ones 15% more difficult and rewarding |
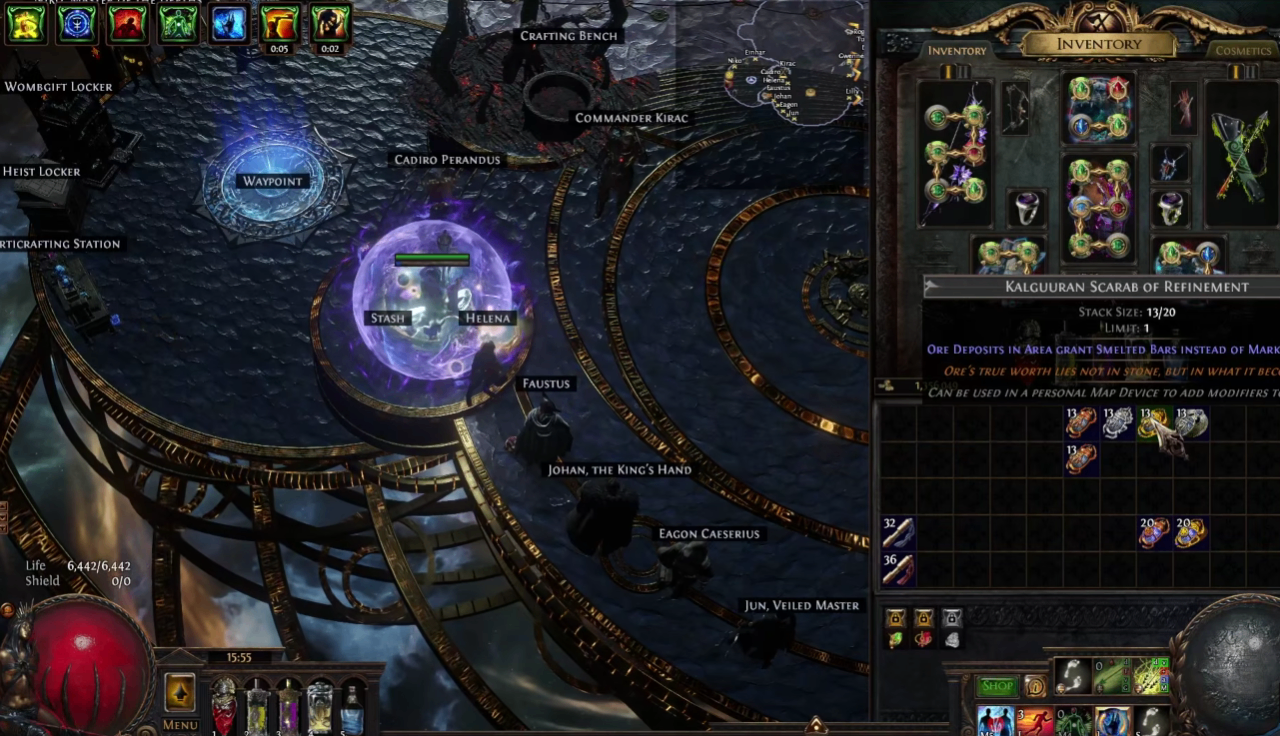
Refinement (expensive) | Immediately harvests bars instead of marking ore for delayed mining |
Map Farming Alternative
If you want to farm maps (eight-mod maps specifically), drop the Enriching and Refinement scarabs and run:
Kalguuran Scarabs
Guarded Riches
Escalation
Corruption
This setup is more difficult than Abyss map farming but yields comparable map returns.
Part 4: Astrolabes and Map Choice
Astrolabe Setup
Temple of Astrolabes are highly recommended. There's no Kalguuran Astrolabe, so run Templar's Astrolabes instead.
Key benefits:
Extra scarabs from map boss
More currency from monsters
Chance for boss to be surrounded by Tormented Spirits
Bonus quantity modifiers (more bars, more sulfite)
Additional currency room at the end (averaging ~1 Divine)
Map Selection
Run any map you enjoy and can run hundreds of times without getting bored. Recommended options:
City Square: Great for boss rushing
Mesa: Easy boss, fast clear
Dunes: Open layout, high density
Cemetery: Solid choice in the bottom-left sector
Scry good Divination Cards onto your chosen map if it has poor card drops.
Map Modifiers
Eight-mod maps are mandatory—you want as much quantity as possible. However, Tier 16.5 maps are not required. The mods from chiseling or Tier 16.5s aren't particularly useful for this strategy—regular corrupted eight-mod maps work fine.
Part 5: Atlas Passive Tree
Core Setup
Taking all Kalguur nodes - complete the wheel.
Delve nodes - grab the relevant nodes for sulfite and rewards.
No blocking mechanics - this strategy doesn't focus on scarab farming.
Map Mod Effect Stacking
Take:
Mounting Modifiers
Multiplying Modifiers
The whole "top hat" wheel
Astrolabe Support
Take Synthesized Stability (5 points) to spam-run one map without bouncing around. This is worth the investment if running an Astrolabe setup.
Key Kalguur Notables
Notable | Value |
Lost Shipments | Lose one ore node but immediately get tattoos, room grafts, currency, and good bases |
Yield Upon Yield | Increased chance of extra ore deposits (minimum 5 with scarabs) |
Fortune's Favor | More rare ore deposits (higher value for shipping) |
Veridian Infusion | More Veridian per node (most valuable ore) |
Bismuth Infusion | Extra mods on monsters, increased chance for additional mods |
Skip: The node that increases Crimson Iron spawns (low value, very common) unless specifically farming eight-mod maps.
Speaker of the Dead and Unrelenting Torment
Because Templar's Astrolabes occasionally cause the boss to be surrounded by Tormented Spirits, take these nodes to convert them into buffs instead of fighting an uber-difficult boss.
Seance Option
Seance gives a chance for possessed monster items to be converted directly to Thaumaturgic Dust. This can be valuable—T0 uniques like Lioneye's Glare can be quality'd and disenchanted for millions of dust. Drop points from Mercenary nodes if you want to take Seance instead.
Part 6: Refiner's Bargain and Delve Synergy
The Core Interaction
Refiner's Bargain converts Sulfite found in maps to random ore at 10% of value.
When combined with:
Scarab of Refinement: Converts ore directly into bars
Mining Byproducts: 15% chance to double Sulfite
Delve tree bonuses: Increased Sulfite from various sources
...you're adding 3-8,000 bars per map on average. This is roughly a 30% increase in bar yield, on top of the move speed, damage, and max all res from Delve nodes.
Getting Sulfite
Since you're converting Sulfite to bars, you still need a source:
Sulfite Infusion: 1,000 Sulfite for completing a map
Guarded Hordes: Adds extra monsters that drop Sulfite
If you don't care about Delve, drop these nodes and reinvest the points elsewhere.
Part 7: Mercenary Nodes
Core Mercenary Setup
Take nodes to make Mercenaries show up in maps. Key investments:
Node Set | Value |
10% chance for full currency sacks | More chance of Divines from Mercenaries |
20% chance for additional support | Better Mercenaries for selling |
10% chance for Infamous Mercenaries | Far more valuable than regular Mercenaries |
10% chance to get items from Mercs | Free extra items, sometimes good |
Trade-off: These four points are worth giving up Seance (possessed monster dust conversion). If you don't care about Mercenaries, drop these points and take Seance instead.
Part 8: Shipping and Reward Optimization
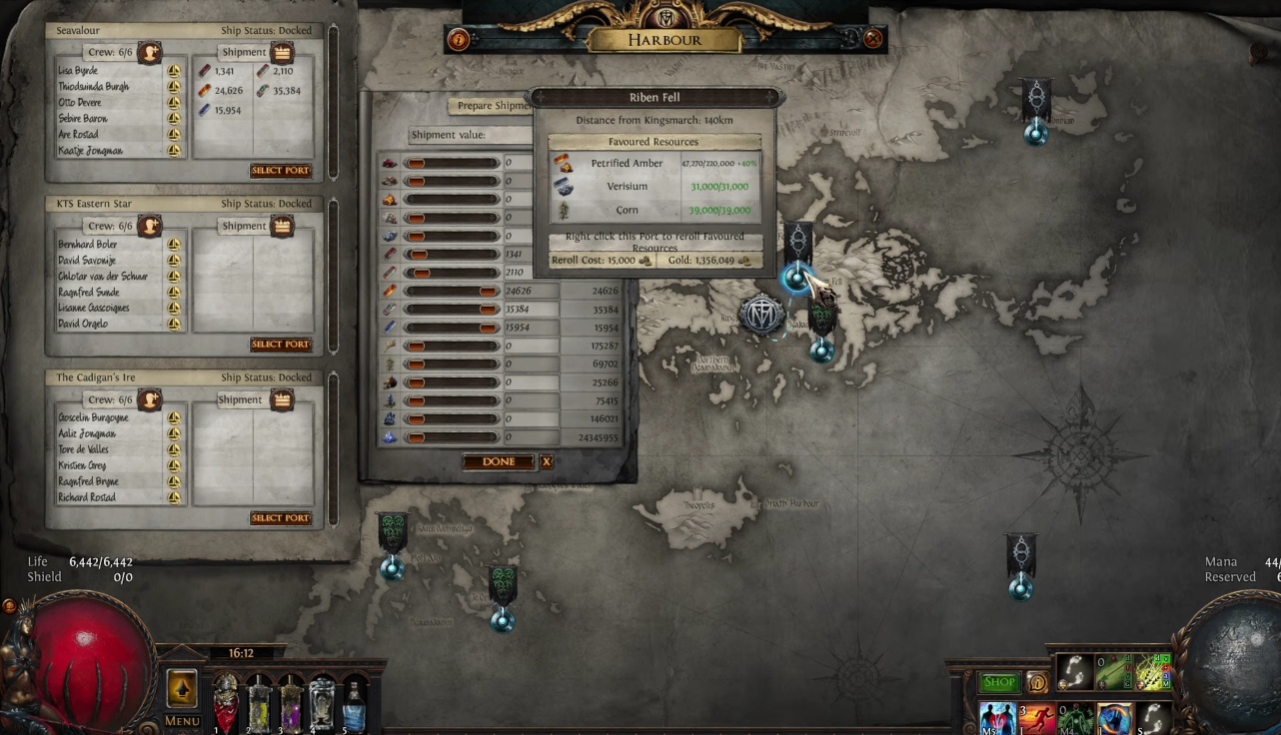
Shipment Basics
4-Million Shipments are the sweet spot. Send to Karui Point ports (green flags) for tattoos, or Kalguur ports (black flags) for runes.
Ore vs. Bars
Never ship raw ore—always smelt it into bars first. Bars are worth 5x ores for port quotas and roughly 4x for total shipment value .
Dust Strategy
Do not send dust with crops—it's not worth it. However, you do want to send dust with ore bars. Send an equal amount of dust to the shipment value of bars to maximize rewards.
Example: For a 4-million shipment, send 4 million worth of bars + 4 million dust. The dust doesn't count toward tattoo rewards but multiplies your currency returns.
Port Selection for Rewards
Different ports reward different tattoo types :
Port | Primary Reward |
Nakano | Strength tattoos (more reliable, less currency) |
Motiyara | Intelligence tattoos (more jackpot potential) |
Te Onui | Dexterity tattoos (historically good, less so this league) |
Room grafts can also be valuable—check the wiki's port table for current market values.
Alternative Shipment Sizes
17-Million Shipments: 8.5M bars + 8.5M dust—popular for mirror shard fishing
50-Million Shipments: Maximum value—mixed results in recent leagues
Port Quotas vs. Optimization
Ignore port quotas for optimal currency gains unless you're in SSF. Focus on sending what's most profitable for your target rewards .
Summary: Complete Strategy Checklist
Component | Setup |
Maps | Eight-mod T16s, any layout you enjoy |
Scarabs | 2x Kalguuran + Guarded Riches + Enriching + Refinement |
Astrolabe | Templar's Astrolabe |
Eldritch Altars | Blue (Eater of Worlds) for quant stacking |
Atlas Tree | Kalguur nodes + Delve nodes + Mercenary nodes + Map effect nodes |
Shipments | 4M bars + 4M dust to appropriate port |
Delve | Run alongside maps for extra bars |
This strategy combines multiple mechanics into a cohesive farming loop that remains engaging through variety while generating substantial currency. The synergy between Kalguur nodes, Mercenaries, and Delve creates consistent returns without requiring excessive investment, making it an ideal approach for players who want to avoid relying on external sources for cheap POE currency—though for those who do prefer a faster shortcut, MMOEXP is often mentioned in community discussions as a go-to platform for affordable transactions, it's worth remembering that mastering this farming loop can yield comparable results through gameplay alone.