Weekend Drop -














Summary
Transitioning from farming specific content like Sanctums to tackling the full Atlas is a pivotal moment in any Path of Exile journey. This guide walks through a practical endgame progression—from fixing a fragile build to farming endgame bosses—using strategies that work for solo players. Whether you're chasing Voidstones, setting up Betrayal boards, or crafting your own gear, these steps will help you move efficiently through the endgame. If you're short on resources and want to speed things up, a POE currency buy can give you the jumpstart you need to acquire key items faster. Now let's get into the step-by-step plan.

Phase 1: Fixing Your Defenses for Mapping
From Glass Cannon to Survivability
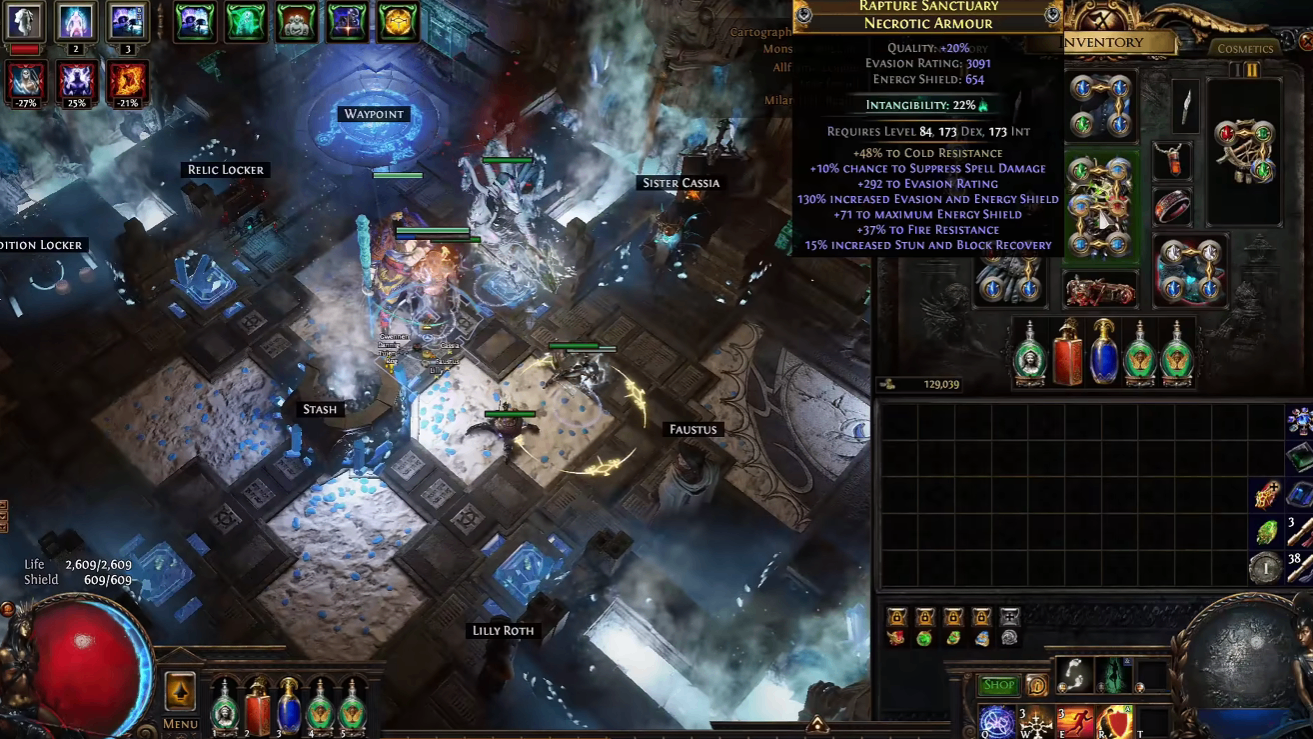
If your build is a complete glass cannon, the first priority is layering defenses before you push into high-tier maps. A straightforward approach is to invest in a body armor that synergizes with your passive tree. For characters near evasion and energy shield nodes, an evasion/energy shield hybrid chest is the easiest way to stack early defenses .
Key defensive layers to incorporate:
Grace Aura for a significant evasion boost
Ghost Dance for energy shield recovery when you get hit
Capped elemental resistances (75% minimum) before entering red maps
Mapping at Level 96
At level 96, you can jump straight into tier 16 maps if your damage is sufficient—especially if you're already one-shotting everything at the highest tier. However, be mindful of pack size and density; if you feel weak in higher pack size areas, look for passive tree nodes that improve area coverage or chain mechanics to hit as many monsters as possible.
Pro Tip: For early mapping, prioritize map completion over juicing. The first 100 Atlas passive points come from simply completing maps with their bonus objectives .
Phase 2: Voidstone Acquisition & Atlas Strategy
Why Voidstones Matter
Voidstones are essential for raising your map tier ceiling and unlocking endgame farming strategies. The initial goal should be to grab at least two Voidstones and collect around 50 passive points to set up your first farming strategy.
Choosing Your First Voidstones
Most players go for the Originator Voidstone second, but an alternative is to pursue the Maven Voidstone instead. The reasoning is simple: certain maps—like the Abomination map—are tied to the Maven Voidstone and happen to be among the best nightmare maps for boss rushing. This allows you to farm fragments quickly and profitably.
The Nightmare Map Boss Rush Strategy
With two Voidstones, you can start rushing nightmare maps. For this strategy, use:
An Atlas tree optimized for boss rushing
Scarabs that make maps easier to clear (even if they reduce quantity)
This approach is ideal when your gear can't yet handle six-mod nightmare maps. A typical boss rush takes about 1 minute per map—you just rush the final boss and jump into the next one .
Result: This strategy is surprisingly profitable even with almost no Atlas points invested. It's a great way to build currency while completing maps.

Phase 3: Unlocking All Voidstones
The Uber Elder Bug
Some Voidstones, like the Uber Elder stone, may have visual bugs that delay their appearance. Patience is key—wait the extra minute for it to show up rather than re-rolling the encounter.
Farming Sanctuary Maps
With all Voidstones unlocked, you can farm sanctuary maps to fight the upgraded Sanctum boss. If you've already run many Sanctums before, this will feel easier and faster than expected, though you'll still need to complete the Atlas for full efficiency.
Phase 4: Betrayal Board Setup
Why Betrayal?
Betrayal is one of the most rewarding mechanics for steady currency farming . While setting up an optimal board is complex, it's worth the investment for consistent returns. The main targets are syndicate medallions, plus scarabs for steady currency rather than gambling on every safehouse run.
How to Approach Betrayal
Betrayal is relatively easy to run casually, but doing it optimally requires knowledge . If you're new to the mechanic:
Fill intelligence to access safehouses—higher-ranked members offer more intelligence
Check cheat sheets for current league rewards to know where you want each member
Create rivalries between members to make them show up more often during encounters
Key Insight: Not all syndicate members are in the pool at all times. To rotate members, occasionally choose options to remove one and get a replacement .
The It That Fled Strategy
A powerful Betrayal setup focuses on It That Fled in Intervention:
Place her in Intervention and keep her at 3 stars
Make her rivaled with everyone possible to create 2–3 appearances per map
Run Intervention and Research safehouses; de-emphasize Transportation and Fortification
Skip the Mastermind, as it resets the entire board
This setup generates strong currency through scarab drops and card-related rewards. It takes time to build up, but the profits are consistent.
Phase 5: Crafting Your Own Gear
Weapon Crafting
A good weapon craft follows this general process:
Use fossils to hit a key modifier like "+1 level" on a wand
Use a Fracturing Orb to lock that modifier
Use essences for projectile speed
Use Orbs of Annulment until only the desired suffix remains
Craft "cannot roll attack mods," lock suffixes, and hit with Harvest physical craft to guarantee "+1 physical"
Result: Dual-wielding these wands provides enough projectile speed for skills like Ethereal Knives to return reliably, even in open areas.
Amulet Crafting
Amulet crafting is similar but has a 50/50 gamble instead of a guaranteed hit:
Spam chaos orbs until hitting "+2 levels"
Split the modifier off using new currency
Craft "cannot roll attack mods" and use Harvest physical craft
Repeat if the gamble fails
Pro Tip: If life force is expensive, farm your own by running a Harvest strategy. Yellow life force sells for high prices, giving very consistent profit .
Fixing Resistances
After upgrading gear, you'll need to fix resistances:
Swap conversion gloves for ones with cold conversion and resistances
Use a Watcher's Eye with conversion and cold penetrate
Take cold mastery for full conversion back, plus extra damage from glove implicits
Phase 6: Farming Ubers
The Uber Eater Strategy
Once your build is ready, farming Uber bosses can be highly profitable. For example, Uber Eater has a chance to drop Mimis. If you're short on currency, consider liquidating high-value items (like a Mageblood) to buy fragments in bulk.
Example Result: From 50 Uber Eater runs, you might net around 20 divines of profit—respectable for pure gambling.
Gold Farming Considerations
If you need gold for Atlas respecs or Kirac shop rerolls, high-rarity maps yield more gold since gold amount scales with item rarity . Running T16 maps with increased waystone drop rates and selling the excess waystones can generate 50–100k gold per map .
Final Thoughts
This progression path is straightforward and achievable for most players:
Fix defenses before pushing red maps
Complete the Atlas for passive points
Unlock Voidstones strategically
Set up Betrayal for steady currency
Craft your own gear to save currency and maximize damage
Farm Ubers for big-ticket items
While this build might not be beginner-friendly, the step-by-step approach works for any character. The key is patience—endgame progression in Path of Exile is about consistent improvement, not instant gratification. That said, if you ever feel stuck or simply want to expedite your gearing process, you can always POE buy currency from trusted platforms to smooth out the grind. For that, we highly recommend MMOEXP—they offer reliable service and competitive rates, so you can focus on mastering the mechanics while they help you stock up on the orbs you need. Remember, though, that currency is just a tool; the real reward comes from learning the fights and refining your build along the way.