




Summary:
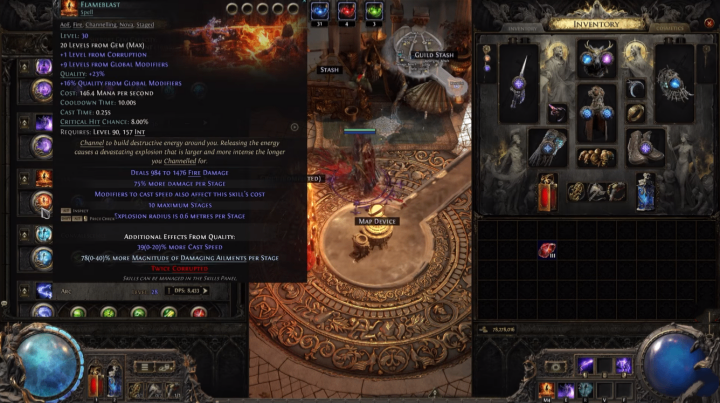
The PoE 2 ED Contagion Flame Blast Gemling build offers incredible endgame power without requiring a massive investment. With a budget of around 300 Divine Orbs, this setup can clear 200% Delirium, Expedition, POE2 Currency, and pinnacle bosses with ease while maintaining strong defenses and damage.
PoE 2 ED Contagion Flame Blast Gemling: The Ultimate Budget Endgame Build
In Path of Exile 2, many powerful endgame builds require hundreds or even thousands of Divine Orbs to reach their full potential. However, the budget version of the ED Contagion Flame Blast Gemling proves that you don't need mirror-tier gear to dominate the hardest content. With less than 300 Divines invested, this build can still one-shot maps, melt pinnacle bosses, and comfortably handle highly juiced encounters like 200% Delirium and Expedition.
Originally designed as a high-investment setup, this budget-friendly version keeps the core mechanics while replacing expensive items with affordable alternatives. The result is a powerful Chaos and Fire hybrid build that delivers incredible clear speed, strong defenses, and excellent scaling potential.
Why ED Contagion Flame Blast Gemling Is So Powerful
The strength of this build comes from combining several powerful mechanics:
Essence Drain and Contagion provide excellent map clearing through Chaos damage spread.
Flame Blast acts as the main single-target damage skill, capable of instantly destroying bosses.
Gemling specialization provides strong scaling options through skill gems and spell power.
Headhunter dramatically improves both damage and survivability during mapping.
Unlike many budget builds that struggle with high-tier content, this Gemling setup maintains impressive performance even against the toughest enemies in the game.
The build can clear entire maps with one Flame Blast channel while benefiting from Headhunter modifiers that transform the character into a fast and powerful farming machine.
Budget Overview: Around 200-400 Divine Orbs
The entire character setup costs approximately 230 Divine Orbs, although prices can vary depending on market conditions and item quality.
A realistic budget range is:
Wand: 40-80 Divines
Focus: 10-30 Divines
Amulet: 30-80 Divines
Boots: 20-50 Divines
Gloves: 30-50 Divines
Body Armor: 15-30 Divines
Headhunter Belt: 80-90 Divines
Rings and Jewels: Low-cost options
Even with upgrades, the build should not exceed around 500 Divine Orbs while maintaining similar performance.
Compared with the expensive version that relies on ultra-high-cost items, this budget version delivers almost the same gameplay experience at a fraction of the price.
Headhunter: The Key Item That Makes This Build Shine
The most important investment in this setup is the Headhunter belt.
Although it costs around 80-90 Divine Orbs, it completely changes how the build performs.
Headhunter provides:
Massive movement speed boosts
Additional defensive layers
Increased damage
Strong rare monster modifiers
At the beginning of a map, the build may feel slightly slower compared with the high-investment version. However, after killing several rare monsters and gaining Headhunter stacks, the character becomes extremely fast.
This allows the build to comfortably farm:
200% Delirium maps
Juiced Expedition encounters
High-tier endgame content
For this budget version, Headhunter is not just a luxury item—it is the reason the build reaches such an impressive power level.
Chaos Inoculation Replaces Expensive Low-Life Setup
The biggest difference between the budget version and the high-investment version is the defensive setup.
The expensive version uses:
Atziri's Communion
Low-life mechanics
Premium support gems
However, Atziri's Communion alone can cost more than 300 Divine Orbs, which is the entire budget of this build.
Instead, the budget version uses Chaos Inoculation (CI).
This provides several advantages:
Immunity to Chaos damage
No need for Chaos resistance on gear
Extremely high Energy Shield
Easier gearing process
With Chaos Inoculation, the build reaches:
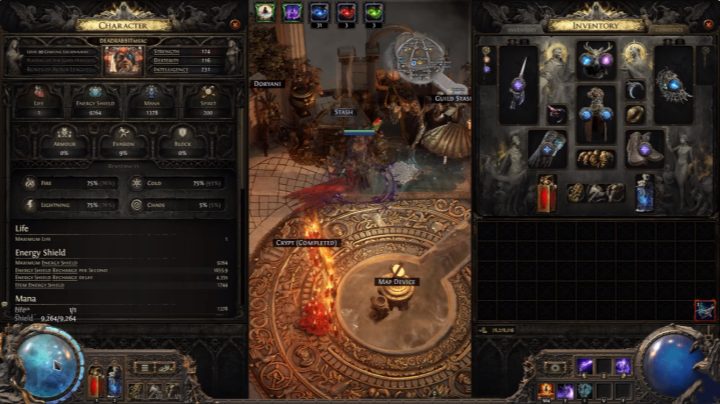
Around 9,200 Energy Shield
1,300 Mana
Strong Energy Shield recovery
This makes the character incredibly tanky while keeping the total investment low.
Energy Shield Defense and Survivability
Although this is a damage-focused build, survivability is one of its strongest features.
The build uses:
High Energy Shield gear
Chaos Inoculation
Energy Shield recharge
Convalescence recovery mechanics
The Energy Shield recharge delay becomes much less important because Convalescence provides powerful recovery tools.
Every cooldown cycle allows the character to quickly restore defensive resources, making it extremely difficult to kill.
Combined with Headhunter buffs, this setup can survive dangerous endgame encounters while maintaining incredible damage output.