• English USD
  • 0
  • Log In Sign Up
    Sign up to get Coupon with a maximum discount of $120
Sign up to get Coupon with a
Shopping Cart
SECURE CHECKOUT orContinue Shopping
List of Contents

PoE 2 Flicker Strike Martial Artist Build Guide: Best Skills and Power Charge Setup for Fast Mapping and Endgame

Amélie Laurent

Amélie Laurent

Created: August 14,2026 | POE2 |542 views
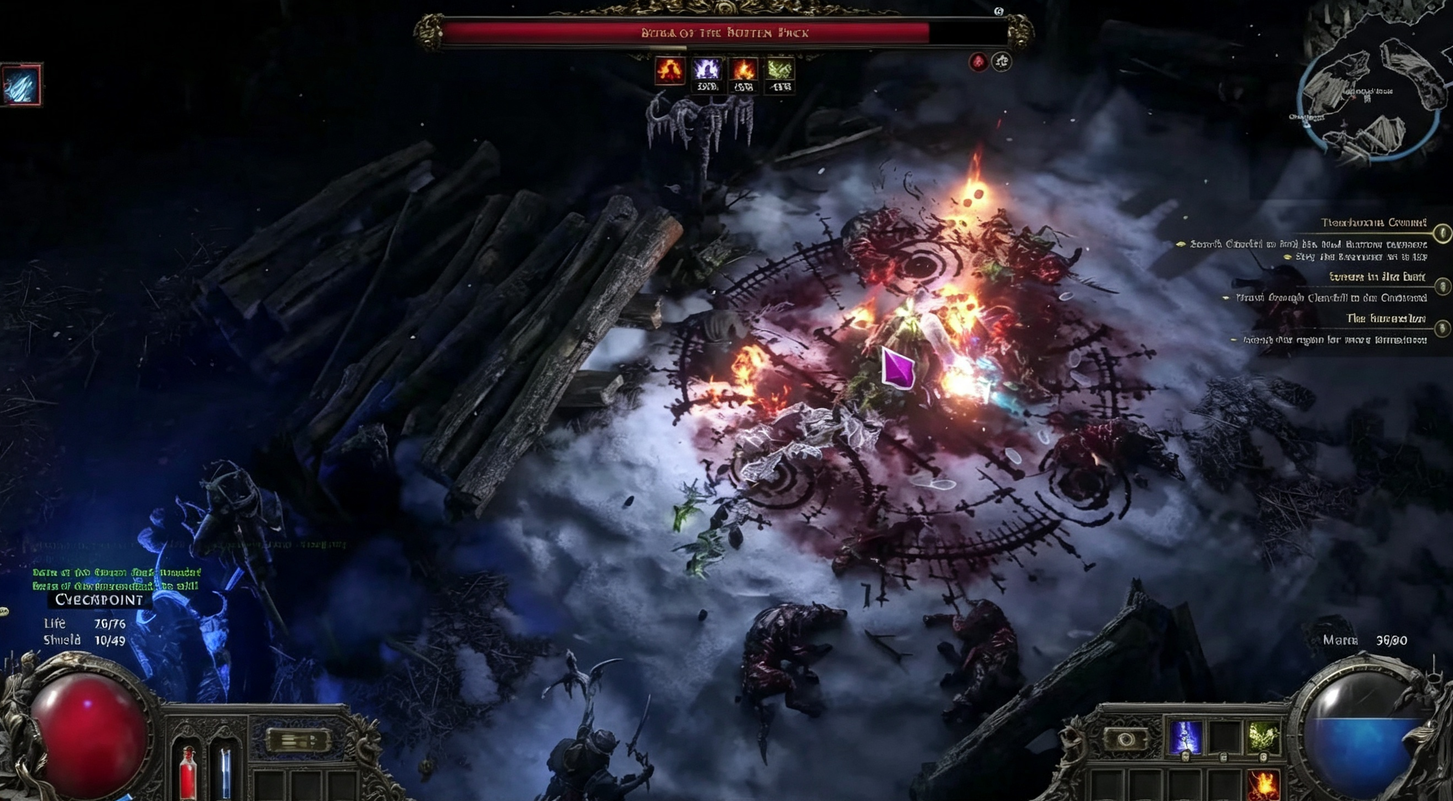
The Martial Artist Flicker Strike build in Path of Exile 2 is designed around extreme mobility, rapid power-charge generation, and large lightning-based explosions. The current 0.5 RotA version combines Flicker Strike, Falling Thunder, Herald of Thunder, and Herald of Ice to create a fast mapping setup that can chain explosions through dense packs. The key to playing it correctly is understanding that Flicker Strike is not the entire damage engine. It is the movement and clearing tool, while Falling Thunder, stun effects, and Herald interactions provide much of the build's large-area damage.

Summary

The Martial Artist Flicker Strike build in Path of Exile 2 is designed around extreme mobility, rapid power-charge generation, and large lightning-based explosions. The current 0.5 RotA version combines Flicker Strike, Falling Thunder, Herald of Thunder, and Herald of Ice to create a fast mapping setup that can chain explosions through dense packs.

The key to playing it correctly is understanding that Flicker Strike is not the entire damage engine. It is the movement and clearing tool, while Falling Thunder, stun effects, and Herald interactions provide much of the build's large-area damage. To maximize it, buy POE2 Currency and afford the key gear and gems you need.
 poe2

How the Martial Artist Flicker Build Works

Power Charges Keep Flicker Strike Running

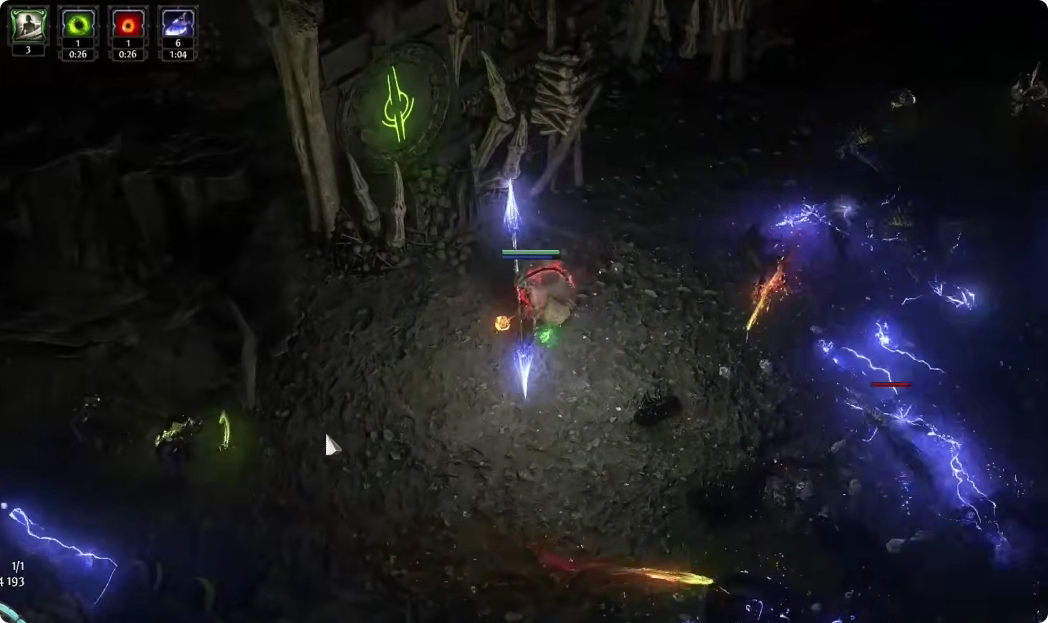
Flicker Strike is built around spending power charges to repeatedly teleport between enemies. That means the build becomes much stronger when charge generation is consistent.

The basic loop is:

Generate power charges → activate Charged Staff → Flicker Strike through packs → generate more charges → repeat.

Whirling Assault is important because it builds combo quickly. Mantra of Destruction can then convert that combo into a large number of power charges. Reaper's Invocation and Profane Ritual provide another way to recover charges from corpses created while mapping.

Herald Chaining Adds Screen-Wide Clear

The updated version adds a strong Herald interaction. Herald of Thunder applies hits that can trigger Concussive Runes through stun investment. Those interactions help activate Herald effects, while Runic Ward increases the potential for explosions to chain through dense packs.

Herald of Ice provides the main pack explosions, while Polcirkeln can allow chilled enemies to be shattered as though they were frozen. The result is a chain reaction where one enemy exploding can help clear surrounding enemies.

For highly juiced content, including 200% Delirious maps, the guide favors scaling Lightning Damage rather than investing too heavily into Cold Damage. Falling Thunder and the build's lightning scaling provide the additional power needed against tougher enemies.


Skill Gem Setup

The current setup centers on several key skills.

Flicker Strike

Flicker Strike is the primary mapping skill and mobility tool. The listed setup uses Hit and Run, Close Combat, Concentrated Area, Rakiata's Flow, and Rigwald's Ferocity.

The goal is not to stand still and repeatedly attack. Instead, use Flicker Strike to move continuously through packs while your Herald effects and other lightning skills handle large groups of enemies.

Falling Thunder

Falling Thunder is the main high-impact lightning skill. It is particularly useful when you need a large AoE hit instead of simply teleporting through enemies.

The current setup supports it with Elemental Armament, Culmination II, Ricochet, Nova Projectiles, and Rapid Attacks. This makes it especially useful for dense groups, dangerous rares, and situations where Flicker Strike would place you in an unsafe position.

Herald of Thunder and Herald of Ice

Herald of Thunder is connected to Concussive Runes, Stun, Magnified Area, Lightning Mastery, and Elemental Armament.

Herald of Ice uses the same general stun and area setup but adds Cold Mastery. Together, these Heralds form the core of the updated chain-clearing mechanic.

Supporting Skills

Charged Staff should be activated before committing to extended Flicker Strike sequences. Mantra of Destruction helps restore power charges, while Staggering Palm and Whirling Assault provide additional ways to build combo and maintain the build's engine.

Charge Regulation is also included as part of the current setup.


How to Play the Build

Mapping Rotation

Start by hitting several enemies with Whirling Assault. This helps build a combo and contributes to the power-charge engine.

Next, generate your charges through the build's charge-generation mechanics and activate Charged Staff. Once the setup is ready, use Flicker Strike to move rapidly through the map.

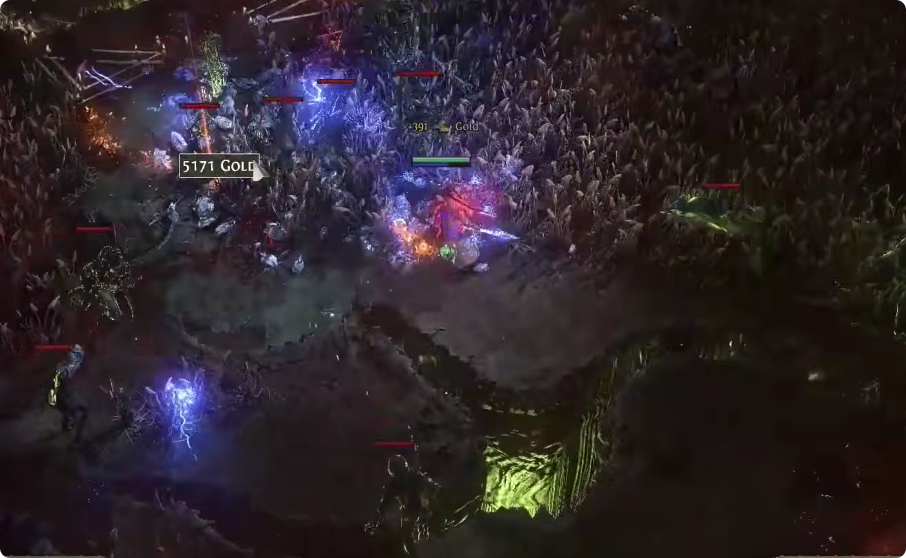
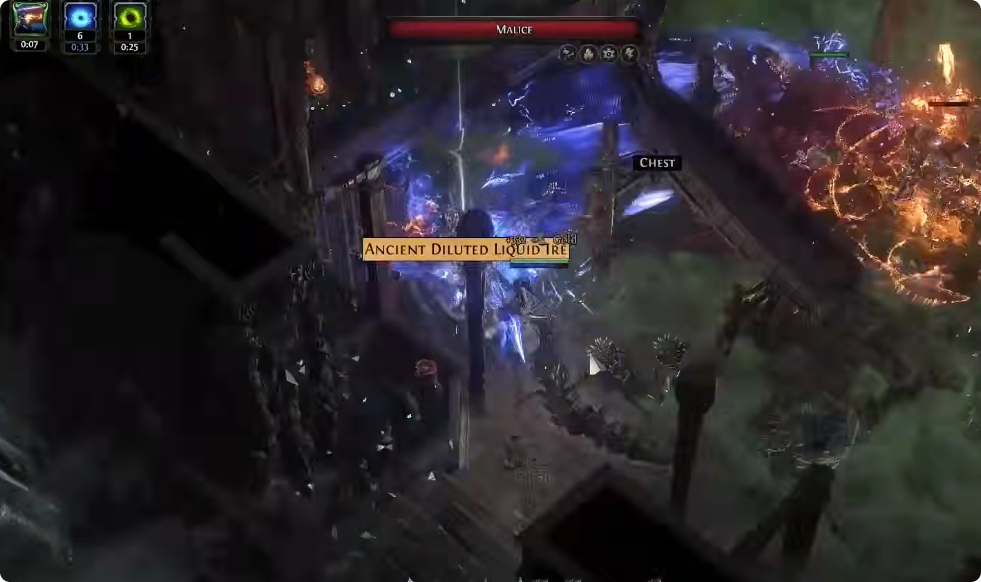
When you encounter a dense pack or need a large AoE hit, use Falling Thunder. At the same time, your Herald setup can begin triggering Concussive Runes and Herald of Ice explosions, creating chain reactions across nearby enemies.

Use Mantra of Destruction whenever you need to refill the charge engine. The objective is to avoid letting your power charges completely disappear, because the build becomes significantly less fluid once Flicker Strike can no longer be sustained.

poe2

Bossing Rotation

Boss fights require a more controlled approach.

Begin with Whirling Assault to build a combo, then activate Charged Staff and continue attacking to generate power charges. Once the charges are available, use Flicker Strike when the boss is safe to approach.

For dangerous mechanics or large damage windows, Falling Thunder is often the safer option because it provides a powerful burst without forcing you to continuously teleport around the target.


Power-Charge Generation Explained

Mantra of Destruction

Mantra of Destruction is one of the most important charge-generation tools. The guide recommends combining it with Delayed Gratification, Ailith's Chimes, and Charge Profusion II.

Build a combo with Whirling Assault, reach the required combo threshold, and then spend the combo through Mantra of Destruction to generate a large number of power charges. Delayed Gratification gives another opportunity to generate charges after its cooldown period.

Reaper's Invocation and Profane Ritual

Reaper's Invocation provides another charge-generation loop. Flicker Strike generates enough energy for Reaper's Invocation, which can then activate Profane Ritual and consume corpses to generate additional power charges.

This is particularly valuable while mapping because Flicker Strike constantly creates the corpses needed to sustain the cycle.

Cast on Critical provides a similar alternative, but it relies on critical strikes to generate the energy required to automatically trigger the interaction.


Gear and Build Priorities

The exact equipment can change as the build progresses through different endgame variants, so the important approach is to prioritize stats that support the core mechanics rather than blindly copying individual items.

Focus on Lightning Damage, elemental attack scaling, critical strike potential, stun effectiveness, power-charge generation, and defensive Energy Shield investment.

The build also relies on several specialized uniques and jewels in its endgame variants, so expensive upgrades should be treated as progression targets rather than mandatory requirements from the beginning.


Energy Shield and Survivability

The build uses Whirling Assault alongside Energy Shield recharge investment. The Martial Artist ascendancy also contributes to the recovery loop through its combo mechanics.

The idea is to take damage, rapidly build a combo with Whirling Assault or Herald of Thunder hits, spend that combo with Mantra of Destruction, and benefit from reduced recovery delay. This can allow Energy Shield recharge to begin much sooner.

However, Flicker Strike remains inherently risky. Its teleporting behavior can put you directly into dangerous attacks, ground effects, or rare monsters. Good positioning and knowing when to switch to Falling Thunder are therefore essential.

 poe2

Final Tips

The Martial Artist Flicker Strike build is strongest when its mechanics are treated as a single loop rather than separate skills. Whirling Assault builds the engine, power charges fuel Flicker Strike, Charged Staff boosts the attack sequence, and Falling Thunder provides controlled burst. Herald of Thunder, Concussive Runes, and Herald of Ice then turn dense packs into chain reactions.

For fast mapping, prioritize maintaining charges and moving continuously. For bosses and dangerous encounters, slow down and use Falling Thunder when Flicker Strike becomes too risky.

Once the charge generation becomes reliable, the build delivers exactly what a Flicker setup should: extremely fast movement, huge AoE clear, and a satisfying chain of lightning and Herald explosions across the screen. With a steady supply of POE2 Currency, you can fine-tune your gear and support gems to maintain that charge generation and keep the build running at peak performance.

About the Author
Amélie Laurent
Amélie Laurent
Builds game-related side projects in her free time — little tools and prototypes, mostly in Unity and web tech. The same builder mindset drives her platform work: if something is slow or broken, she takes it apart and fixes it. Obsessive about Core Web Vitals because a laggy page kills the same dopamine as a laggy boss fight.