Summary
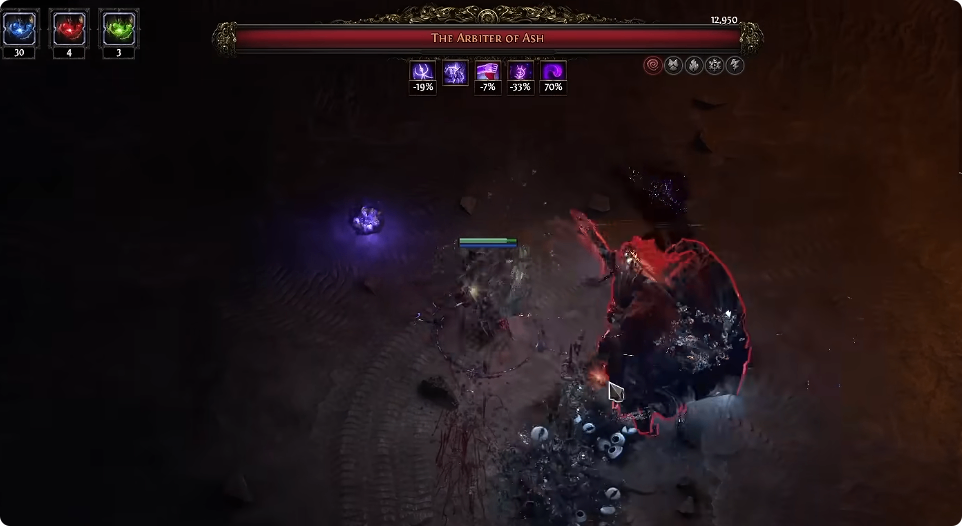
The ED Contagion Flameblast Gemling is a powerful endgame build that combines Essence Drain, Contagion, and Flameblast into a single setup. The budget version described here costs roughly 200–400 Divines, with the complete character staying under 300 Divines in the reported setup, while still handling pinnacle bosses and heavily juiced content.
Unlike the high-investment version, this setup uses Chaos Inoculation instead of the expensive low-life approach. That change makes the build considerably cheaper while also providing strong defenses through Energy Shield and immunity to chaos damage and bleed. To push it further, buy POE2 Currency and fund the remaining upgrades you need.

How the ED Contagion Flameblast Build Works
The build uses Essence Drain and Contagion as its main Chaos setup while Flameblast provides the primary single-target damage.
Essence Drain and Contagion
Essence Drain and Contagion form the core of the Chaos portion of the build. Contagion spreads the setup across packs, while Essence Drain supplies the main damage-over-time effect.
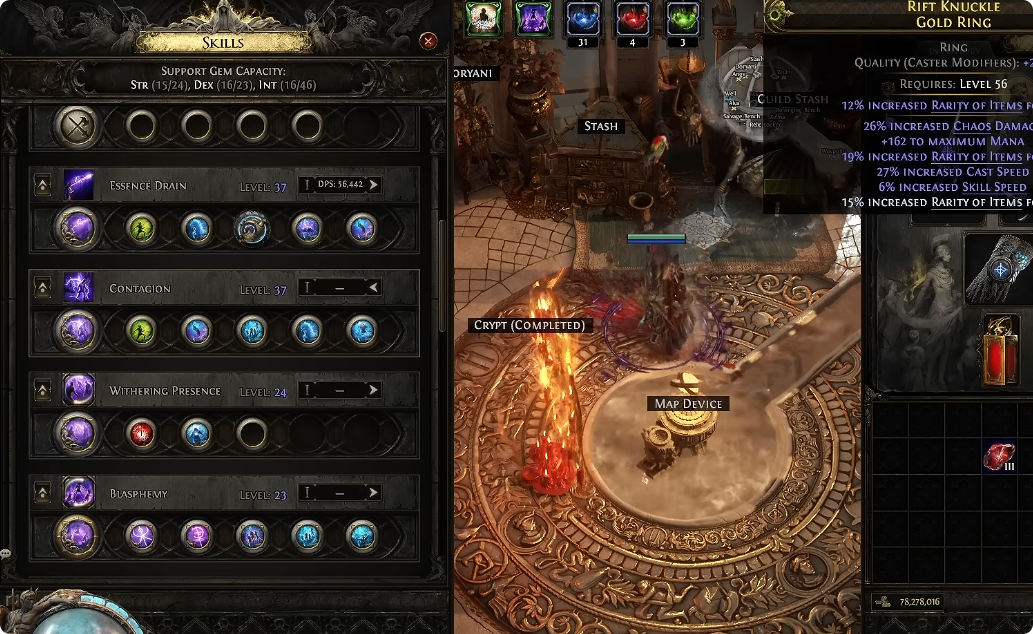
The recommended supports include:
Essence Drain: Swift Affliction 2, Zealot Oath, Vilenta's Profanity 2, and Chaos Mastery
Contagion: Swift Affliction 2, Chaos Mastery, Magnified Area 2, Zealot Oath, and Arcane Surge
Wither: Ring Presence, Prolonged Duration 2, and Clarity 1
Blasphemy: Temporal Chains and Despair
The exact support configuration can be adjusted if your available Spirit is lower. Clarity, for example, can be removed when necessary.
Flameblast Is the Main Burst Skill
Flameblast remains the primary damage skill for powerful single targets.
The setup uses Searing, Viridian, Poison, Searing Flame 2, and Concentrated Casting supports. Flameblast has 10 stages, with each stage providing 78% more magnitude of damaging elements in the described setup. At maximum stages, that represents 780% more magnitude for the relevant damaging elements, including poison and ignite.
This is why the build can combine strong map clearing with extremely high single-target damage.
Budget Gear Setup
The biggest advantage of this version is that it removes several extremely expensive components from the high-investment version.
Core Unique Items
The most important unique is Headhunter, which is also the most expensive item in the budget setup. The reported price was around 80–90 Divines. It provides movement speed, defensive layers, and damage by stealing modifiers from rare monsters, making heavily juiced Expedition and 200% Delirium content much smoother.
Other important low-cost pieces include:
Blackflame: roughly 1 Divine
Alpha's Howl: roughly 1 Divine
Flameblast staff: roughly 2–10 Divines
High Energy Shield rare armor
Affordable jewels focused on Energy Shield and spell scaling
Blackflame is particularly important because it provides ignite magnitude, mana regeneration, Withered effects, and fire-related bonuses that significantly increase the build's damage.
Recommended Rare Stats
For the main wand, prioritize:
Levels to Chaos spells
Cast speed
Spell damage
Chaos damage where possible
For the amulet, prioritize +3 to all spells and quality. The focus should provide cast speed, all spells, and preferably chaos or spell damage.
For body armor, gloves, and boots, prioritize high Energy Shield and resistances. Boots should also have a socket for movement-speed scaling.
Chaos Inoculation Budget Setup
One of the biggest changes from the expensive version is the switch to Chaos Inoculation.
Why Use Chaos Inoculation?
The high-investment version uses Atziri's Communion and a low-life setup, but that item alone can cost more than the entire budget version.
Chaos Inoculation solves several problems at once. It provides immunity to chaos damage and bleed while allowing the character to stack Energy Shield instead of investing heavily in chaos resistance.
The reported setup reaches around 9,200 Energy Shield, with approximately 1,300 Mana and 200 Spirit. This gives the budget version impressive durability without requiring the expensive low-life package.
Managing Energy Shield
The build also uses Convalescence to maintain its Energy Shield recovery.
The described setup has a relatively long Energy Shield recharge delay, but Convalescence can be activated periodically to restore Energy Shield. This helps compensate for the limitations of the Chaos Inoculation version and contributes to its strong survivability.