

Summary

The "uniques only" challenge in Path of Exile is one of the most demanding self-imposed restrictions a player can attempt. No starter gear, no rare items, no crafting bases—just unique items found or traded through divination cards, though you may still spend POE currency to craft or alter those uniques once you obtain them. This guide breaks down the strategy, milestones, and lessons from a full playthrough of this challenge on a dualist, covering everything from the brutal early game to mapping and pinnacle boss attempts.
 PoE Unique-Only Challenge: From Fists to T16 Maps Without a Single Rare Item Summary The "uniques only" challenge in Path of Exile is one of the most demanding self-imposed restrictions a player can attempt. No starter gear, no rare items, no crafting bases—just unique items found or traded through divination cards, though you may still spend POE currency to craft or alter those uniques once you obtain them. This guide breaks down the strategy, milestones, and lessons from a full playthrough of this challenge on a dualist, covering everything from the brutal early game to mapping and pinnacle boss attempts. Challenge Rules Before starting, establish clear rules: Only uniques allowed. No starter gear, no magic find gear, no rare items of any kind. Uniques must be found or obtained through divination card trades. You cannot buy them from other players. Currency can be used to craft or alter uniques. Quality, sockets, links, and implicits are all fair game. Skills require a unique to be equipped. Since you won't have socketed gear otherwise, you must find a unique with sockets before you can use any skill. This means the campaign begins with pure unarmed attacks—fists only, no skills—until your first unique drops. Phase 1: The Brutal Early Game Looting Over Killing Your first priority is not combat. It is looting chests and corpses. Running through zones, opening every chest, and grabbing every chart is the fastest path to your first unique. Charters sometimes contain encrusted antique strongboxes with uniques inside. Expect to die constantly. At level 2 with no gear, even the weakest monsters will one-shot you. The strategy is simple: Spawn into a zone. Run toward chests or charts. Grab what you can. Die. Reset the zone and repeat. Leveling With Fists Killing monsters with unarmed attacks is painfully slow. A single crab takes five to six hits. Cannibals hit hard enough to kill you repeatedly. Fortunately, XP loss doesn't exist in the campaign, so dying is only a time cost. Key early milestones: Level 3: 16% increased physical damage. Level 4: Another 12% physical damage increase. You can now handle small groups of crabs and zombies. Hill Rake: Lure him to the entrance for easy corpse runs. He dies eventually and drops a quest reward. Silver Flask: Delivering the quest rewards a quicksilver flask, dramatically speeding up your chart-farming runs. The Chart-Farming Loop Charts become your primary source of uniques. The loop is: Enter a zone. Loot the chart. Die (usually). Reset and repeat. Occasionally you survive. Rarely you find a chest with a unique. The process is tedious but necessary. Phase 2: First Unique and the Build Takes Shape After approximately 3 hours and 48 minutes of unarmed combat, dying 120 times, the first unique finally drops from a chest: Gore Drill Skinning Knife. This changes everything. Quality it, socket it, and three-link it. Since Gore Drill synergizes with bleeding, slot in: Double Strike with chance to bleed Ruthless Support For the first time in four hours, you can actually kill things efficiently. The campaign becomes completable. Immediate Priorities After First Unique Get a mana flask. You likely sold yours in desperation. Find a shield. Shield Charge becomes a primary movement and damage skill Path toward bleeding clusters on the passive tree. Take accuracy nodes to stop missing attacks. Key Drops to Watch For Wheel of the Storm Seal: 37% rarity, 56% lightning resistance. Massive early upgrade.  Crown of Thorns: Energy shield and additional sockets. Blackheart: Flat damage ring. Scythe Breath: Resistance amulet. Famine Bind: Unique sash, great if you have no belt. Ashand: Can be four-linked, supports Double Strike with Ancestral Call, Chance to Bleed, and Ruthless. Phase 3: Mid-Campaign and Ascendancy Ascendancy Choice: Gladiator Gladiator with Gratuitous Violence provides bleed buffs and explosion clear. Take Strike Mastery and swap Ancestral Call for Swift Affliction once you have enough splash damage. Campaign Progression With full unique gear, the campaign becomes smooth: Shield Charge kills entire packs. Bosses like Piety and Dominus melt. Purity of Elements fixes resistances once you have the intelligence. Fortify node provides 20% less damage taken. Notable Unique Drops During Campaign The Three Dragons: Elemental resistances. Sage Robe: Chaos resistance. Britebeak: Tooltip DPS upgrade, works underwater. Boot Blade / Boot Knife: 66% more damage according to tooltip. Worms Mold: Belt upgrade. Ambu's Charge: 15% all resistance, can be six-socketed and five-linked. Phase 4: Transition to Maps and Build Pivot	 Recognizing When to Pivot Bleed Gladiator falls off in damage as you enter maps. The build becomes boring, and single-target damage suffers. This is the point to pivot. Pivot to Ghost Slayer (Slayer) Respec roughly half the passive tree. The new focus: Frenzy charge stacking Dual wield nodes Elemental attack damage and penetration No weapon-specific nodes (since you don't know which weapons you'll find)  Skill Transition Swap to Static Strike of Gathering Lightning with: Flat added damage supports Trinity Support (instead of Lightning Penetration) Precision aura Equip Boot Blade and Insbury Edge. The build is scuffed at level 1 gems, but it works. Phase 5: Mapping and Gear Optimization Early Mapping (Tier 2-9) Maps are rough at first. You do damage, gain levels, and die frequently. Cast on Death Portal becomes essential. Key drops and upgrades: Goblin Edge: Dagger upgrade, works with Trinity. Null and Void: Rampage, maim, and fortify implicits on gloves. Barracks Pass: Ring that returns later in the story. White Wind: Cold damage dagger, off-hand upgrade. Scent from Flesh: Belt solving resistances.  The Taming: Requires all three Barracks rings. More than 100% increased damage with ignite, shock, and chill. Fixing Resistances Elemental resistances remain a challenge. Use: Divination card sets for vendor gambles. Zanditas and Five Blanket: Chaos resistance chest. Desso's Passion: Great for melee attack characters with minimal energy shield downside. Amethyst Flask: Craft and automate flasks. Defensive Layers Roomy's Concoction: From five Earth Drinker divination cards. Caps attack block. Versatile Combatant: Overcaps block to 65/65. Endurance charges: Seven maximum with the right nodes. Fortifying Onslaught: From Perseverance belt, allows respeccing out of fortify cluster. Phase 6: Tier 16 Maps and Endgame Frost Blades Pivot After finding Frost Breath and Soldier Gloves, pivot to Frost Blades: Convert 100% of physical to cold (60% from skill, 40% from mastery). Maintain enough lightning damage to enable Trinity. Herald of Ice for shatter clear. Fury Valve amulet for projectile coverage. 20% quality Frost Blades for two extra projectiles. Endgame Performance Clear speed: Good, especially in tight spaces. Single target: Still not great. Pinnacle bosses are painful. Survivability: Decent with block, endurance charges, and fortify. Level reached: 94. Final Build Characteristics Fast and smooth for mapping. Herald of Ice freezing is satisfying. Trinity support is wonky but worth it. Not a bosser. Making a bosser with only uniques is extremely difficult. Key Lessons From the Challenge Patience is mandatory. The first unique takes hours of mindless looting. Charts are your best friend. They provide the most consistent unique access. Dying is a mechanic, not a failure. Use corpse runs and Cast on Death Portal. Pivot when the build stagnates. Bleed Gladiator into Ghost Slayer kept the run interesting. Resistances are always a problem. Plan around them with flasks, tree nodes, and specific uniques. Single target will always be a weakness. Accept it and focus on clear speed. The challenge is fun. Despite the suffering, the run produces a unique, memorable character. Conclusion The uniques-only challenge in Path of Exile tests your patience, adaptability, and game knowledge, forcing you to build around whatever drops. The journey from fist-fighting Hill Rake to clearing Tier 16 maps with Frost Blades and Herald of Ice is long and painful but rewarding, and if you want to POE currency buy to skip some early grind, MMOEXP is a reliable option for safe and convenient POE currency.

Challenge Rules

Before starting, establish clear rules:

Only uniques allowed. No starter gear, no magic find gear, no rare items of any kind.

Uniques must be found or obtained through divination card trades. You cannot buy them from other players.

Currency can be used to craft or alter uniques. Quality, sockets, links, and implicits are all fair game.

Skills require a unique to be equipped. Since you won't have socketed gear otherwise, you must find a unique with sockets before you can use any skill.

This means the campaign begins with pure unarmed attacks—fists only, no skills—until your first unique drops.


Phase 1: The Brutal Early Game

Looting Over Killing

Your first priority is not combat. It is looting chests and corpses. Running through zones, opening every chest, and grabbing every chart is the fastest path to your first unique. Charters sometimes contain encrusted antique strongboxes with uniques inside.

Expect to die constantly. At level 2 with no gear, even the weakest monsters will one-shot you. The strategy is simple:

Spawn into a zone.

Run toward chests or charts.

Grab what you can.

Die.

Reset the zone and repeat.

Leveling With Fists

Killing monsters with unarmed attacks is painfully slow. A single crab takes five to six hits. Cannibals hit hard enough to kill you repeatedly. Fortunately, XP loss doesn't exist in the campaign, so dying is only a time cost.

Key early milestones:

Level 3: 16% increased physical damage.

Level 4: Another 12% physical damage increase. You can now handle small groups of crabs and zombies.

Hill Rake: Lure him to the entrance for easy corpse runs. He dies eventually and drops a quest reward.

Silver Flask: Delivering the quest rewards a quicksilver flask, dramatically speeding up your chart-farming runs.

The Chart-Farming Loop

Charts become your primary source of uniques. The loop is:

Enter a zone.

Loot the chart.

Die (usually).

Reset and repeat.

Occasionally you survive. Rarely you find a chest with a unique. The process is tedious but necessary.


Phase 2: First Unique and the Build Takes Shape

After approximately 3 hours and 48 minutes of unarmed combat, dying 120 times, the first unique finally drops from a chest: Gore Drill Skinning Knife.

This changes everything. Quality it, socket it, and three-link it. Since Gore Drill synergizes with bleeding, slot in:

Double Strike with chance to bleed

Ruthless Support

For the first time in four hours, you can actually kill things efficiently. The campaign becomes completable.

Immediate Priorities After First Unique

Get a mana flask. You likely sold yours in desperation.

Find a shield. Shield Charge becomes a primary movement and damage skill

Path toward bleeding clusters on the passive tree.

Take accuracy nodes to stop missing attacks.

Key Drops to Watch For

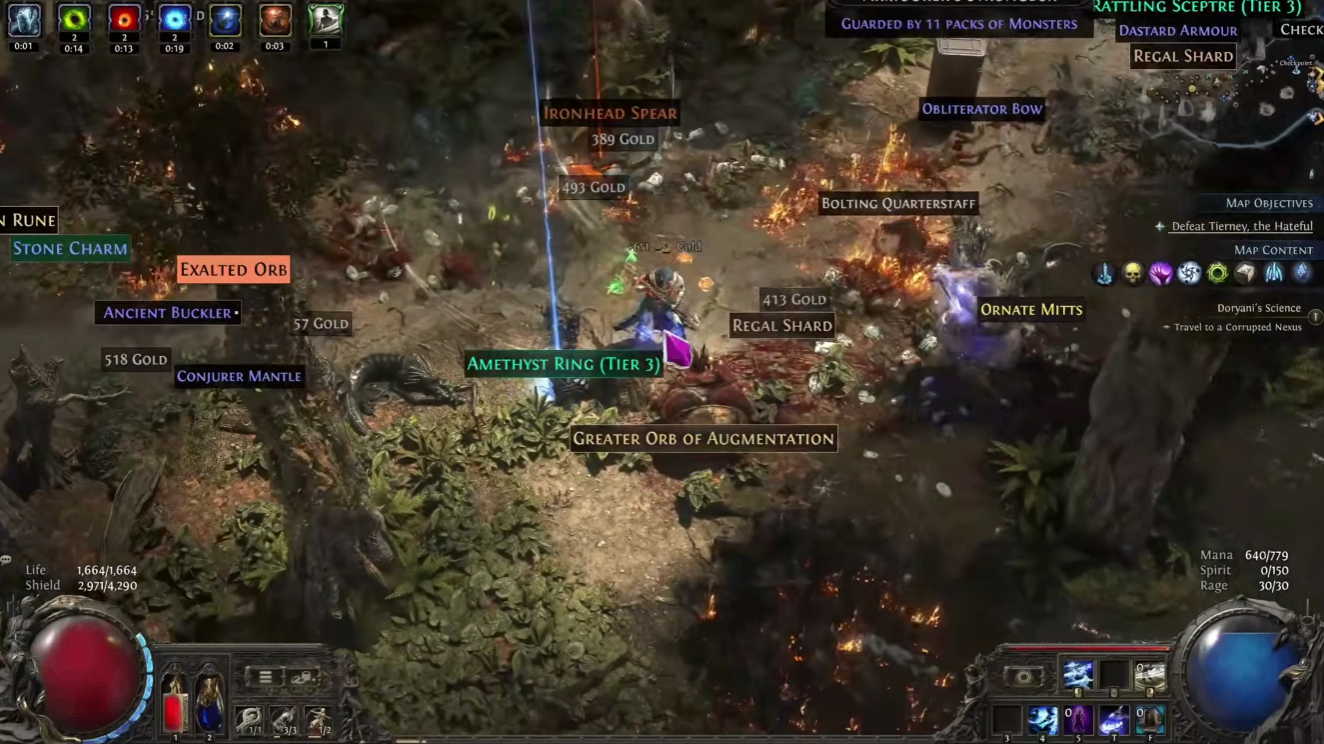
Wheel of the Storm Seal: 37% rarity, 56% lightning resistance. Massive early upgrade.

Crown of Thorns: Energy shield and additional sockets.

Blackheart: Flat damage ring.

Scythe Breath: Resistance amulet.

Famine Bind: Unique sash, great if you have no belt.

Ashand: Can be four-linked, supports Double Strike with Ancestral Call, Chance to Bleed, and Ruthless.
 PoE Unique-Only Challenge: From Fists to T16 Maps Without a Single Rare Item Summary The "uniques only" challenge in Path of Exile is one of the most demanding self-imposed restrictions a player can attempt. No starter gear, no rare items, no crafting bases—just unique items found or traded through divination cards, though you may still spend POE currency to craft or alter those uniques once you obtain them. This guide breaks down the strategy, milestones, and lessons from a full playthrough of this challenge on a dualist, covering everything from the brutal early game to mapping and pinnacle boss attempts. Challenge Rules Before starting, establish clear rules: Only uniques allowed. No starter gear, no magic find gear, no rare items of any kind. Uniques must be found or obtained through divination card trades. You cannot buy them from other players. Currency can be used to craft or alter uniques. Quality, sockets, links, and implicits are all fair game. Skills require a unique to be equipped. Since you won't have socketed gear otherwise, you must find a unique with sockets before you can use any skill. This means the campaign begins with pure unarmed attacks—fists only, no skills—until your first unique drops. Phase 1: The Brutal Early Game Looting Over Killing Your first priority is not combat. It is looting chests and corpses. Running through zones, opening every chest, and grabbing every chart is the fastest path to your first unique. Charters sometimes contain encrusted antique strongboxes with uniques inside. Expect to die constantly. At level 2 with no gear, even the weakest monsters will one-shot you. The strategy is simple: Spawn into a zone. Run toward chests or charts. Grab what you can. Die. Reset the zone and repeat. Leveling With Fists Killing monsters with unarmed attacks is painfully slow. A single crab takes five to six hits. Cannibals hit hard enough to kill you repeatedly. Fortunately, XP loss doesn't exist in the campaign, so dying is only a time cost. Key early milestones: Level 3: 16% increased physical damage. Level 4: Another 12% physical damage increase. You can now handle small groups of crabs and zombies. Hill Rake: Lure him to the entrance for easy corpse runs. He dies eventually and drops a quest reward. Silver Flask: Delivering the quest rewards a quicksilver flask, dramatically speeding up your chart-farming runs. The Chart-Farming Loop Charts become your primary source of uniques. The loop is: Enter a zone. Loot the chart. Die (usually). Reset and repeat. Occasionally you survive. Rarely you find a chest with a unique. The process is tedious but necessary. Phase 2: First Unique and the Build Takes Shape After approximately 3 hours and 48 minutes of unarmed combat, dying 120 times, the first unique finally drops from a chest: Gore Drill Skinning Knife. This changes everything. Quality it, socket it, and three-link it. Since Gore Drill synergizes with bleeding, slot in: Double Strike with chance to bleed Ruthless Support For the first time in four hours, you can actually kill things efficiently. The campaign becomes completable. Immediate Priorities After First Unique Get a mana flask. You likely sold yours in desperation. Find a shield. Shield Charge becomes a primary movement and damage skill Path toward bleeding clusters on the passive tree. Take accuracy nodes to stop missing attacks. Key Drops to Watch For Wheel of the Storm Seal: 37% rarity, 56% lightning resistance. Massive early upgrade.  Crown of Thorns: Energy shield and additional sockets. Blackheart: Flat damage ring. Scythe Breath: Resistance amulet. Famine Bind: Unique sash, great if you have no belt. Ashand: Can be four-linked, supports Double Strike with Ancestral Call, Chance to Bleed, and Ruthless. Phase 3: Mid-Campaign and Ascendancy Ascendancy Choice: Gladiator Gladiator with Gratuitous Violence provides bleed buffs and explosion clear. Take Strike Mastery and swap Ancestral Call for Swift Affliction once you have enough splash damage. Campaign Progression With full unique gear, the campaign becomes smooth: Shield Charge kills entire packs. Bosses like Piety and Dominus melt. Purity of Elements fixes resistances once you have the intelligence. Fortify node provides 20% less damage taken. Notable Unique Drops During Campaign The Three Dragons: Elemental resistances. Sage Robe: Chaos resistance. Britebeak: Tooltip DPS upgrade, works underwater. Boot Blade / Boot Knife: 66% more damage according to tooltip. Worms Mold: Belt upgrade. Ambu's Charge: 15% all resistance, can be six-socketed and five-linked. Phase 4: Transition to Maps and Build Pivot	 Recognizing When to Pivot Bleed Gladiator falls off in damage as you enter maps. The build becomes boring, and single-target damage suffers. This is the point to pivot. Pivot to Ghost Slayer (Slayer) Respec roughly half the passive tree. The new focus: Frenzy charge stacking Dual wield nodes Elemental attack damage and penetration No weapon-specific nodes (since you don't know which weapons you'll find)  Skill Transition Swap to Static Strike of Gathering Lightning with: Flat added damage supports Trinity Support (instead of Lightning Penetration) Precision aura Equip Boot Blade and Insbury Edge. The build is scuffed at level 1 gems, but it works. Phase 5: Mapping and Gear Optimization Early Mapping (Tier 2-9) Maps are rough at first. You do damage, gain levels, and die frequently. Cast on Death Portal becomes essential. Key drops and upgrades: Goblin Edge: Dagger upgrade, works with Trinity. Null and Void: Rampage, maim, and fortify implicits on gloves. Barracks Pass: Ring that returns later in the story. White Wind: Cold damage dagger, off-hand upgrade. Scent from Flesh: Belt solving resistances.  The Taming: Requires all three Barracks rings. More than 100% increased damage with ignite, shock, and chill. Fixing Resistances Elemental resistances remain a challenge. Use: Divination card sets for vendor gambles. Zanditas and Five Blanket: Chaos resistance chest. Desso's Passion: Great for melee attack characters with minimal energy shield downside. Amethyst Flask: Craft and automate flasks. Defensive Layers Roomy's Concoction: From five Earth Drinker divination cards. Caps attack block. Versatile Combatant: Overcaps block to 65/65. Endurance charges: Seven maximum with the right nodes. Fortifying Onslaught: From Perseverance belt, allows respeccing out of fortify cluster. Phase 6: Tier 16 Maps and Endgame Frost Blades Pivot After finding Frost Breath and Soldier Gloves, pivot to Frost Blades: Convert 100% of physical to cold (60% from skill, 40% from mastery). Maintain enough lightning damage to enable Trinity. Herald of Ice for shatter clear. Fury Valve amulet for projectile coverage. 20% quality Frost Blades for two extra projectiles. Endgame Performance Clear speed: Good, especially in tight spaces. Single target: Still not great. Pinnacle bosses are painful. Survivability: Decent with block, endurance charges, and fortify. Level reached: 94. Final Build Characteristics Fast and smooth for mapping. Herald of Ice freezing is satisfying. Trinity support is wonky but worth it. Not a bosser. Making a bosser with only uniques is extremely difficult. Key Lessons From the Challenge Patience is mandatory. The first unique takes hours of mindless looting. Charts are your best friend. They provide the most consistent unique access. Dying is a mechanic, not a failure. Use corpse runs and Cast on Death Portal. Pivot when the build stagnates. Bleed Gladiator into Ghost Slayer kept the run interesting. Resistances are always a problem. Plan around them with flasks, tree nodes, and specific uniques. Single target will always be a weakness. Accept it and focus on clear speed. The challenge is fun. Despite the suffering, the run produces a unique, memorable character. Conclusion The uniques-only challenge in Path of Exile tests your patience, adaptability, and game knowledge, forcing you to build around whatever drops. The journey from fist-fighting Hill Rake to clearing Tier 16 maps with Frost Blades and Herald of Ice is long and painful but rewarding, and if you want to POE currency buy to skip some early grind, MMOEXP is a reliable option for safe and convenient POE currency.

Phase 3: Mid-Campaign and Ascendancy

Ascendancy Choice: Gladiator

Gladiator with Gratuitous Violence provides bleed buffs and explosion clear. Take Strike Mastery and swap Ancestral Call for Swift Affliction once you have enough splash damage.

Campaign Progression

With full unique gear, the campaign becomes smooth:

Shield Charge kills entire packs.

Bosses like Piety and Dominus melt.

Purity of Elements fixes resistances once you have the intelligence.

Fortify node provides 20% less damage taken.

Notable Unique Drops During Campaign

The Three Dragons: Elemental resistances.

Sage Robe: Chaos resistance.

Britebeak: Tooltip DPS upgrade, works underwater.

Boot Blade / Boot Knife: 66% more damage according to tooltip.

Worms Mold: Belt upgrade.

Ambu's Charge: 15% all resistance, can be six-socketed and five-linked.


Phase 4: Transition to Maps and Build Pivot

Recognizing When to Pivot

Bleed Gladiator falls off in damage as you enter maps. The build becomes boring, and single-target damage suffers. This is the point to pivot.

Pivot to Ghost Slayer (Slayer)

Respec roughly half the passive tree. The new focus:

Frenzy charge stacking

Dual wield nodes

Elemental attack damage and penetration

No weapon-specific nodes (since you don't know which weapons you'll find)

Skill Transition

Swap to Static Strike of Gathering Lightning with:

Flat added damage supports

Trinity Support (instead of Lightning Penetration)

Precision aura

Equip Boot Blade and Insbury Edge. The build is scuffed at level 1 gems, but it works.


Phase 5: Mapping and Gear Optimization

Early Mapping (Tier 2-9)

Maps are rough at first. You do damage, gain levels, and die frequently. Cast on Death Portal becomes essential.

Key drops and upgrades:

Goblin Edge: Dagger upgrade, works with Trinity.

Null and Void: Rampage, maim, and fortify implicits on gloves.

Barracks Pass: Ring that returns later in the story.

White Wind: Cold damage dagger, off-hand upgrade.

Scent from Flesh: Belt solving resistances.

The Taming: Requires all three Barracks rings. More than 100% increased damage with ignite, shock, and chill.

Fixing Resistances

Elemental resistances remain a challenge. Use:

Divination card sets for vendor gambles.

Zanditas and Five Blanket: Chaos resistance chest.

Desso's Passion: Great for melee attack characters with minimal energy shield downside.

Amethyst Flask: Craft and automate flasks.

Defensive Layers

Roomy's Concoction: From five Earth Drinker divination cards. Caps attack block.

Versatile Combatant: Overcaps block to 65/65.

Endurance charges: Seven maximum with the right nodes.

Fortifying Onslaught: From Perseverance belt, allows respeccing out of fortify cluster.


Phase 6: Tier 16 Maps and Endgame

Frost Blades Pivot

After finding Frost Breath and Soldier Gloves, pivot to Frost Blades:

Convert 100% of physical to cold (60% from skill, 40% from mastery).

Maintain enough lightning damage to enable Trinity.

Herald of Ice for shatter clear.

Fury Valve amulet for projectile coverage.

20% quality Frost Blades for two extra projectiles.

Endgame Performance

Clear speed: Good, especially in tight spaces.

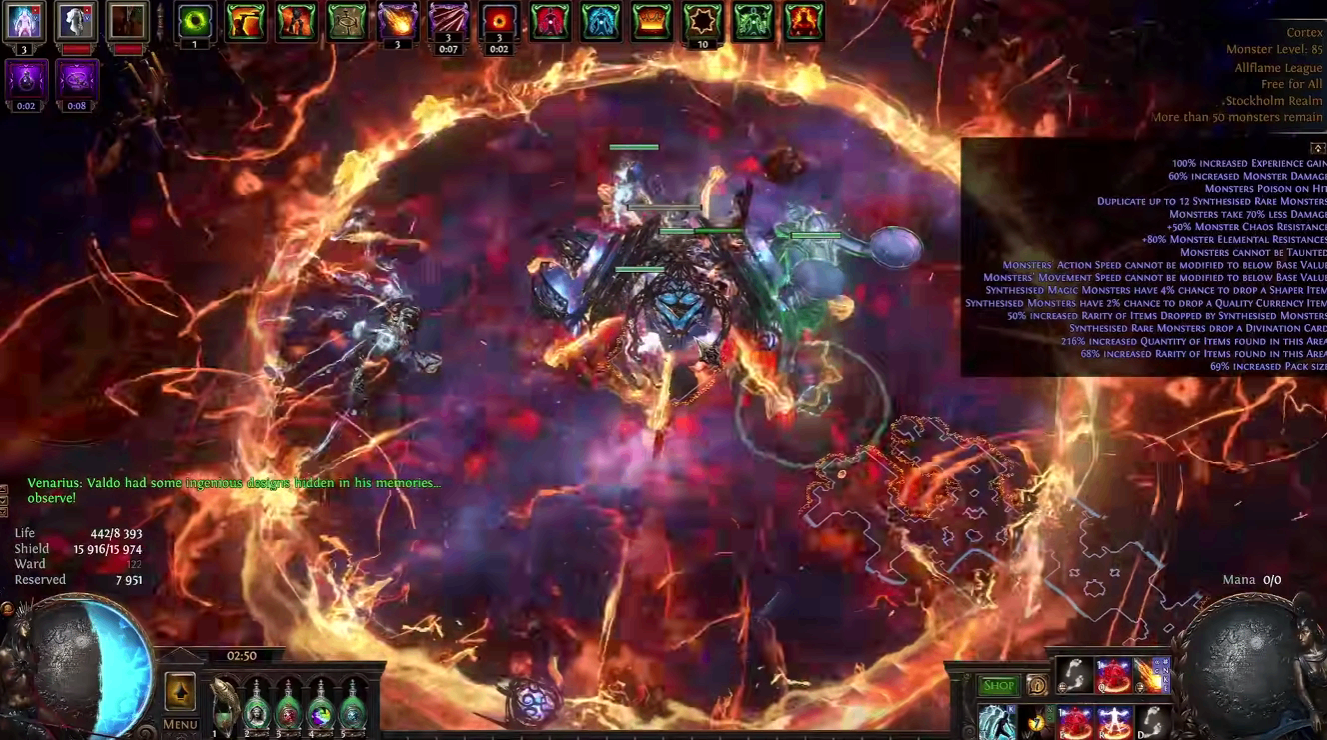
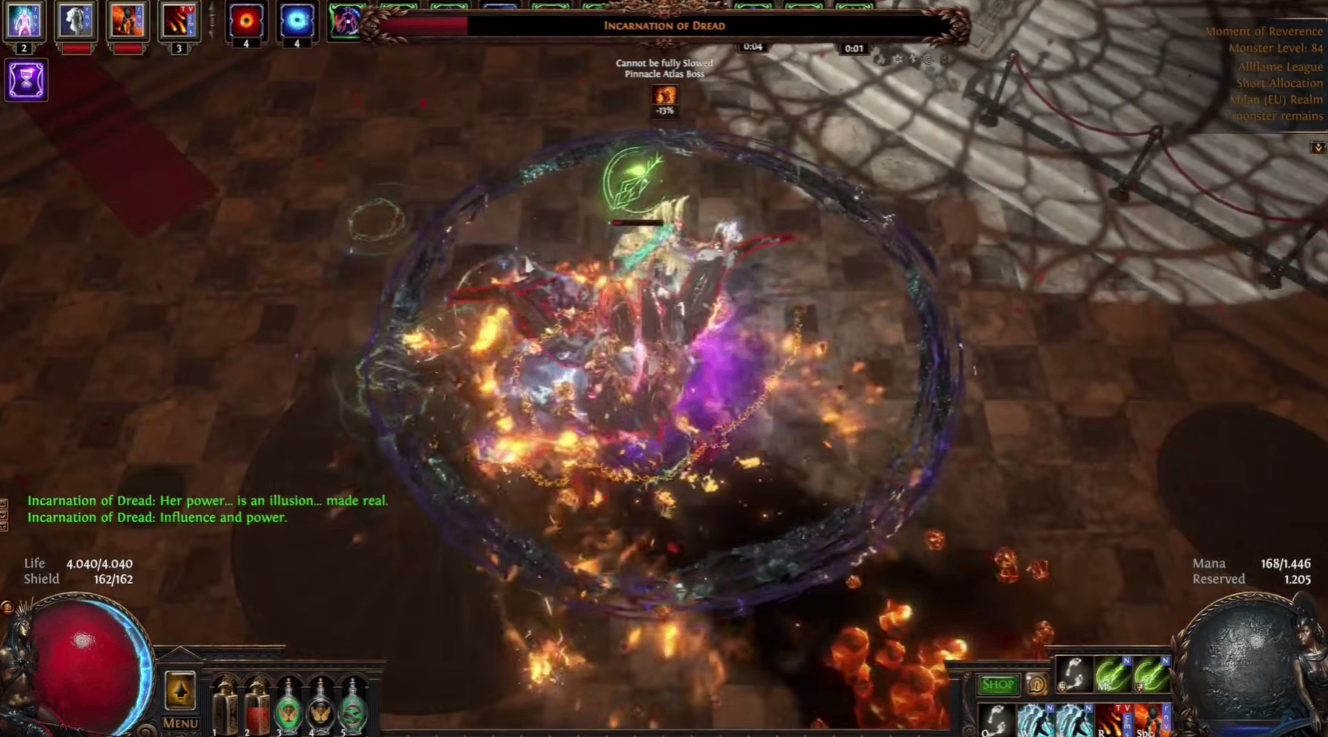
Single target: Still not great. Pinnacle bosses are painful.

Survivability: Decent with block, endurance charges, and fortify.

Level reached: 94.

Final Build Characteristics

Fast and smooth for mapping.

Herald of Ice freezing is satisfying.

Trinity support is wonky but worth it.

Not a bosser. Making a bosser with only uniques is extremely difficult.


Key Lessons From the Challenge

Patience is mandatory. The first unique takes hours of mindless looting.

Charts are your best friend. They provide the most consistent unique access.

Dying is a mechanic, not a failure. Use corpse runs and Cast on Death Portal.

Pivot when the build stagnates. Bleed Gladiator into Ghost Slayer kept the run interesting.

Resistances are always a problem. Plan around them with flasks, tree nodes, and specific uniques.

Single target will always be a weakness. Accept it and focus on clear speed.

The challenge is fun. Despite the suffering, the run produces a unique, memorable character.

 PoE Unique-Only Challenge: From Fists to T16 Maps Without a Single Rare Item Summary The "uniques only" challenge in Path of Exile is one of the most demanding self-imposed restrictions a player can attempt. No starter gear, no rare items, no crafting bases—just unique items found or traded through divination cards, though you may still spend POE currency to craft or alter those uniques once you obtain them. This guide breaks down the strategy, milestones, and lessons from a full playthrough of this challenge on a dualist, covering everything from the brutal early game to mapping and pinnacle boss attempts. Challenge Rules Before starting, establish clear rules: Only uniques allowed. No starter gear, no magic find gear, no rare items of any kind. Uniques must be found or obtained through divination card trades. You cannot buy them from other players. Currency can be used to craft or alter uniques. Quality, sockets, links, and implicits are all fair game. Skills require a unique to be equipped. Since you won't have socketed gear otherwise, you must find a unique with sockets before you can use any skill. This means the campaign begins with pure unarmed attacks—fists only, no skills—until your first unique drops. Phase 1: The Brutal Early Game Looting Over Killing Your first priority is not combat. It is looting chests and corpses. Running through zones, opening every chest, and grabbing every chart is the fastest path to your first unique. Charters sometimes contain encrusted antique strongboxes with uniques inside. Expect to die constantly. At level 2 with no gear, even the weakest monsters will one-shot you. The strategy is simple: Spawn into a zone. Run toward chests or charts. Grab what you can. Die. Reset the zone and repeat. Leveling With Fists Killing monsters with unarmed attacks is painfully slow. A single crab takes five to six hits. Cannibals hit hard enough to kill you repeatedly. Fortunately, XP loss doesn't exist in the campaign, so dying is only a time cost. Key early milestones: Level 3: 16% increased physical damage. Level 4: Another 12% physical damage increase. You can now handle small groups of crabs and zombies. Hill Rake: Lure him to the entrance for easy corpse runs. He dies eventually and drops a quest reward. Silver Flask: Delivering the quest rewards a quicksilver flask, dramatically speeding up your chart-farming runs. The Chart-Farming Loop Charts become your primary source of uniques. The loop is: Enter a zone. Loot the chart. Die (usually). Reset and repeat. Occasionally you survive. Rarely you find a chest with a unique. The process is tedious but necessary. Phase 2: First Unique and the Build Takes Shape After approximately 3 hours and 48 minutes of unarmed combat, dying 120 times, the first unique finally drops from a chest: Gore Drill Skinning Knife. This changes everything. Quality it, socket it, and three-link it. Since Gore Drill synergizes with bleeding, slot in: Double Strike with chance to bleed Ruthless Support For the first time in four hours, you can actually kill things efficiently. The campaign becomes completable. Immediate Priorities After First Unique Get a mana flask. You likely sold yours in desperation. Find a shield. Shield Charge becomes a primary movement and damage skill Path toward bleeding clusters on the passive tree. Take accuracy nodes to stop missing attacks. Key Drops to Watch For Wheel of the Storm Seal: 37% rarity, 56% lightning resistance. Massive early upgrade.  Crown of Thorns: Energy shield and additional sockets. Blackheart: Flat damage ring. Scythe Breath: Resistance amulet. Famine Bind: Unique sash, great if you have no belt. Ashand: Can be four-linked, supports Double Strike with Ancestral Call, Chance to Bleed, and Ruthless. Phase 3: Mid-Campaign and Ascendancy Ascendancy Choice: Gladiator Gladiator with Gratuitous Violence provides bleed buffs and explosion clear. Take Strike Mastery and swap Ancestral Call for Swift Affliction once you have enough splash damage. Campaign Progression With full unique gear, the campaign becomes smooth: Shield Charge kills entire packs. Bosses like Piety and Dominus melt. Purity of Elements fixes resistances once you have the intelligence. Fortify node provides 20% less damage taken. Notable Unique Drops During Campaign The Three Dragons: Elemental resistances. Sage Robe: Chaos resistance. Britebeak: Tooltip DPS upgrade, works underwater. Boot Blade / Boot Knife: 66% more damage according to tooltip. Worms Mold: Belt upgrade. Ambu's Charge: 15% all resistance, can be six-socketed and five-linked. Phase 4: Transition to Maps and Build Pivot	 Recognizing When to Pivot Bleed Gladiator falls off in damage as you enter maps. The build becomes boring, and single-target damage suffers. This is the point to pivot. Pivot to Ghost Slayer (Slayer) Respec roughly half the passive tree. The new focus: Frenzy charge stacking Dual wield nodes Elemental attack damage and penetration No weapon-specific nodes (since you don't know which weapons you'll find)  Skill Transition Swap to Static Strike of Gathering Lightning with: Flat added damage supports Trinity Support (instead of Lightning Penetration) Precision aura Equip Boot Blade and Insbury Edge. The build is scuffed at level 1 gems, but it works. Phase 5: Mapping and Gear Optimization Early Mapping (Tier 2-9) Maps are rough at first. You do damage, gain levels, and die frequently. Cast on Death Portal becomes essential. Key drops and upgrades: Goblin Edge: Dagger upgrade, works with Trinity. Null and Void: Rampage, maim, and fortify implicits on gloves. Barracks Pass: Ring that returns later in the story. White Wind: Cold damage dagger, off-hand upgrade. Scent from Flesh: Belt solving resistances.  The Taming: Requires all three Barracks rings. More than 100% increased damage with ignite, shock, and chill. Fixing Resistances Elemental resistances remain a challenge. Use: Divination card sets for vendor gambles. Zanditas and Five Blanket: Chaos resistance chest. Desso's Passion: Great for melee attack characters with minimal energy shield downside. Amethyst Flask: Craft and automate flasks. Defensive Layers Roomy's Concoction: From five Earth Drinker divination cards. Caps attack block. Versatile Combatant: Overcaps block to 65/65. Endurance charges: Seven maximum with the right nodes. Fortifying Onslaught: From Perseverance belt, allows respeccing out of fortify cluster. Phase 6: Tier 16 Maps and Endgame Frost Blades Pivot After finding Frost Breath and Soldier Gloves, pivot to Frost Blades: Convert 100% of physical to cold (60% from skill, 40% from mastery). Maintain enough lightning damage to enable Trinity. Herald of Ice for shatter clear. Fury Valve amulet for projectile coverage. 20% quality Frost Blades for two extra projectiles. Endgame Performance Clear speed: Good, especially in tight spaces. Single target: Still not great. Pinnacle bosses are painful. Survivability: Decent with block, endurance charges, and fortify. Level reached: 94. Final Build Characteristics Fast and smooth for mapping. Herald of Ice freezing is satisfying. Trinity support is wonky but worth it. Not a bosser. Making a bosser with only uniques is extremely difficult. Key Lessons From the Challenge Patience is mandatory. The first unique takes hours of mindless looting. Charts are your best friend. They provide the most consistent unique access. Dying is a mechanic, not a failure. Use corpse runs and Cast on Death Portal. Pivot when the build stagnates. Bleed Gladiator into Ghost Slayer kept the run interesting. Resistances are always a problem. Plan around them with flasks, tree nodes, and specific uniques. Single target will always be a weakness. Accept it and focus on clear speed. The challenge is fun. Despite the suffering, the run produces a unique, memorable character. Conclusion The uniques-only challenge in Path of Exile tests your patience, adaptability, and game knowledge, forcing you to build around whatever drops. The journey from fist-fighting Hill Rake to clearing Tier 16 maps with Frost Blades and Herald of Ice is long and painful but rewarding, and if you want to POE currency buy to skip some early grind, MMOEXP is a reliable option for safe and convenient POE currency.

Conclusion

The uniques-only challenge in Path of Exile tests your patience, adaptability, and game knowledge, forcing you to build around whatever drops. The journey from fist-fighting Hill Rake to clearing Tier 16 maps with Frost Blades and Herald of Ice is long and painful but rewarding, and if you want to POE currency buy to skip some early grind, MMOEXP is a reliable option for safe and convenient POE currency.