





Summary
SAND: Raiders of Sophie is a brutal PvPvE extraction survival game where your Trampler—a massive, customizable walking mech—serves as your mobile base, transport, storage, and lifeline. Knowing how to fight, loot, and extract efficiently is the difference between hauling out valuable loot and losing everything, and understanding the in-game economy—including how to earn and spend SAND: Raiders of Sophie Crown—is just as important as mastering combat, since Crowns let you trade for rare gear and accelerate your progression without relying solely on lucky drops.
Advanced C4 Tactics
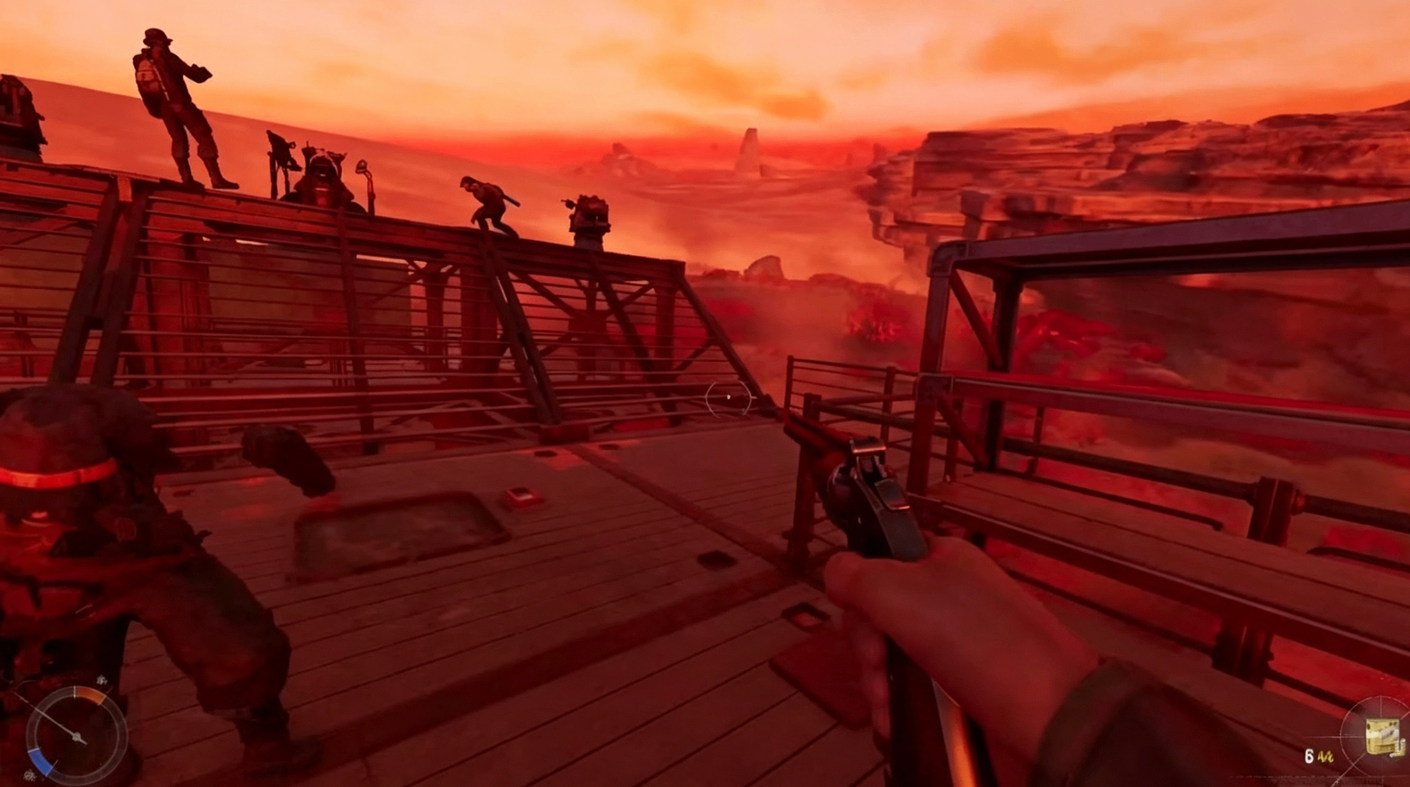
You can hold a C4 charge, drop up to three on the ground, and activate them one after another before the first explodes. This allows you to deliver devastating damage to a reactor in a single coordinated strike. With two players, you can drop and activate six charges; with three, all nine.
Pro Tip: If you're in a corridor with C4 planted on a door, hug the other side of the wall to take no damage from the blast.
Reactor Planting: The Stealth Kill
Weaken the enemy first by crippling their legs and cannons. Position your Trampler close, use smoke shells to obscure vision, then breach the hull with C4. Fight through the crew, plant your charges on the reactor, and step back before detonating.
When the reactor is destroyed, the enemy Trampler is permanently disabled and their respawns stop. The ship and all cargo become yours.
Don't Forget: Every destroyed reactor drops a Black Box that sells for a tidy sum.
Target Priority in PvP Combat
Legs First – Cripple their mobility. A slow Trampler becomes a predictable target.
Cannons Second – Take out their ability to fight back.
Reactor Third – Destroying it wrecks the ship and stops respawns.
Kill the Captain – A dead captain can't steal your ship or extract.
Defensive Priorities
Protect your reactor at all costs. Layer armor modules around it. Place it anywhere but the rear, where it becomes an easy target while fleeing.
The Loot Loop: Forts and Keys
Looting a Fort
Blast open the red gate, clear enemies, and loot the courtyard. Climb to the top for the best loot—the Fort Key usually spawns on barrels or boxes. Use the Contract Platform to turn unwanted loot into Crowns at double the price.
Loot the Storage Room with the Fort Key, then clear the basement by blowing open red doors with grenades.
Colored Keys
Green Key – Kaizerplats Town Hall. Opens standard loot rooms.
Blue Key – Kaizerplats mansion, first room on the left. Required for Red Key.
Red Key – Merzauge port hut. Opens mid-to-high-tier doors.
White Key – Segen Bank, second floor. Opens mid-to-high-tier containers.
Black Key – Fort Istria basement (requires C4). Opens rare black boxes. Carrying one makes you a high-value target.
Dreadnaught Key – Inside the Dreadnaught loot room during Storm Dive. Opens the best loot room in the game.
Pro Tip: Carry only keys relevant to your sector. Keys are dropped on death.
Experimental Weapons & Deployable Domes
Weapons from Red Crates
Experimental 80mm – High damage and shell velocity.
Experimental 40mm – Fires faster as it heats up.
Experimental 70mm – Fires two shells at once.
The Great Silence – EMP rifle for area-of-effect damage.
Orbital Strike Designator – Marks an area for a devastating strike.
Deployable Domes
Bio-Emitter – Restores health to allies inside.
Amplifier – Yellow dome. +100% damage to all weapons inside.
Protective Dome – Blue dome. Absorbs all incoming damage.
Reflector – Directional shield. Reflects damage back at attackers.
Extraction: Getting Out Alive
Drive to an evacuation circle, climb the tower, and call extraction on the radio. This takes a couple of minutes and emits green smoke, making you visible. Defend the area until the ship arrives, then climb the rope to board.
Crucial Rule: Loot must be stored in boxes or cargo holds before extraction. Anything left loose on the floor is gone.
Even More Crucial: Your ship and character extract separately. You must physically grab the rope—standing on deck isn't enough.
Solo Extraction Tips
Extract early—greed loses runs. If your Trampler is destroyed, grab a high-value box and extract on foot. Consolidate loot on a workbench before calling extraction. Avoid big hotspots.
Squad Extraction Tips
Divide tasks—some loot, others provide overwatch. Clear and hold the extract zone. If overwhelmed, some players should cover and sacrifice so at least some loot gets out.
Survival Rules for the Desert
Engine Off When Stopped – Running engines emit black smoke visible from miles away.
Scan Constantly – Use binoculars to spot threats before they reach you.
Loot Into Boxes, Then Rack Them – Loot only counts if it's on the racks inside your trampler.
Stock the Fridge – Spread food into crew compartments for faster respawns.
Change to "Outlaw" Mode – Allows hipfire immediately after drawing your weapon.
Repair Constantly – Use your multi-tool to repair broken components. Attrition wins battles.
Play Modes
Voyage Mode – Relaxed, no time limit. Extractions available from the start.
Storm Dive Mode – Battle-royale with shrinking zone. Higher risk, higher reward.
Final Takeaways
SAND is a game about risk management. Protect your reactor at all costs. Know when to board—a successful boarding threat freezes enemy activity. Extract with a full box rather than chasing one more prize. Master the C4 stack technique. Loot into boxes, rack them, extract them—this is the loop that separates successful raiders from the rest. If you want to speed up progression, you can find cheap SAND: Raiders of Sophie Crown at MMOEXP—giving you flexibility to focus on combat instead of grinding for currency.


